Last Updated on February 25, 2024 by Mat Diekhake
If you want to use Windows as efficiently as possible, then you’ll need to get to know the Power User menu. Included in Windows 8 and Windows 10, the Power User menu is the quickest way you can get access to many of the main management, configuration and other tools that a Windows power user would need.
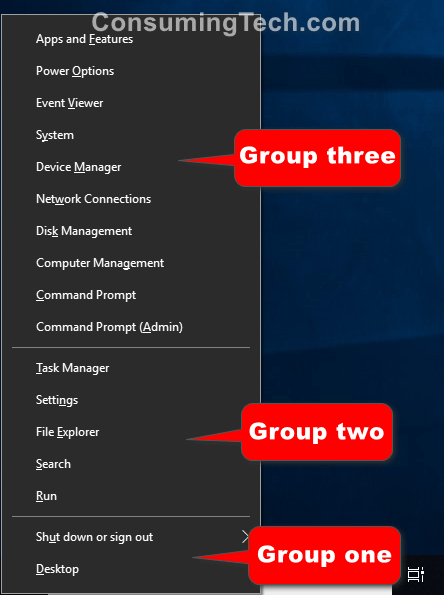
The Power User menu is split up into three groups. You can easily identify what these groups are by observing the white lines that separate them when you’ve got the Power User menu up on your computer’s display. This groups are also identifiable from the File Explorer path where they are located and you can open them up as standard folders should you ever want to modify them.
This tutorials demonstrates how to add or remove default items found on the Power User menu when you’re using a version of the Windows 10 operating system.
An example of the three different groups you’ll find on the Power User menu:
How to Remove Default Items on Power User Menu in Windows 10
1. Open File Explorer.
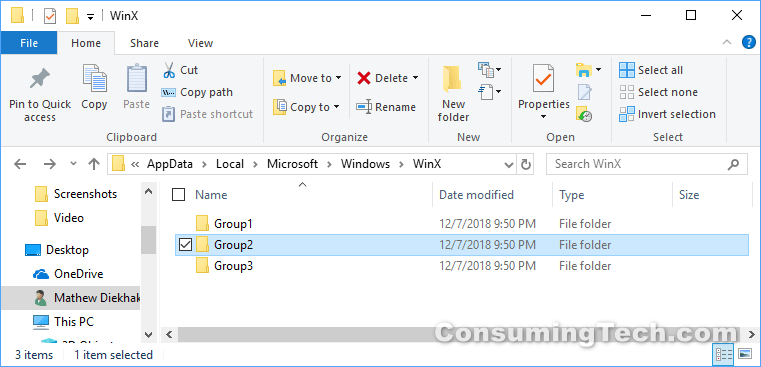
2. At the top of the File Explorer window, copy and paste the following path into the address bar and press “Enter”: %LocalAppdata%\Microsoft\Windows\WinX
You should now see the three group folders that make up the complete Power user menu.
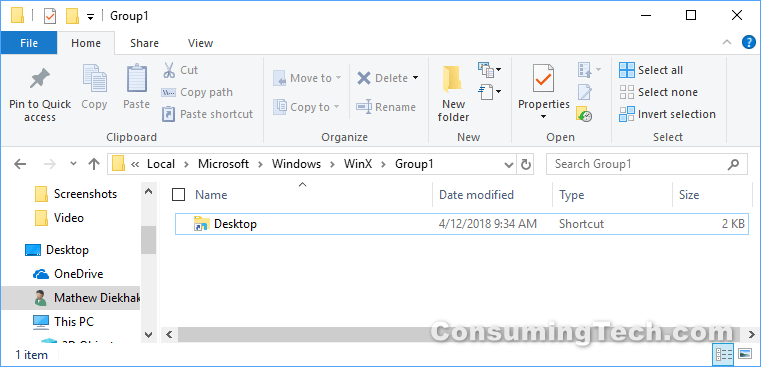
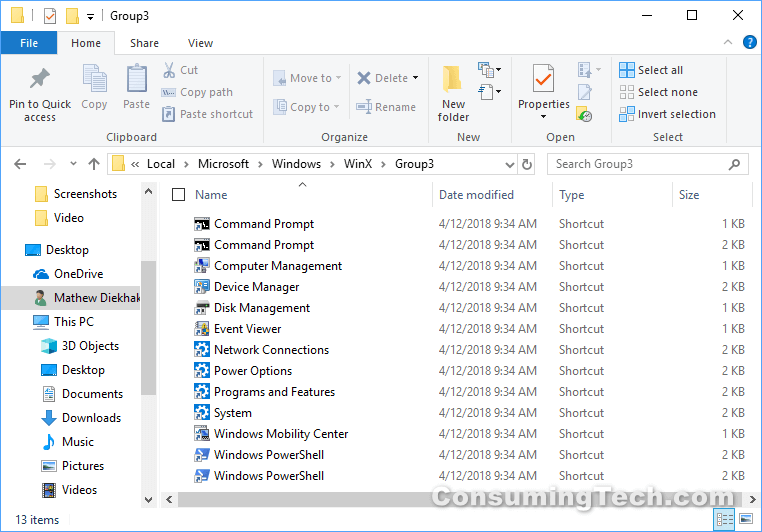
3. Double-click on the “Group” folder that you want to remove an item from.
4. Right-click on the item and select “Delete” from the menu or click once on the item and press the “Delete” key to delete your item/items.

That’s all.
Related Tutorials
- How to Switch Command Prompt/PowerShell Items on Power User Menu in Windows 10
- How to Open Power User Menu in Windows 10
- How to Add/Remove “Manage” on “This PC” Context Menu in Windows 10
- How to Open Context Menu for Taskbar Icons in Windows 10
- How to Add/Remove File Explorer from Start Menu in Windows 10
- How to Add/Remove File Explorer Default Context Menu in Windows 10
- How to Add or Remove Sleep from Power Menu in Windows 10
- How to Change Color of Start Menu, Taskbar, and Title bar in Windows 10
- How to Add/Remove Items in All Apps in Windows 10 Start Menu
- How to Add New Applications to Quick Launch Menu in Windows