Last Updated on December 26, 2022 by Mat Diekhake
One of the features that I like about Windows 10 is being able to turn off all those distracting notifications that pop-up while I am working on something important. Due to the nature of the apps, you often get notifications from various places on your computer, and they take your focus away from your work only to tell you that something is not right with the other app — the app that you do not even know exists on your computer.
The feature that disables these distracting notifications has been named Quiet Hours in Windows 10 that once enabled allows you to get rid of all the notifications while you are doing something important on your computer. There are various settings that you can configure for the feature, and it works that way for you on your computer.

It is a three-stage procedure for enabling the feature. First, you need to set up the settings for the feature which is the base of the feature as to how it should work. Second, how you can enable the feature. Third, how you can disable the feature if you want to start getting the notifications again on your computer.
Here we teach you everything about the Quiet Hours feature in Windows 10:
Setting Up Quiet Hours on a Windows 10 Computer
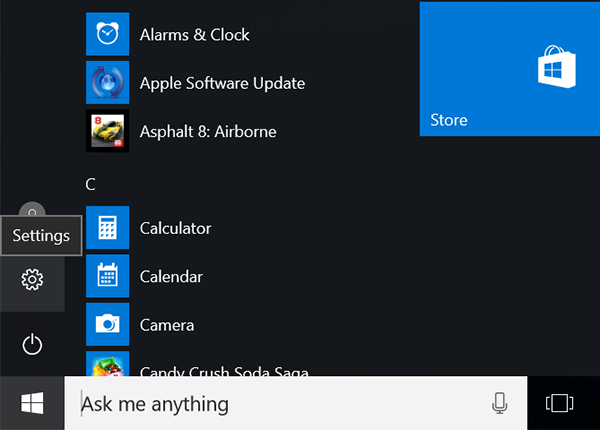
1. Click on the Start Menu and then click on the Settings option (it is a gear icon) to open the settings panel on your computer. That panel is where you can find all the setting options for your computer.
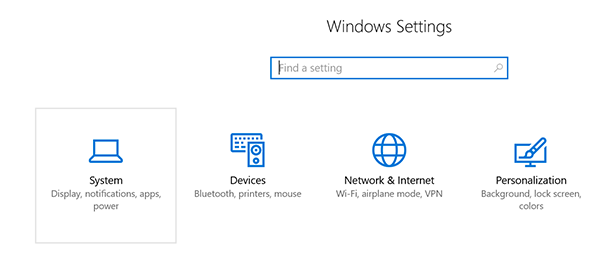
2. When the settings panel launches, you should see some thumbnails indicating different kinds of settings. What you need to click on here is the option that says System as shown in the following screenshot. It opens up the system settings panel for you.
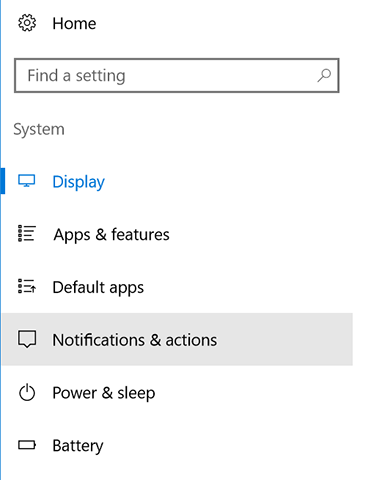
3. On the system settings panel, you can find a list of settings in the left-side. From the given options, you need to click on the one that says Notifications & actions. That is where you can define your quiet hour settings.
4. When the Notifications & actions settings panel launches, take a look at the options available under the Notifications section. Here, you can turn options ON and OFF depending on your preferences. These settings apply to Quiet Hours on your computer.
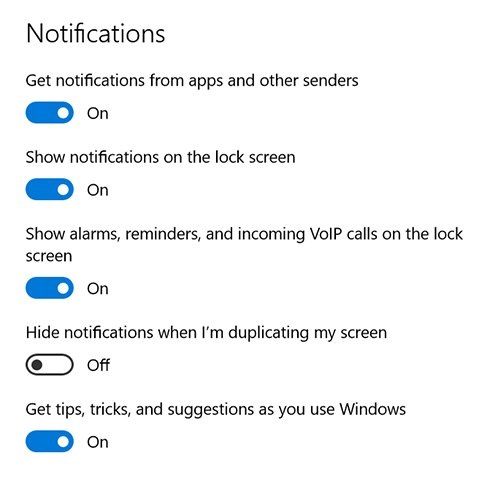
Turn the toggle ON or OFF for whatever options you want.
So, you have successfully set up the Quiet Hours settings on your Windows 10 computer. Now, what you need to do is learn how you can enable the Quiet Hours feature so that you can take advantage of it.
Here’s how:
Enabling the Quiet Hours Feature on a Windows 10 Computer
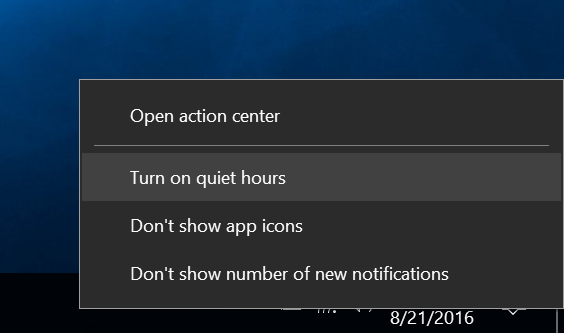
1. Right-click on the Action Center button located in the bottom-right corner of your screen.
2. When the Action Center options pop-up, click on the option that says Turn on quiet hours.
3. The Quiet Hours feature is enabled on your computer.
From now on, you do not get any notifications from any apps on your computer (it depends on what you set up in the previous section, though).
If you want to enable the notifications again, here’s how to do that:
Disabling the Quiet Hours Feature on a Windows 10 Computer
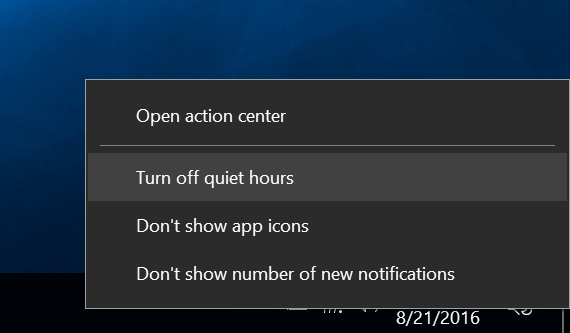
1. Right-click on the Action Center button given in the taskbar of your computer. It is in the bottom-right corner of the screen.
2. When the menu shows up, click on the option that says Turn off quiet hours.
3. The Quiet Hours feature is disabled now on your computer.
The feature is turned OFF now, and you can start to see new notifications appearing on your computer.
You might also be interested in:
- How To Create Keyboard Shortcuts To Open Programs In Windows 10
- How To Add Extra Column To Start Menu In Windows 10
- How To Change Default Font In Windows 10
- How To Add Search Box To Start Menu In Windows 10
- How To Change Look Of Windows 10 Icons
Have something to say? You can contribute to this tech article by leaving a comment below.