Last Updated on December 26, 2022 by Mat Diekhake
If you are someone like me, password protecting just about everything you have is of the utmost importance because within the walls of what is being password protected comes some sensitive data that I do not want hackers seeing. Take my emails for example. If I were to open up any three of my primary email accounts, there are several emails people could read that contain information, like passwords to websites and servers and so forth.
Since most of my information is stuff that I cannot afford hackers seeing, I always have unyielding passwords (over 20 characters in length.) I used to hate having to type in these long passwords, but after being exposed by hackers in the past, I had come to find that biting the bullet on typing a longer password and then feeling secure was the better way to go about it.
Still, if you are anything like me, you will be wasting copious amounts of time entering these passwords into your browsers and operating systems as you go about dealing with your day to day lives and that’s far less than ideal. Windows operating systems are now coming with a feature called Windows Hello that allows you to sign in with facial recognition, which is much appreciated on my end and I’m sure by many other people too (although I’m yet to actually test how secure Windows Hello is by putting other people in front of the screen and making sure it doesn’t mistake them for me.)
Along with Windows Hello which should be a standard feature in future computers and versions of Windows, people also have the chance to remove a user account password in Windows 10 if they have a local user account. By completely removing the user account password in Windows 10, you no longer have to do anything but boot up the computer and then start using the operating system.
There are some obvious downsides to using a computer that runs Windows 10 without having any password associated with your local user account. You’ll want to be one of the only people using the computer and have trust in the other people using the computer so that you can safely say you wouldn’t mind sharing an account with them. If you are a frequent traveler, or just planning on taking your laptop away with you on a once off trip, you might also want to think about password protecting that laptop just in cases it gets stolen. The less use the laptop is to someone else, the better the chance of you getting it back again—not to mention, you might not want people accessing your data even if you don’t get it back again to limit the amount of damage that is done.
How to Remove User Account Password for Local User Accounts in Windows 10
1. Click on the Start menu from the Windows 10 taskbar.
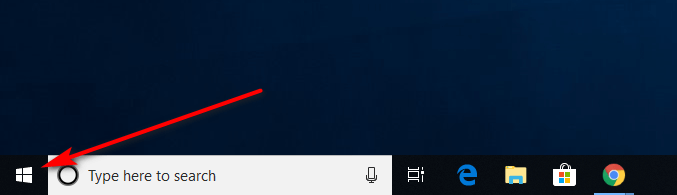
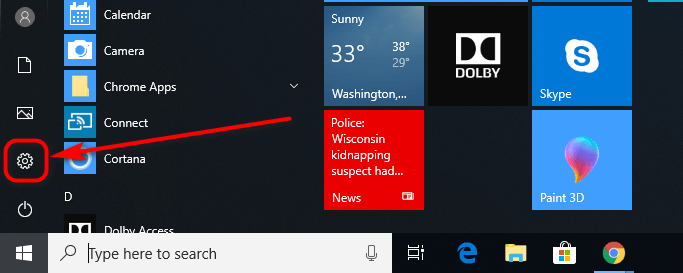
2. Click on the Settings gear icon from the Start menu’s left side pane.
3. Click on the Accounts button from the Windows Settings hub.

4. You need to be using a local user account before you can remove the user account password for it, so sign in to it now if you are not using it already. You’ll need to know how to create a local user account in Windows 10 if you don’t have one you can sign into already. Also, if you are signed into a Microsoft account at the moment, you might want to read up on how to sign out of a Microsoft account in Windows 10. You might also want to rename the local user account before removing the password for when you start using it again in the future.

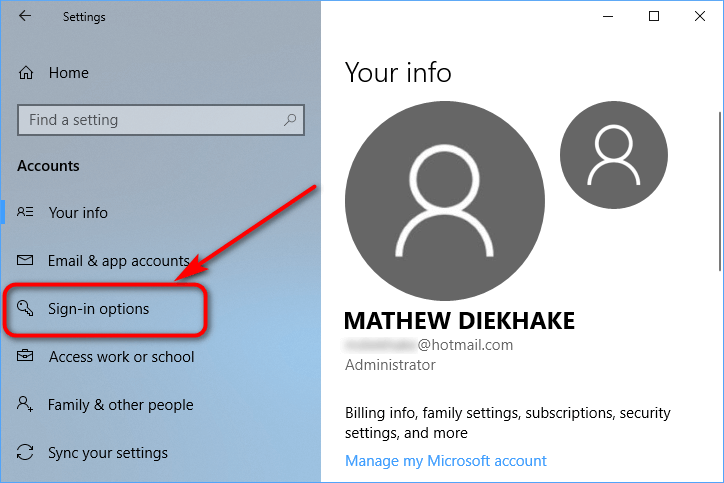
5. Click on the Sign-in options from the left side pane.
6. Scroll down until you get to the Password heading and then click on the button that says “Change” directly beneath it to learn how to change the password.

7. Windows 10 makes you enter the current password for a security measure, so it knows it is you who the person who wants to change the password is.
8. Once you have reentered the password, click on the “Sign in” button.

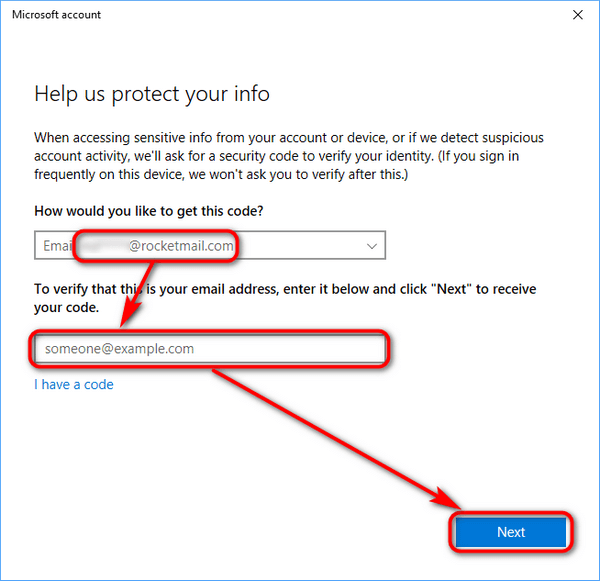
9. If you get the extra layer of protection, enter the email or phone number that you would like to receive the security code on and then retype the same email address that is hidden so that Microsoft can verify that you are the owner.
10. Click on the “Next” button.
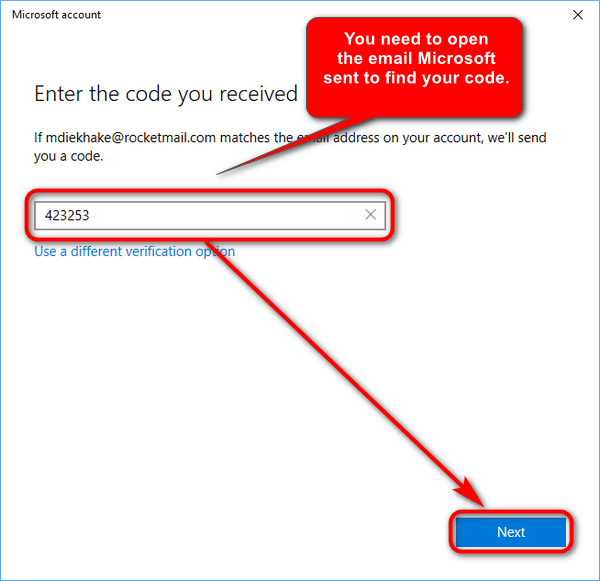
11. Open the email or read the text message you received to find the code and then enter the code in the available field before clicking on “Next.”
12. Wait for the Windows 10 operating system to load you with the screen that is available for changing the current password with a new password or getting rid of the password altogether.

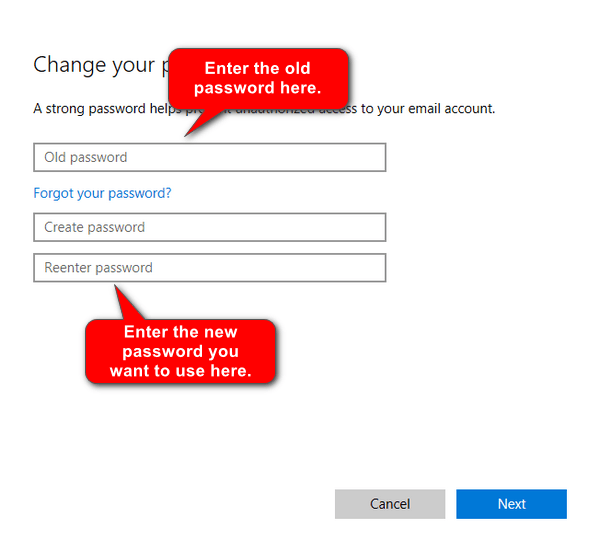
13. The following screen that you can see available is always there whether you are signed into a local user account or a Microsoft account. However, when you are using a Microsoft account, you have no choice but to create a new password because the Microsoft account always needs to have a password.
14. While it doesn’t say it on the screen, things are different for the local user account. You don’t need to fill in the old password or the new password to advance from the screen. All you need to do is click on the “Next” button that is available at the bottom of the screen, and it lets you advance without setting a password at all.
That’s all you need to have taken away the password for the local user account. You can test out that it worked by pointing to the Settings > Accounts > Sign-in page and then look out for a new message that read “You must add a password before you can use the other sign-in options.” You know the guide has worked for you when that message is available on the screen because it means there is no password currently set for your account.
You may also get access to locking the account by pressing the Windows logo + L hotkey combination and then checking to see if the computer needs a password or not.
If there ever comes a time when you wish you had a password protecting the computer again, you can quickly turn it back on again by learning how to create a local user account in versions of Windows 10 and then make sure you follow the part where it teaches you about setting up passwords.