Last Updated on December 26, 2022 by Mat Diekhake
One of the simplest tricks you can do with Windows 10 to customize the way it looks is changing the font or the font size. The default font in Windows 10 is Tahoma, but I’ve changed the font on my computer to show Verdana which is why my screenshots look slightly askew to yours.
When you replace the default font in Windows 10 by using the ChangeFont tool like I did, it changes the basic things like the font in the taskbar and the font in your browser address bar, but it doesn’t make any difference like the font you get from the Start menu or the font you get from any of the icons. These fonts have been developed differently, and that required a new code.
There is a program you can download to change the size of the icon fonts called REG files, but you shouldn’t keep downloading more and more files unless you need to. There is a built-in option from the Windows 10 Control Panel that allows us to change the default font icon size without having to download anything.
How to change size of icon text in Windows 10
There are quite a few ways you can get access to the Control Panel in Windows 10 which is nice (in theory), so you don’t have to keep remembering the one. The way we do it is by clicking in the search field that is attached to the taskbar and then type “Control Panel” into the field so it brings up the Control Panel application under the Best match section.
Click on the Control Panel application from the Best match section to open it up.

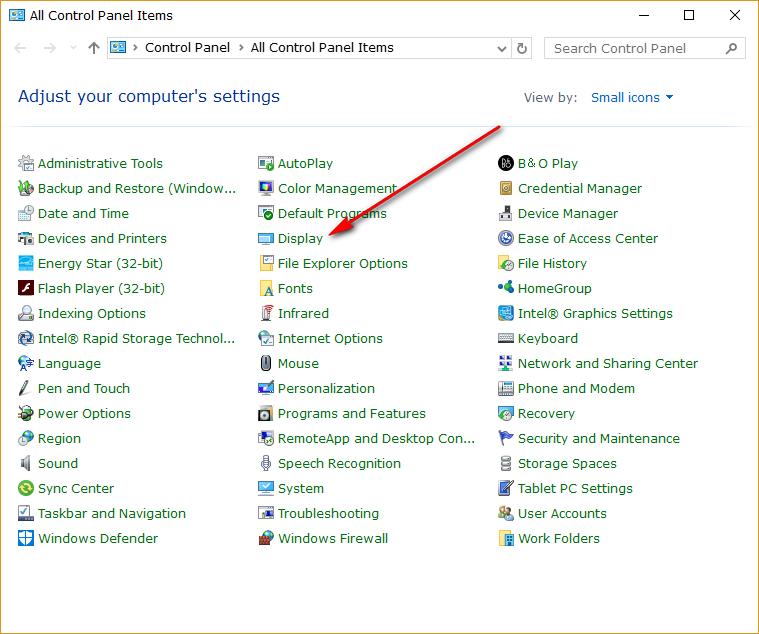
When you get to the page that says Adjust your computer’s settings, make sure you change the “View by” option in the top right corner to “Small icons” so you can see the full list of options. Once done, look for the “Display” entry and click on it to get access to your options that are to do with the computer’s display.
As soon as the Display page opens, look at the part where it shows the Change only the text size and then click on the drop-down menu where it is showing the “Tile bars.”
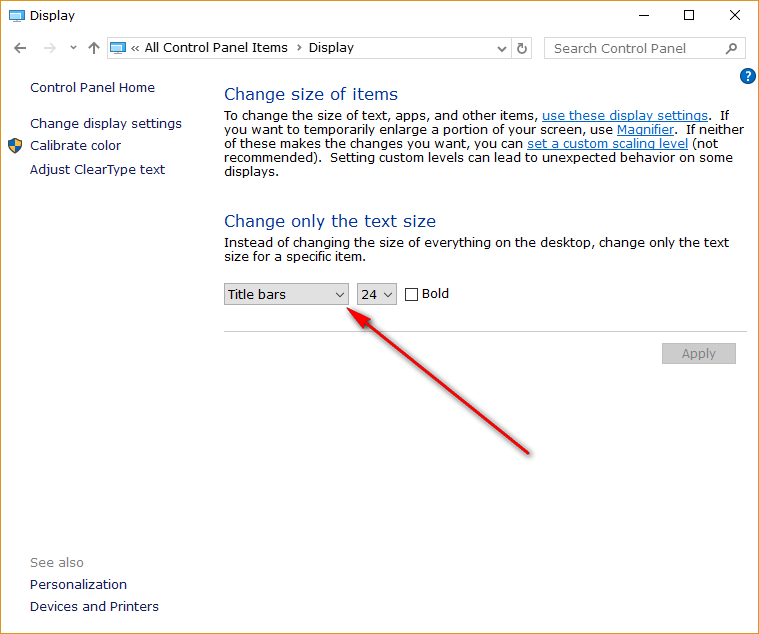
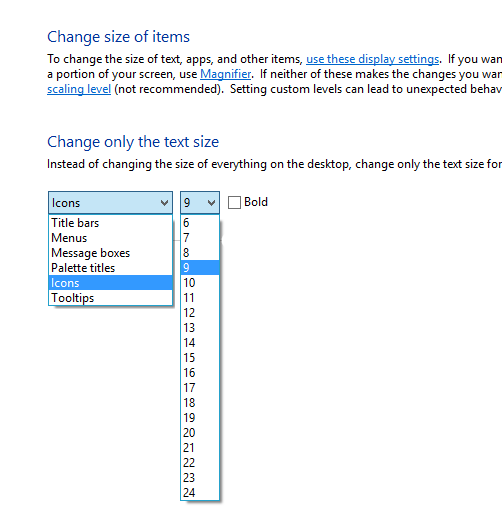
It then opens up so you can select the “icons” from the drop-down menu instead.
![]()
All you need to do now is click on the other drop-down box to the right-hand side of it where it displays the number 24 by default and then select the text size you want.
You should see an “Apply’ button from the same page that you need to click next to apply the changes you made to the text size. Now you can close the Control Panel and start viewing the new icon text size that is available on your Windows 10 operating system version on the computer.
March 25, 2017 @ 09:12
Thanks for the tutorial.
I am unable to change the size of the font by accessing this option from the Control Panel’s Display area. It is showing font size 12 and it stuck on 12.
Any idea why this might be happening?
March 25, 2017 @ 09:18
If you are using another program like I was with the ChangeFont tool, it might be overriding the default settings of Windows 10 and forcing a particular font size instead. Make sure you disable any tools that are already altering the font or the font sizes that might be running on your operating system and then the Control Panel should be displaying the drop-down menu for changing the font sizes.
December 19, 2017 @ 15:16
Hello,
Have you solved the problem? If not there is a simple way to sole it.