Last Updated on April 29, 2023 by Mat Diekhake
If you happen to go shopping for a new laptop one of the options that might tickle your fancy is a Chromebook. A Chromebook looks like a top end device when you see it on the shelf, but has a dramatically cut down operating system compared to most other laptops you’ll see there that runs Windows. The Chromebook’s are centered around the Chromium OS and Google Chrome. Basically, it won’t run any applications unless they are web applications—so pretty much only apps and extensions that you get available from the Google Chrome web store are at your disposal.
There are quite a few web apps available these days, but a web app isn’t normally as good as a desktop app because they don’t have as much time spent on the development. As such, you might find web apps with fewer features than its desktop counterpart (just try using a desktop instant messenger and then its web app version to see what I mean.)
But the Chromebook is a great laptop for the right audience because it does have fantastic hardware and they are quality devices. There’s also nothing wrong with the Chromium operating system in general. Most people actually love Chromium. As long as you don’t think you’ll need to install anything on the computer over the next few years while you have the Chromebook as your primary device, then they are a great purchase.
The Chrome OS that comes in the Chromebook cannot be installed on any other device outside of the Chromebook’s, and there have been several knock-off types that weren’t very good over the years. Now there’s a new option in town called CloudReady, and it’s about as official as an unofficial version of Chrome OS will ever be.
You can install CloudReady a few different ways, but one of the most common is by getting it on a USB Drive. It’s fast and efficient way to start running CloudReady on your computer, and also gives you the option of keeping your current operating system the way it is just in case you don’t want to keep using CloudReady after giving it a try.
How to Install Chrome OS from USB Drive on Any Computer using CloudReady by Neverware
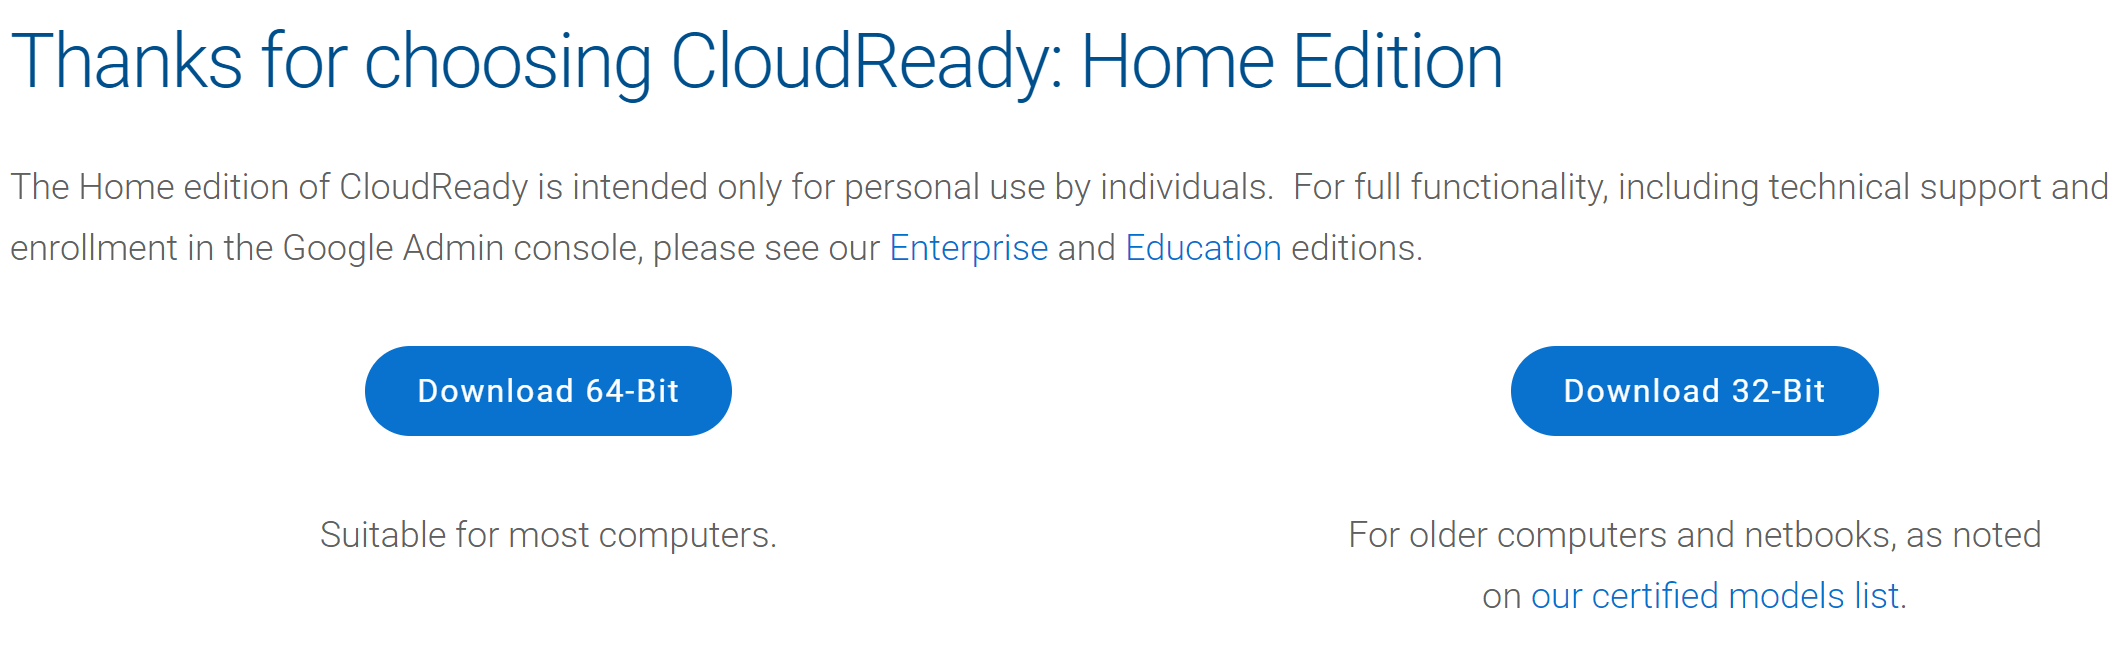
Download the free CloudReady Home edition. You’ll need to download the CloudReady OS onto a USB thumb drive that is either 8 GB or 16 GB in size. You just download the one versions from the one link though, and the size of the file is nowhere near 8 or 16 GB—more around 658 MB instead. Those are just the sizes of the USB sticks that it requests you use.
Once the file is finished downloading, click on the right side of it and then select the “Show in folder” option from the menu so you can see the file in its folder location.

Click and drag the CloudReady zip file over to the desktop.

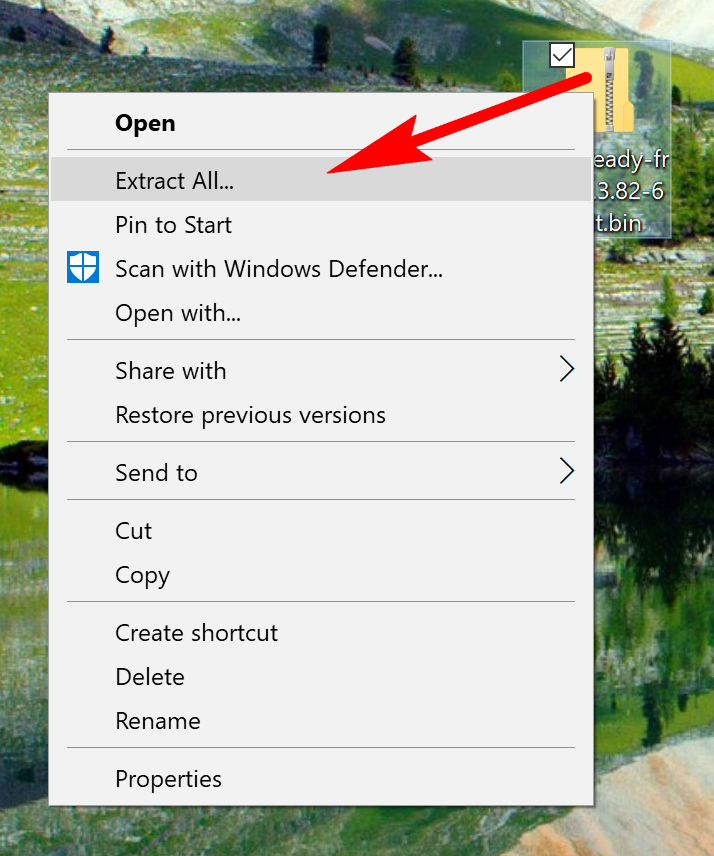
Right-click on the CloudReady zip file and then click on the “Extract All” option and choose to extract the file to the desktop. (The same location will be the location that it offers from the list when you go to extract it, so all you need to do is leave it on the default option from the Browse menu and then click on the “Extract” button when you see it there on the computer’s screen).
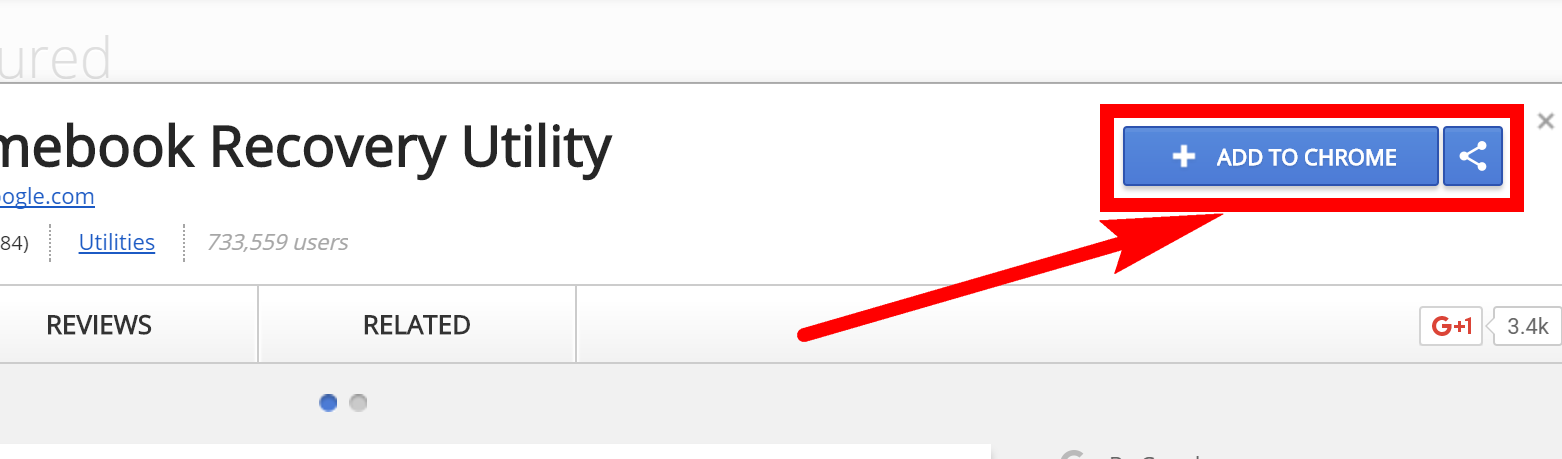
Before you can run CloudReady, you need first to install the Chromebook Recovery Utility. Follow this next part carefully and read what you need to do instead of rushing ahead because here is the place where many people get lost. The Chromebook Recovery Utility will request your type of Chromebook from the menu if you try to launch the app and use it, but you need to do something different from the menu instead.
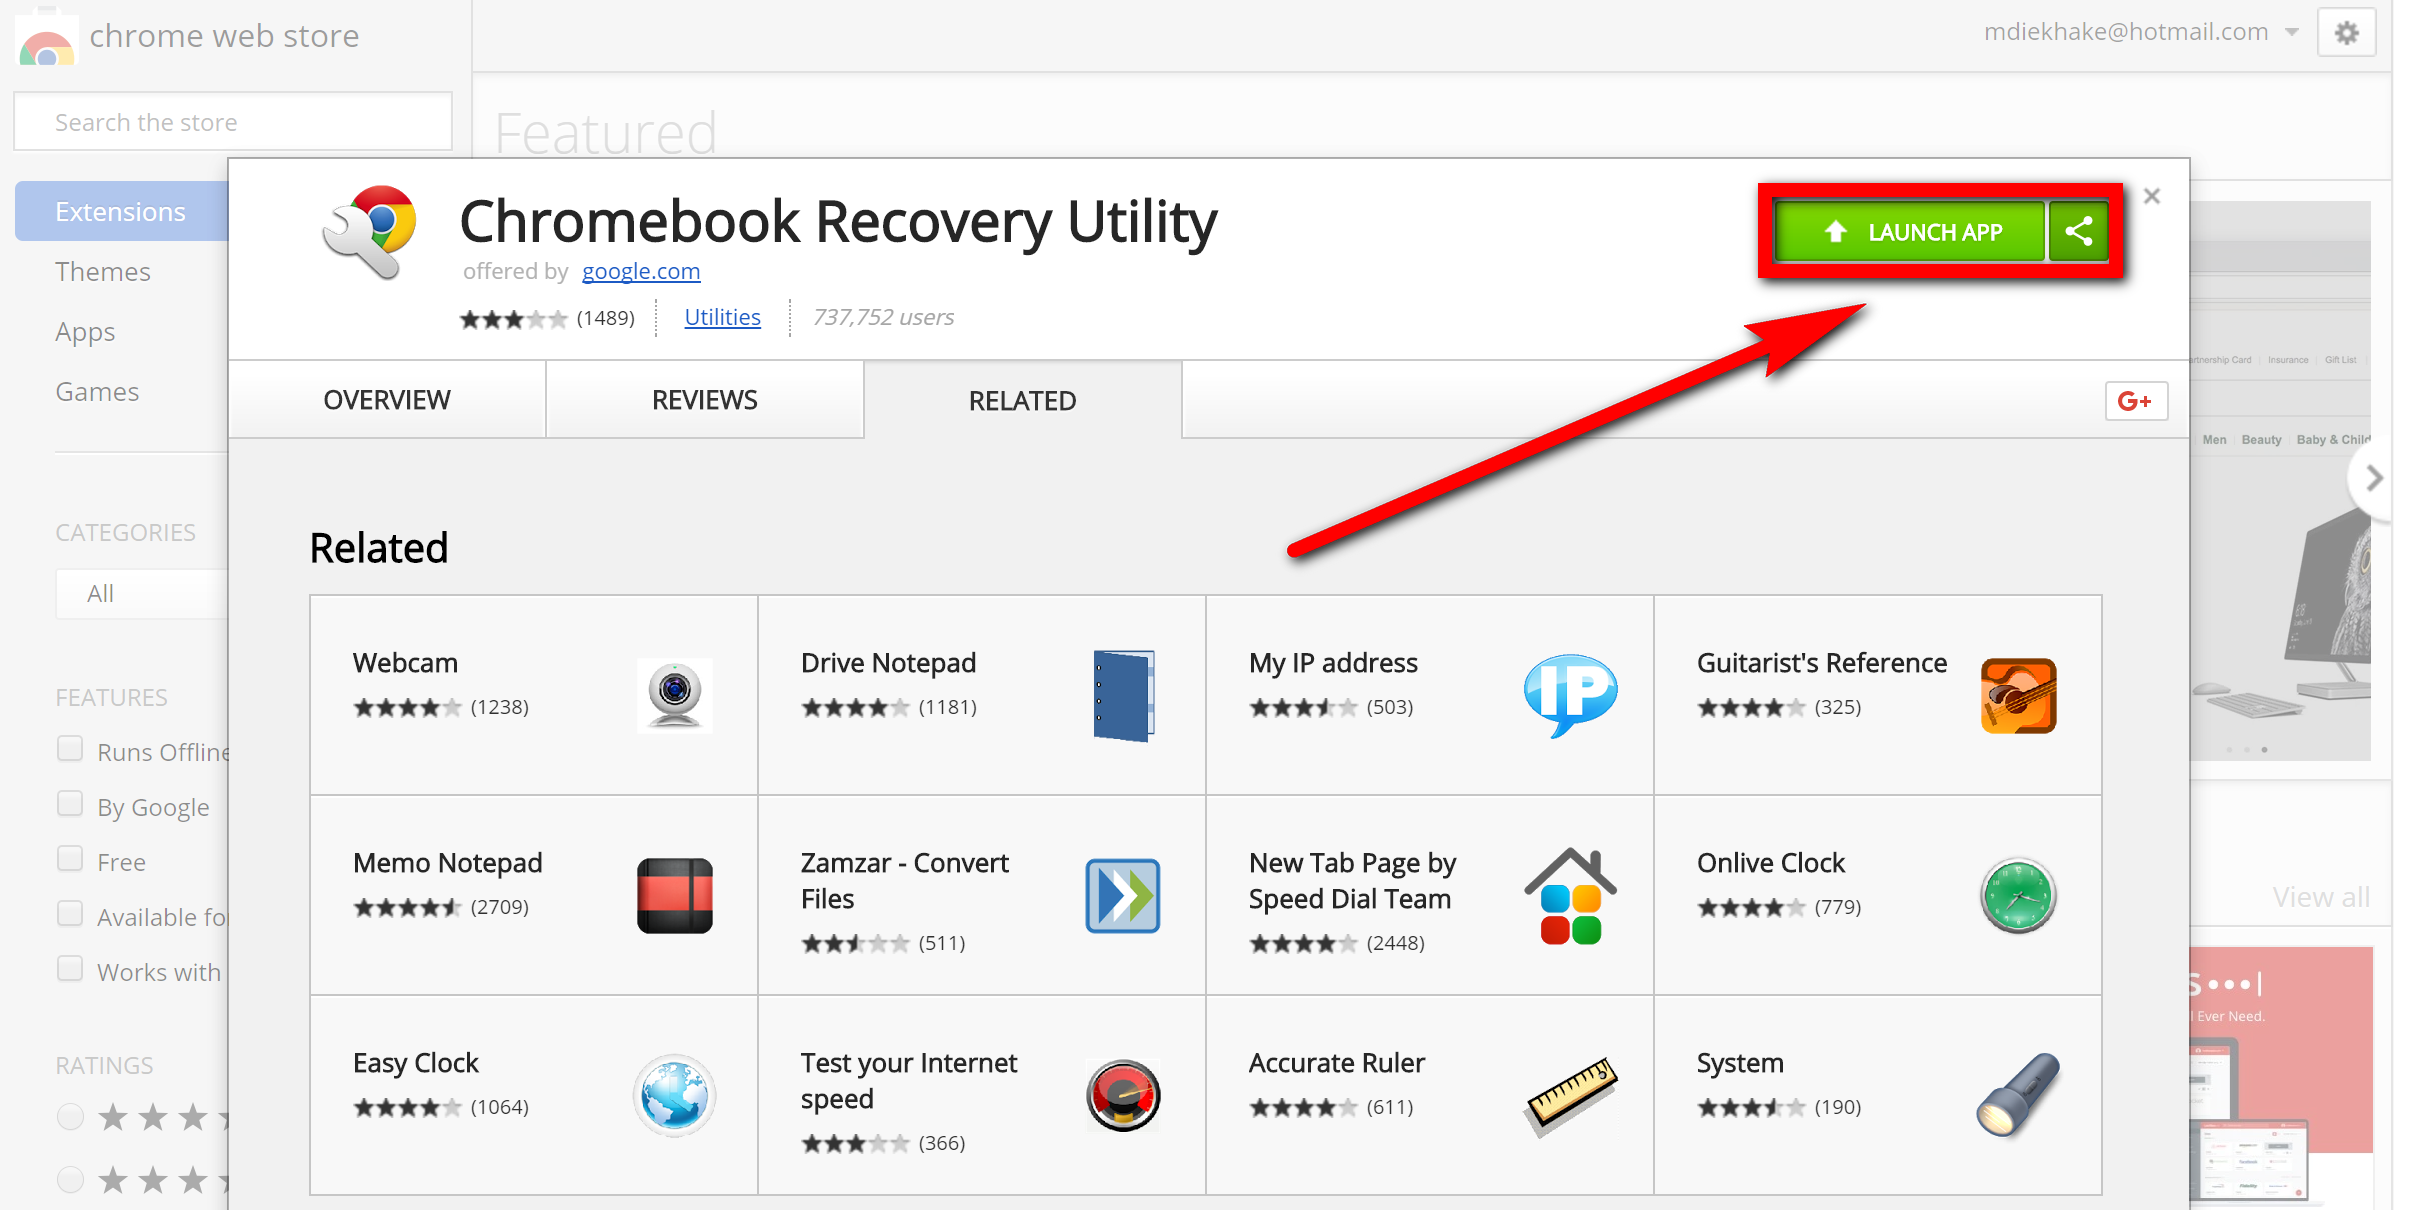
Click on the “Launch” button after you have installed the Chromebook Recovery Utility.
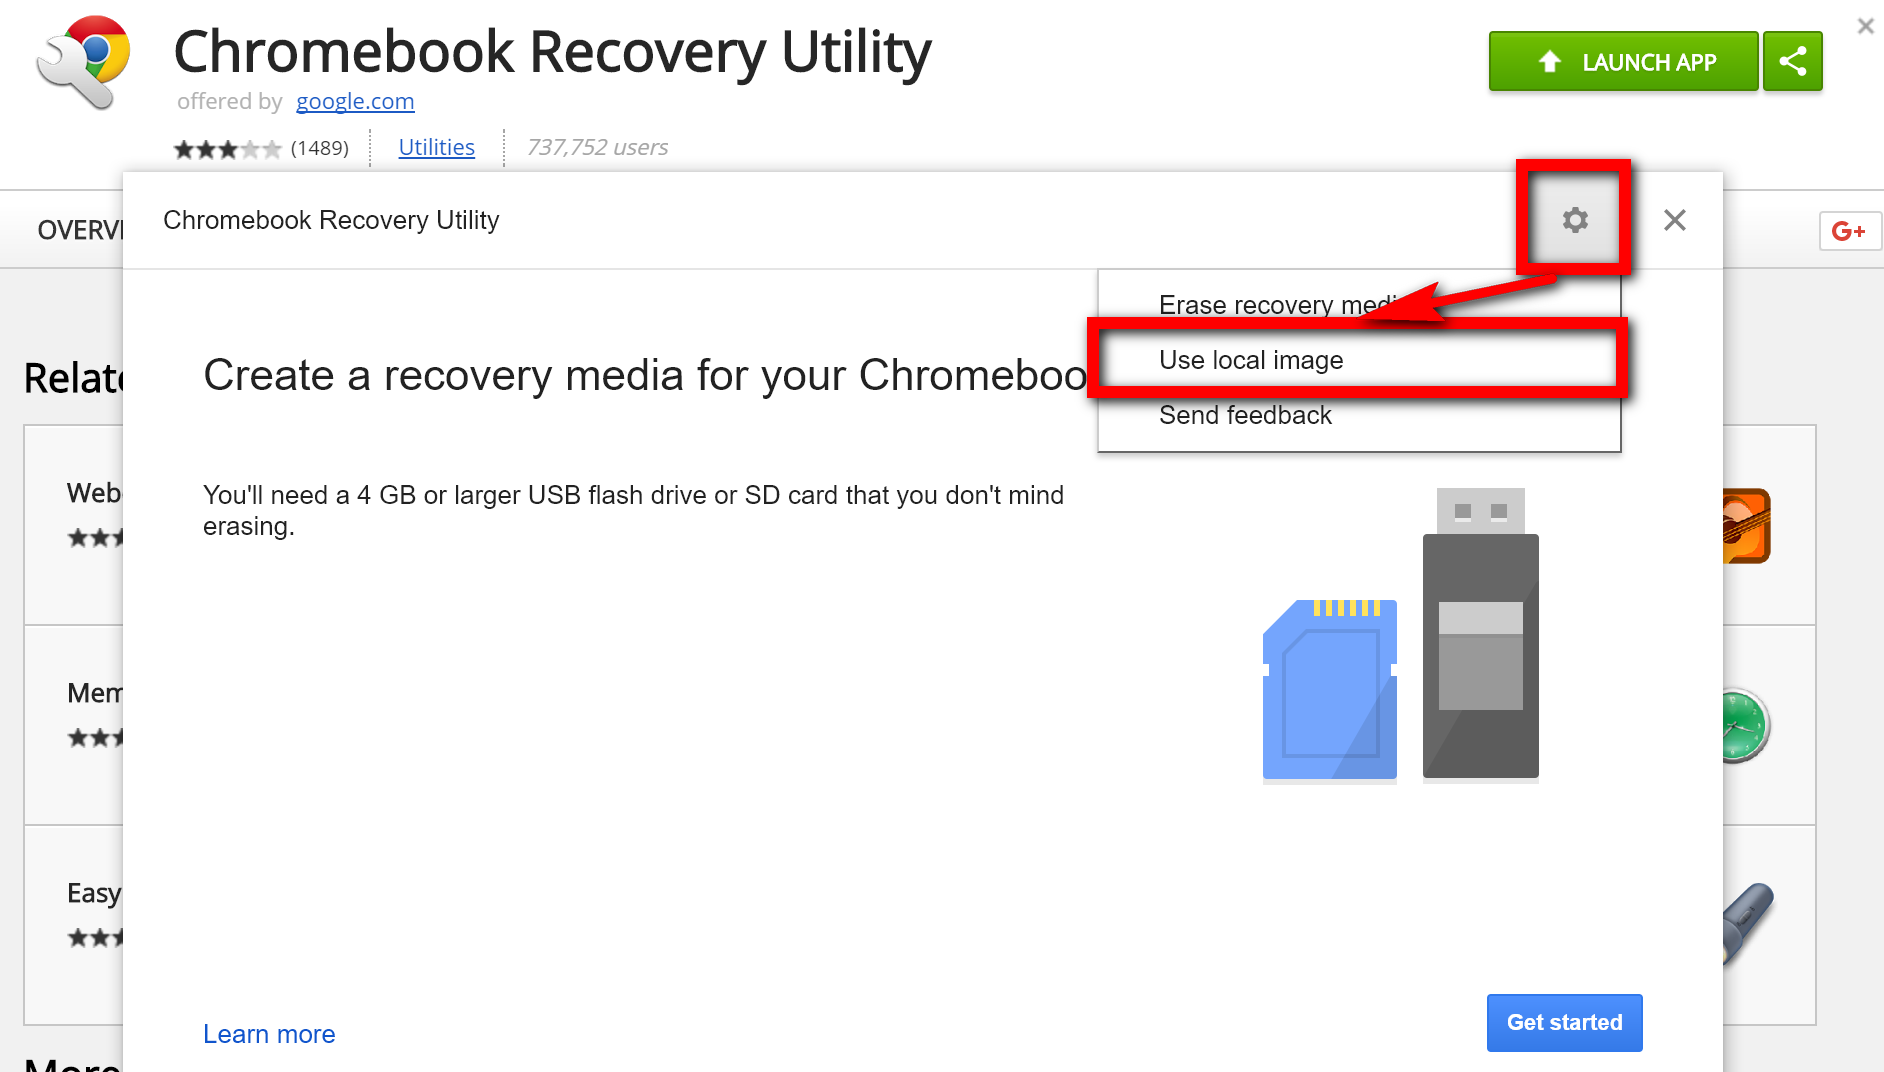
Next, click on the gear icon from the page that wants you to start creating the recovery media for the Chromebook. Click on the “Use local image” option from the list.
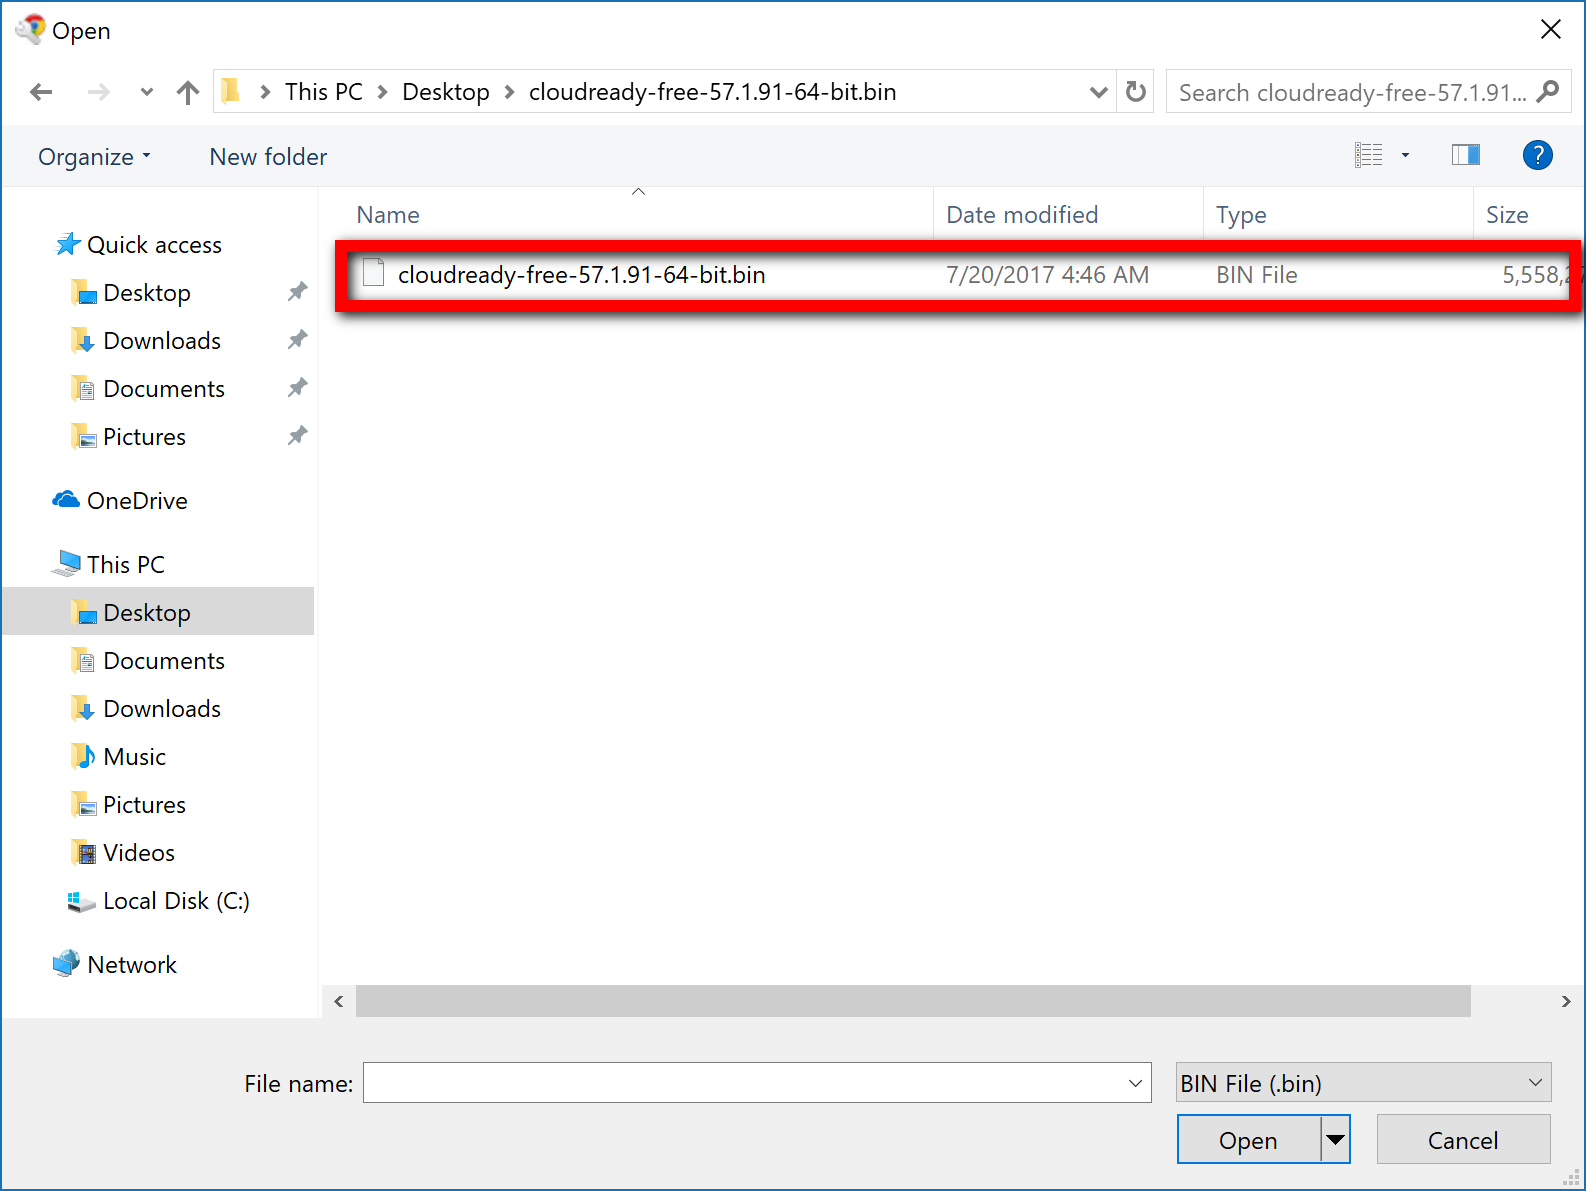
Navigate through to the location on the computer where the CloudReady .bin file is located. If you followed our guide word for word, then that is going to be on the desktop. Click on the .bin file once you get to it and then click on the “Open” button at the bottom of the window.
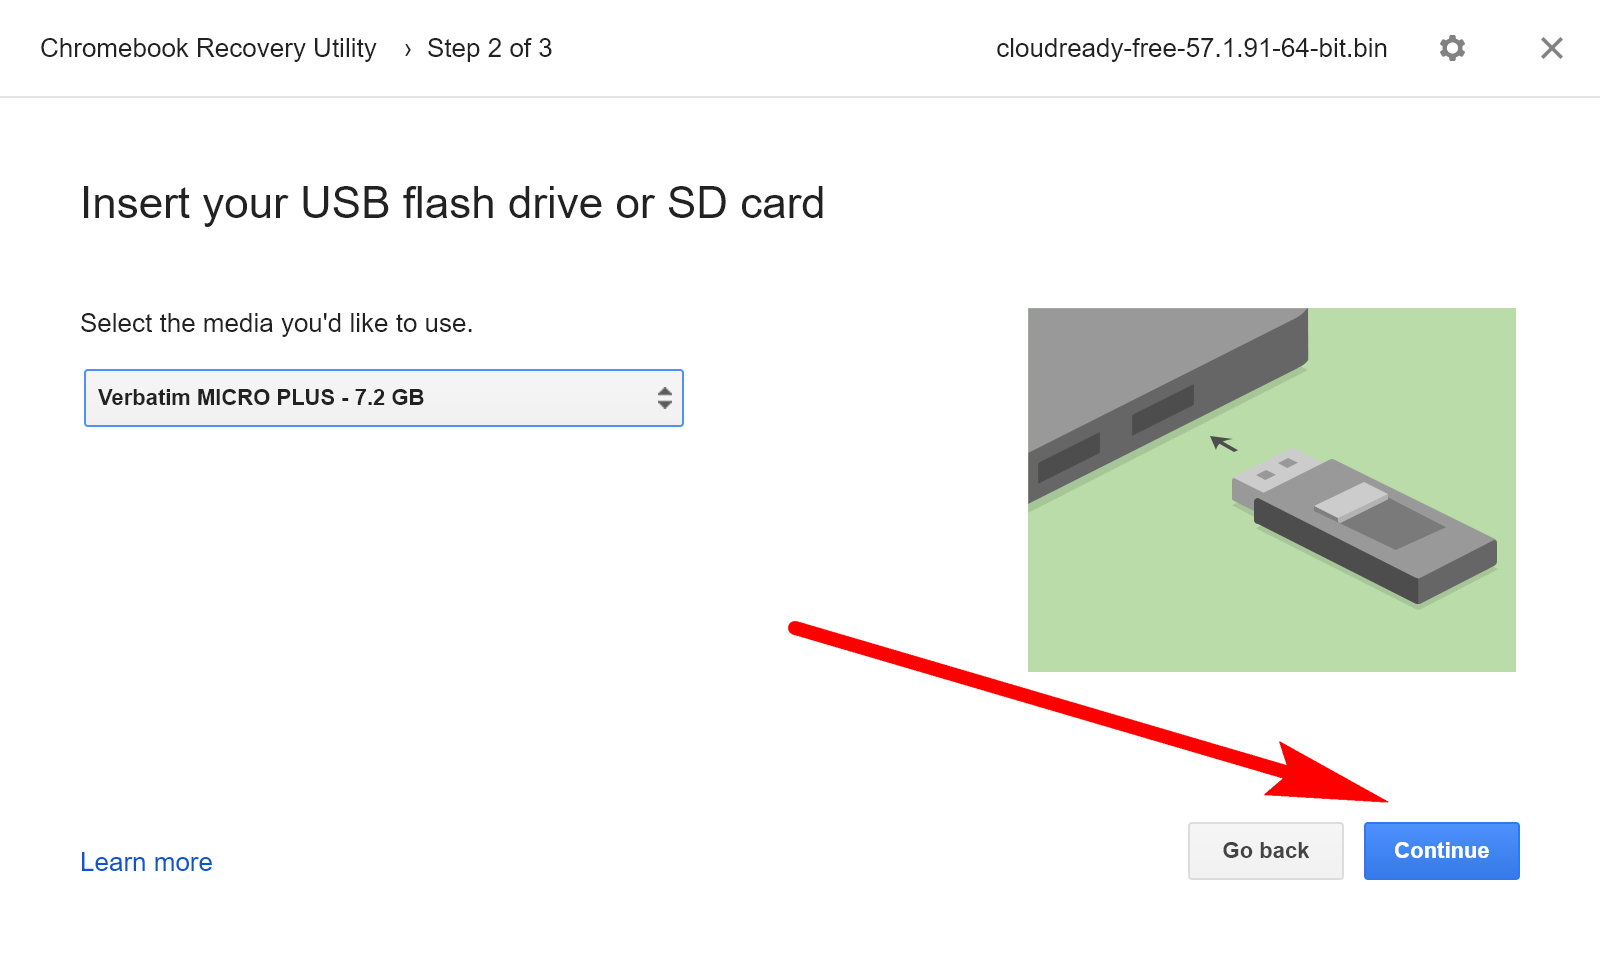
Now put in the USB thumb drive in the side of your computer and then select it from the drop-down menu. Once you do, the “Continue” button becomes available that you can click.
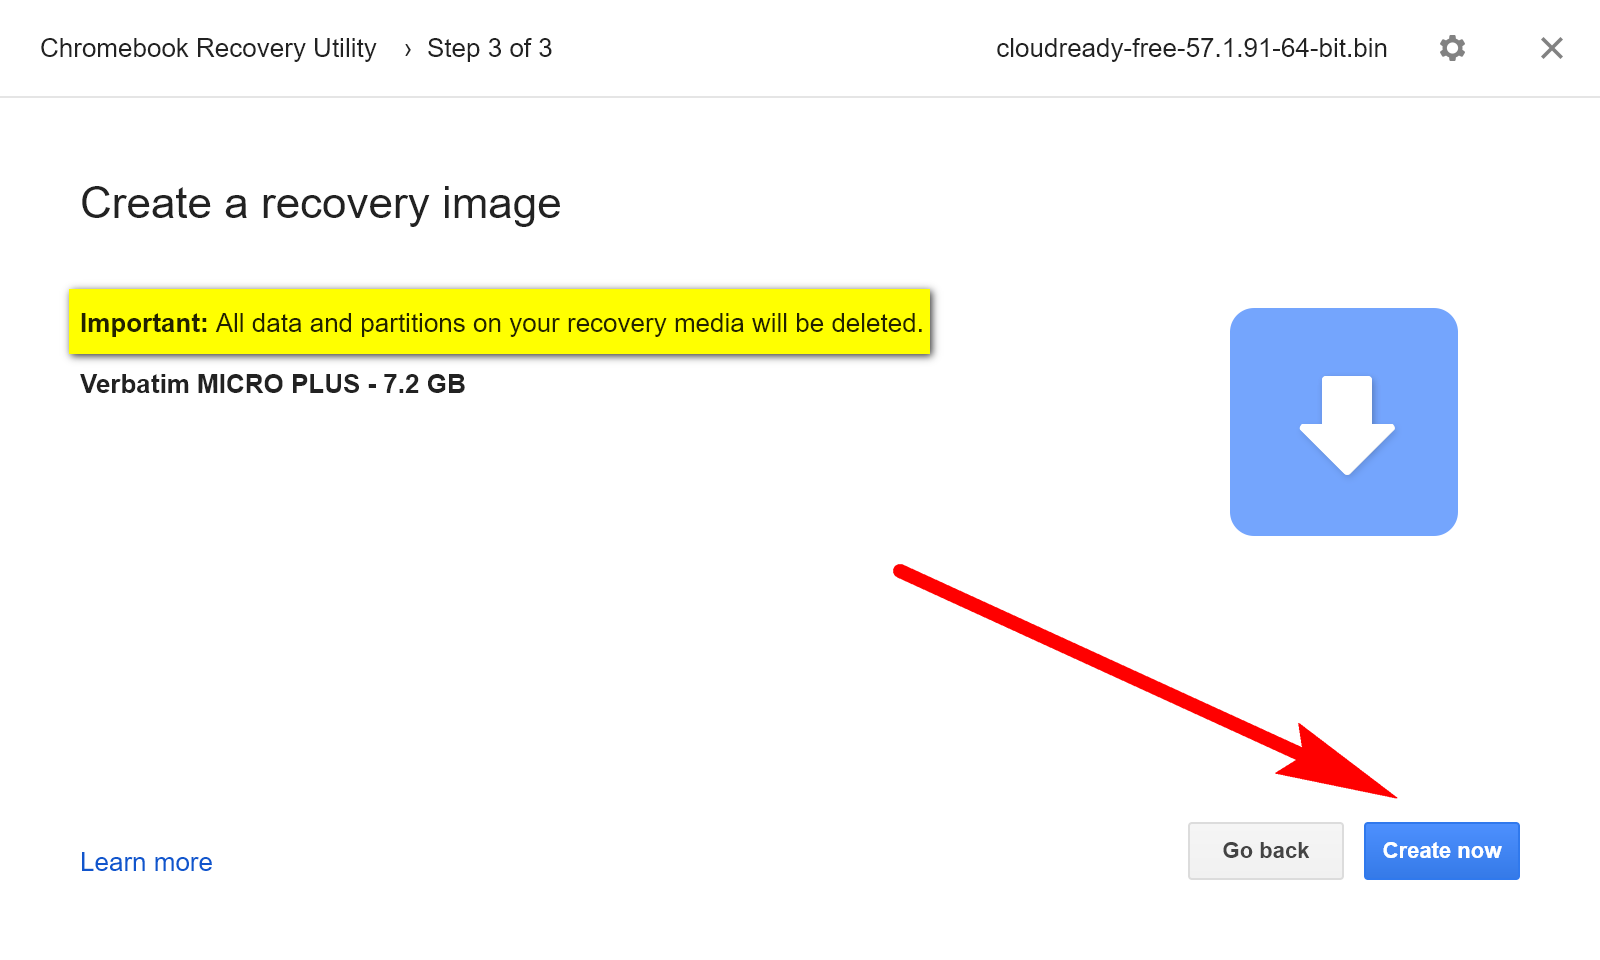
Click on the “Create now” button when you are sure you want to create the recovery image. It lets you know that all the data and partitions on the recovery media are deleted as soon as you choose to do this, so you might want to double-check that nothing important is still on your USB drive. Even if there is extra space for your stuff, it still gets deleted so that nothing is available to use on this USB thumb drive other than the CloudReady media.
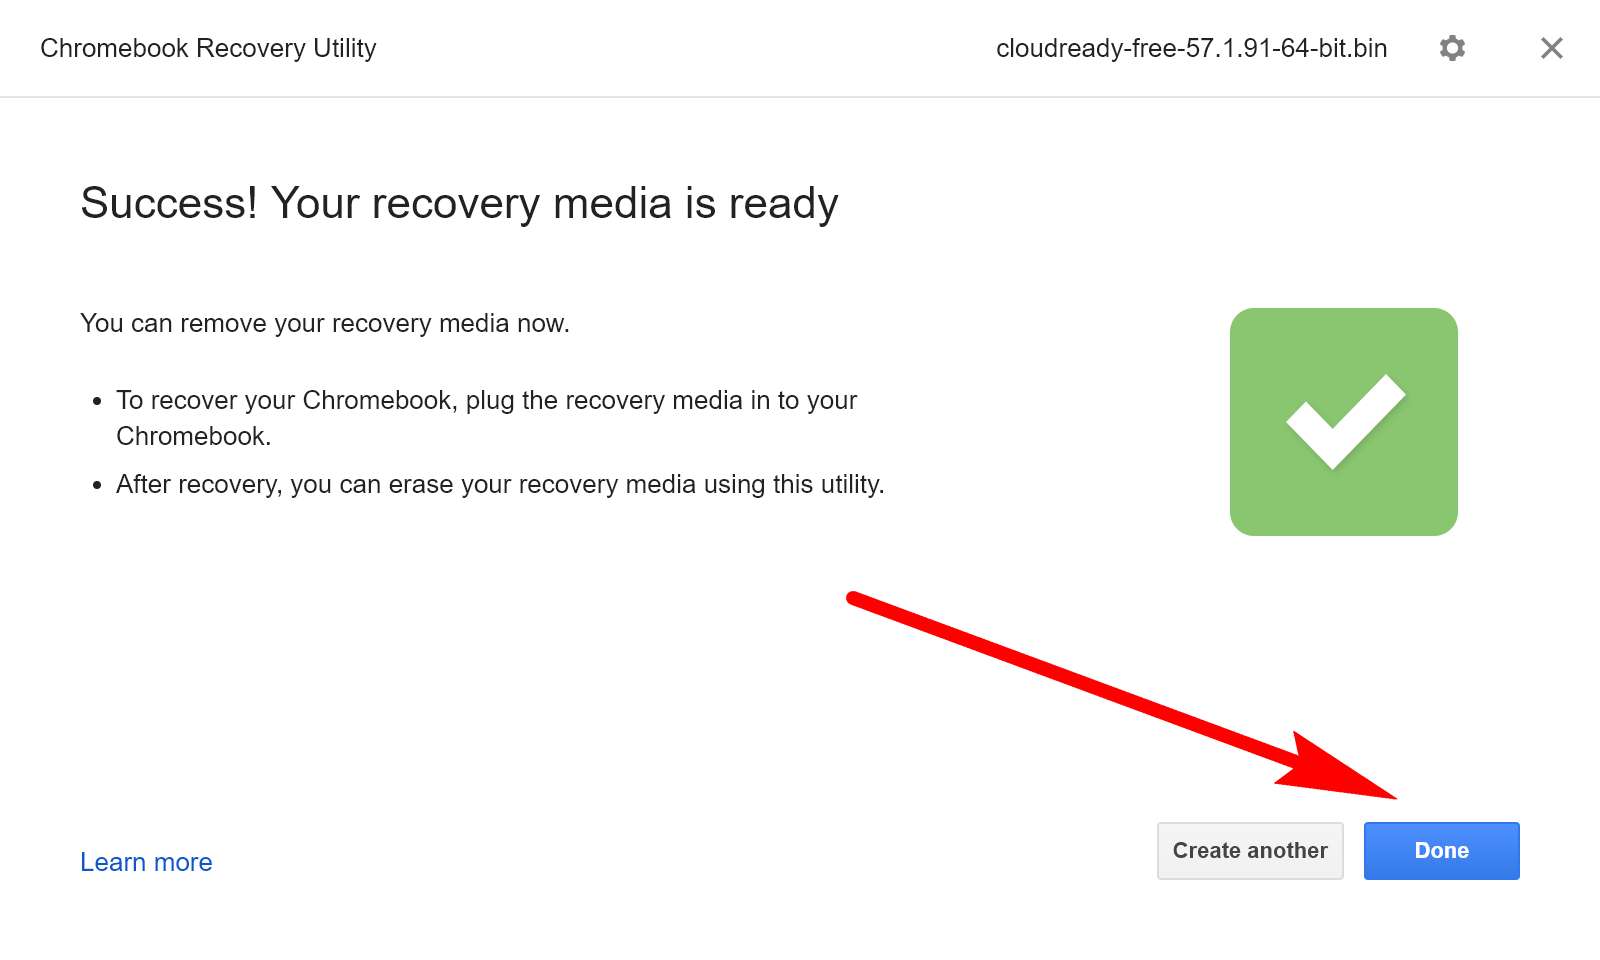
It can take a long time to finish the installation. Just wait until you get the “Success! Your recovery media is ready” message on the screen. Depending on the computer. This can take up to thirty minutes.
CloudReady is now installed on the USB thumb drive and ready to run whenever you want. All you need to do is boot it up the same way you boot up other removable devices. With a bit of luck, all that means is just reboot the computer you are using with the USB drive still plugged in, and it should boot directly to the CloudReady operating system for you to try. If that doesn’t work for your computer, then it probably means you need to change the boot order or use the boot menu to then boot to the CloudReady OS. If your computer is quite new, then there’s a chance that it comes with a Secure Boot option that is enabled, and that means nothing will boot but the current operating system. You can disable the Secure Boot feature, though and then booting to the CloudReady should work.
You might also be interested in:
- How to Change Account Username in Windows 10 When Signed In to Microsoft Account or Local Account
- How to Enable/Disable Always Boot to Advanced Startup Settings in Windows 10
- How to Delete Windows.old Folder in Windows 10
- How to Check Which Apps Are Draining Battery in Windows 10
You can subscribe to our RSS, follow us on Twitter or like our Facebook page to keep on consuming more tech.