Last Updated on February 25, 2024 by Mat Diekhake
Windows 10 treats Windows.old folder to hold old versions of the Windows operating system if you have performed a refresh of Windows 10 from the Settings, upgraded to Windows 10 from older versions of Windows, or created a custom install of Windows 10 on the same partition.
The Windows.old folder is supposed to be a good thing because it means it has created a backup for you to use if you need it. For the Windows.old folder to hold your backup, it needs to use up the hard drive space, and that can become a problem for people who don’t have much space left or just want to create more space.
If you are confident with the current versions of Windows 10 that you have running, then it’s OK to delete the Windows.old folder and grab that valuable hard drive space so you can use it again—either on storing more stuff or just allowing your hardware to work with less stress put on it.
The Windows.old folder is placed in the root directory. It’s possible to remove the Windows.old folder—as well as any other duplicated of the Windows.old folder that Windows 10 may have created like Window.old.(1) from the root directory.
How to Delete Windows.old Folder with Disk Cleanup
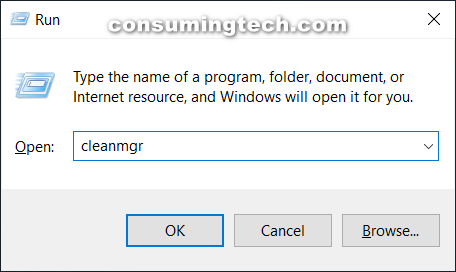
You can delete the Windows.old folder by using the Disk Cleanup utility. The Disk Cleanup allows you to clean up a bunch of stuff at once, by either checking or unchecking what you want to delete from a series of checkboxes in the Disk Cleanup dialog box. To get started, press the Windows logo + R keys at the same time to open the Run dialog box and type “cleanmgr” and hit the OK button, or type Cleanup into Search and click on the Disk Cleanup desktop app from the list of results.
If you have multiple drives or partitions, then it shows you a drop-down menu with a couple of options for those. Choose the C: drive from the menu and then click on the OK button.
Wait for it to calculate everything that can be cleaned up on your drive. You have no choice but to sit through this until it completes. If you haven’t done a clean up of any kind in a while, then this can take a few minutes. For most people, it will be anywhere between a few seconds to 30 seconds.
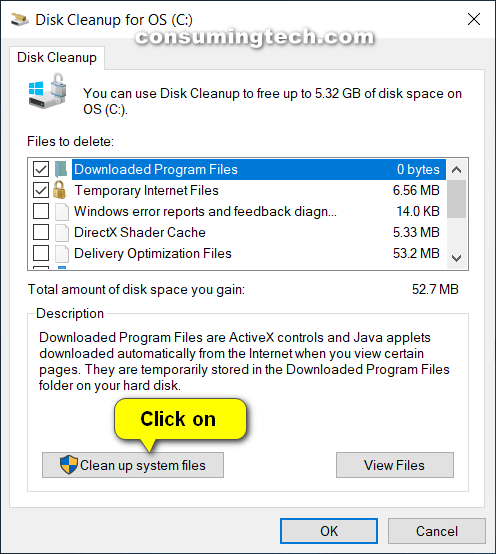
Once you get the Disk Cleanup for Windows (C:) dialog box on the computer’s screen, click on the Clean up system files button at the bottom of the window.
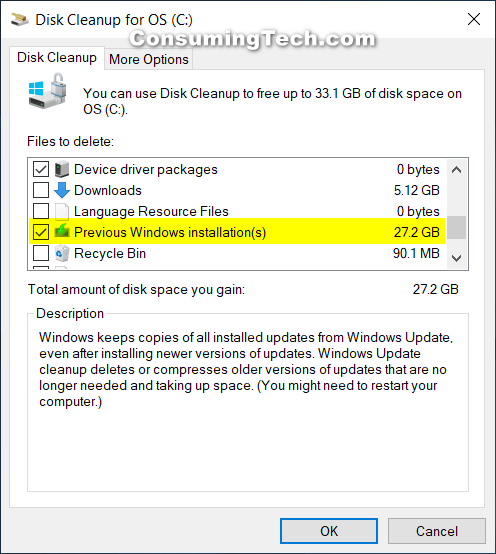
Put a checkmark that’s available next to the Previous Windows installation(s) entry. Now just click on the OK button and wait for it to be cleaned up.
How to Delete Windows.old Folder with Command Prompt
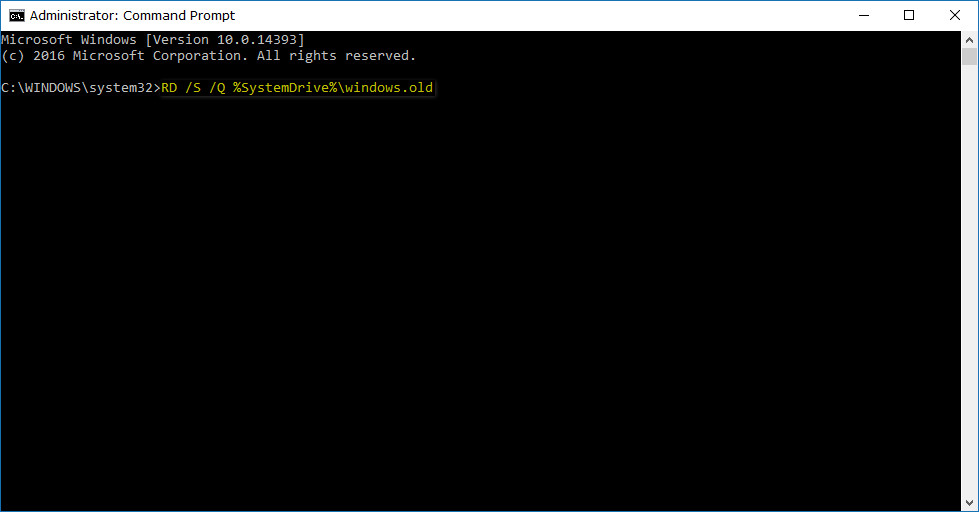
You can also delete the Windows.old folder from the Command Prompt. To get started, open the elevated Command Prompt window and then type the attrib -r -a -s -h C:\Windows.old /S /D command and press the Enter key on your keyboard to run the command.

Alternatively, you can keep the same elevated Command Prompt window open and type the RD /S /Q %SystemDrive%\windows.old command and hit the Enter key instead.
How to Delete Windows.old Folder with Settings App
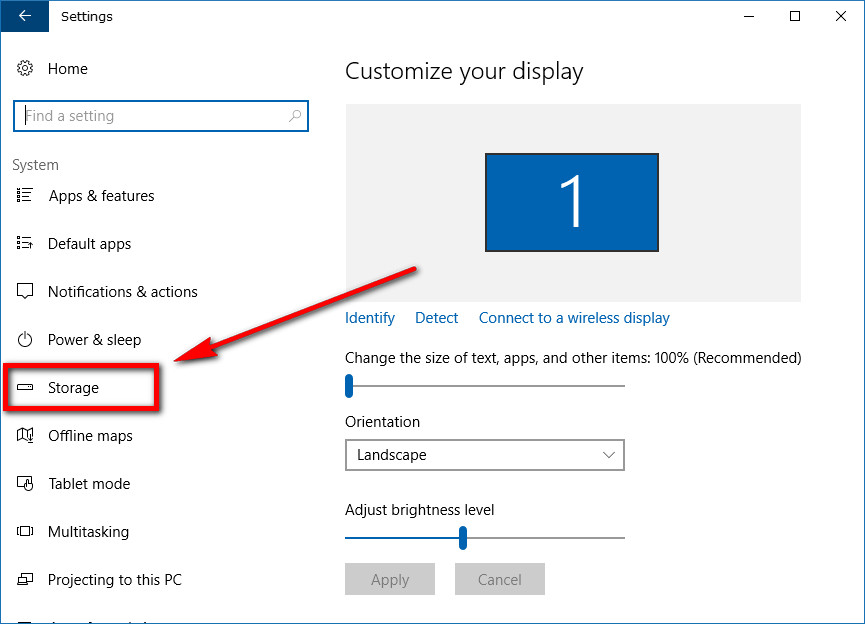
It’s also possible to delete the Windows.old folder from the Settings application in Windows 10. To do it this way, head to the Start menu > Settings in the left pane > System and then click on the Storage link on offer from the left pane.
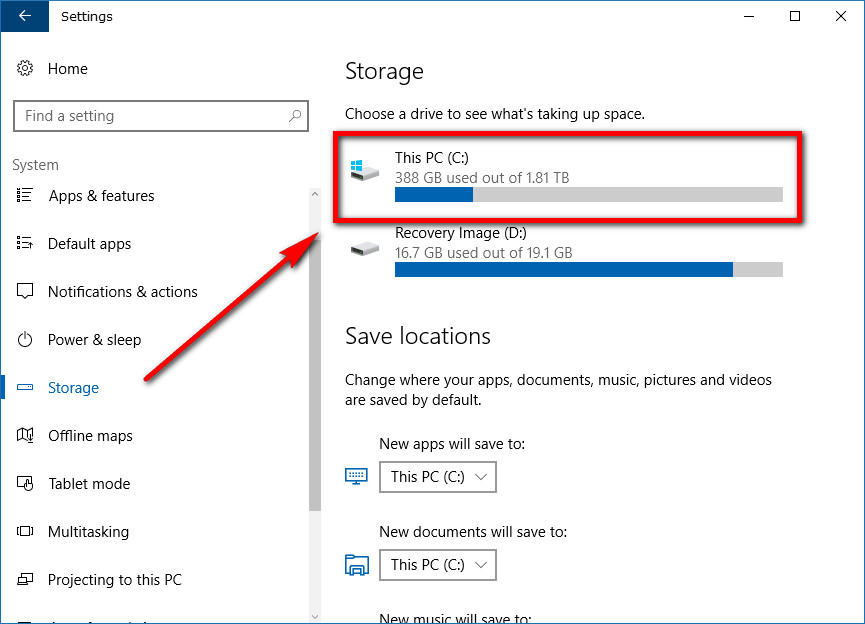
Next, look in the right side pane and click where it shows you the This PC (C:) details.
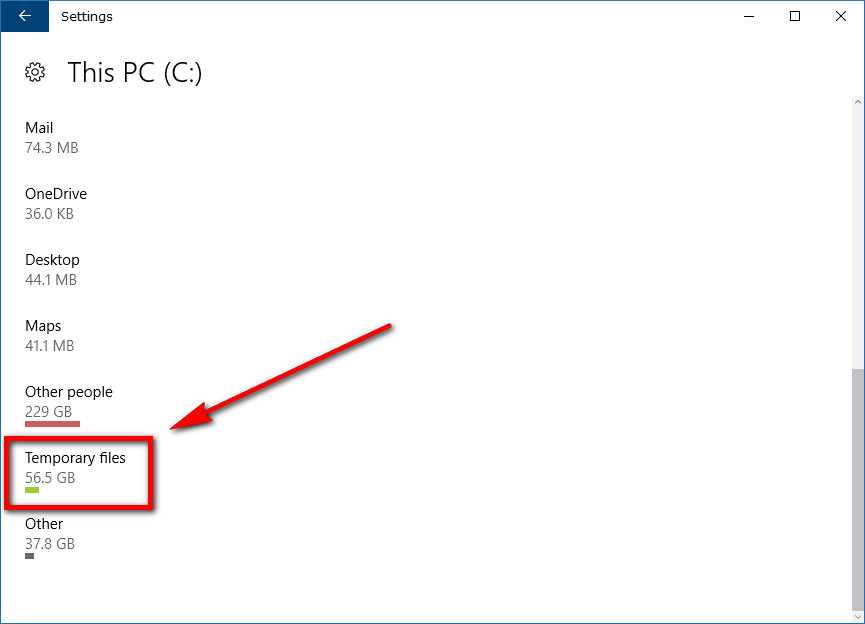
You’ll get a bunch of stuff here, but you can’t see what you need yet. Scroll all the way down to the bottom of the window and stop when you can see where it says Temporary Files.

Click on the Temporary files entry.
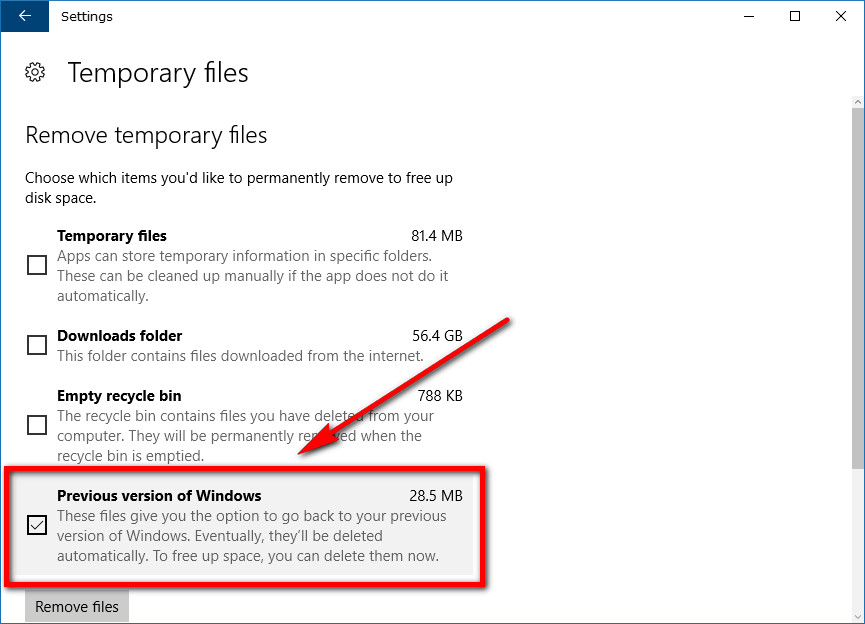
There are a few boxes you can check from within the Temporary files section. The one you want to make sure has a checkmark next to it to delete the Windows.old folder is the Previous version of Windows box. Now just click on the Remove files button at the bottom of the same window and Windows will do the rest.
How to Delete Windows.old Folder with Storage Sense Settings
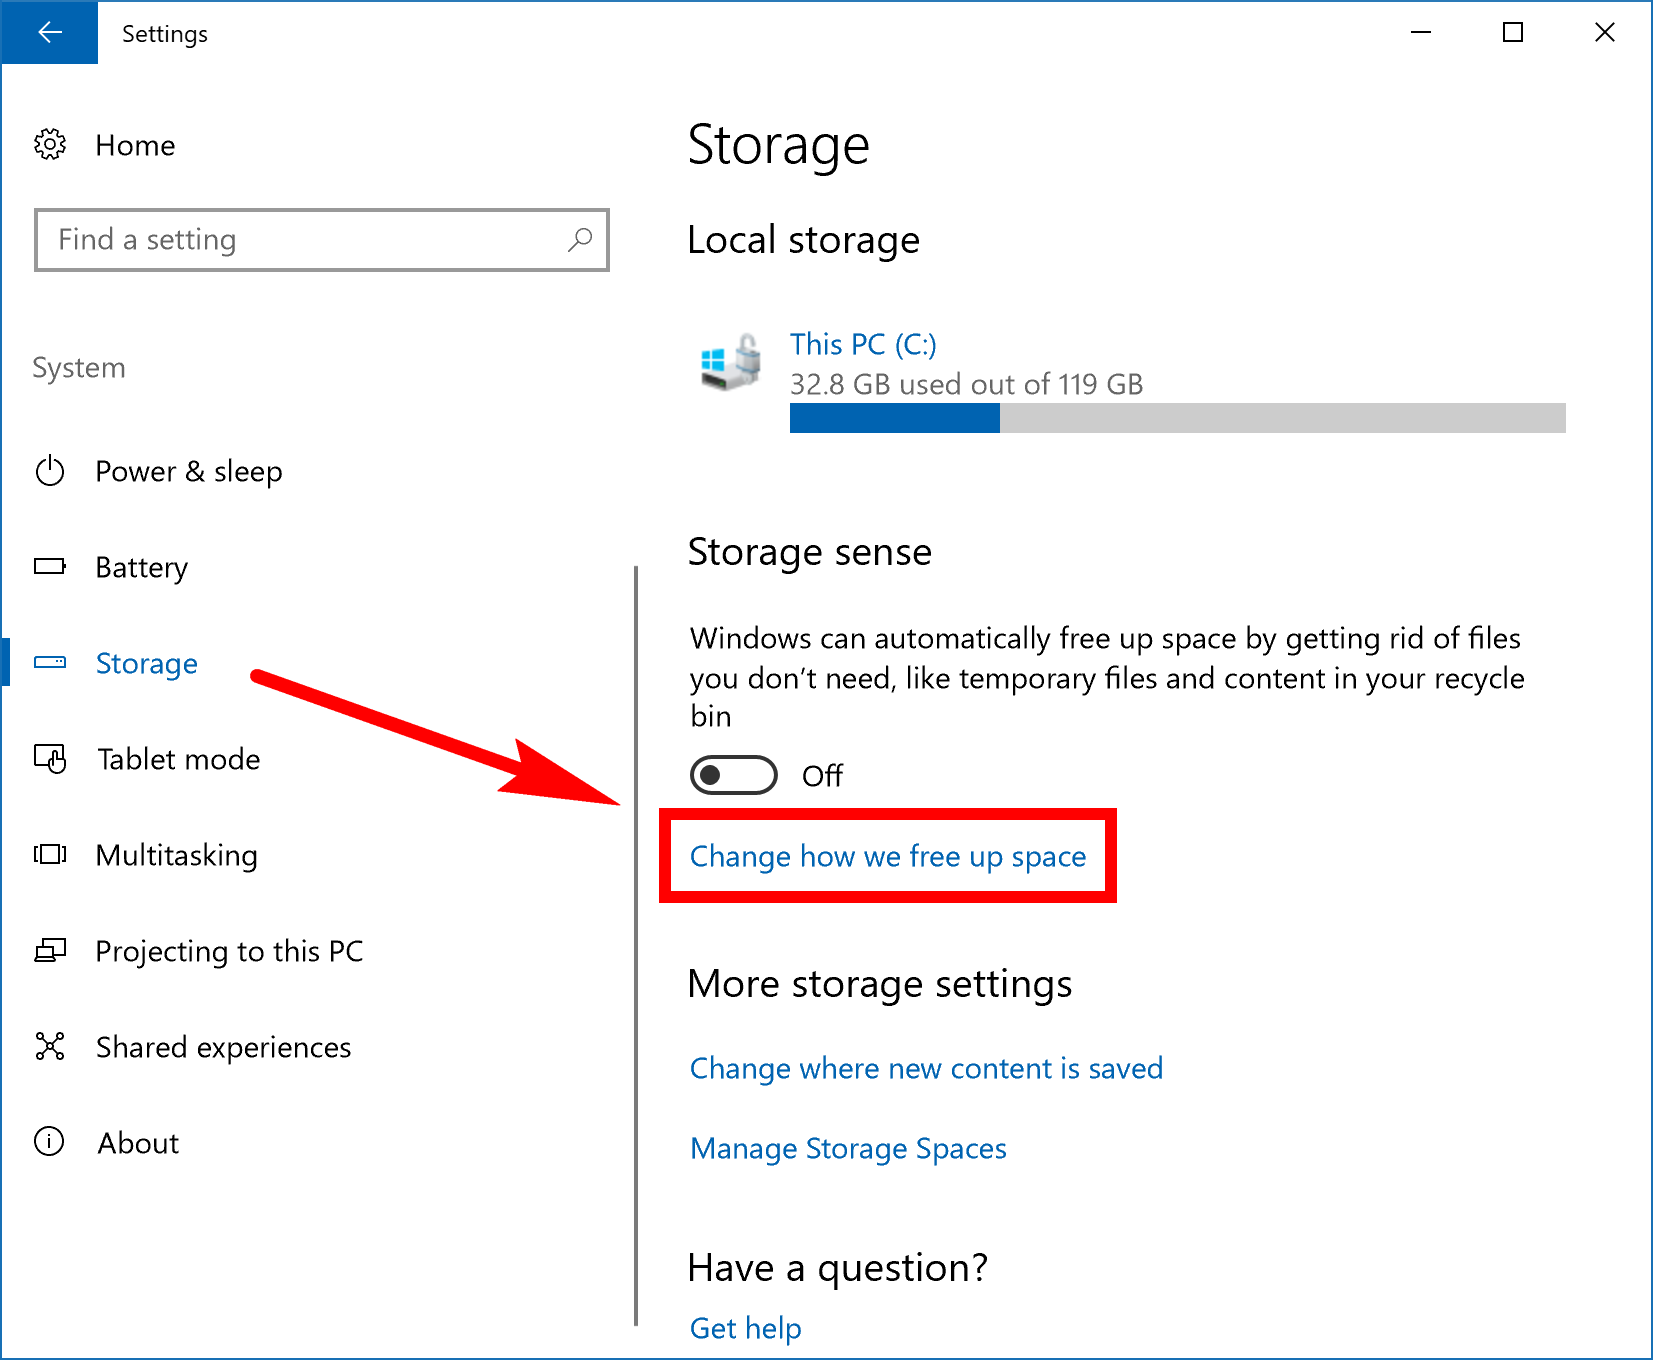
You can also delete the Windows.old folder a slightly different way from the Settings application as well. Head to the same Start menu > Settings > System > Storage path but then click on the Change how we free up space link available in the right side pane instead.
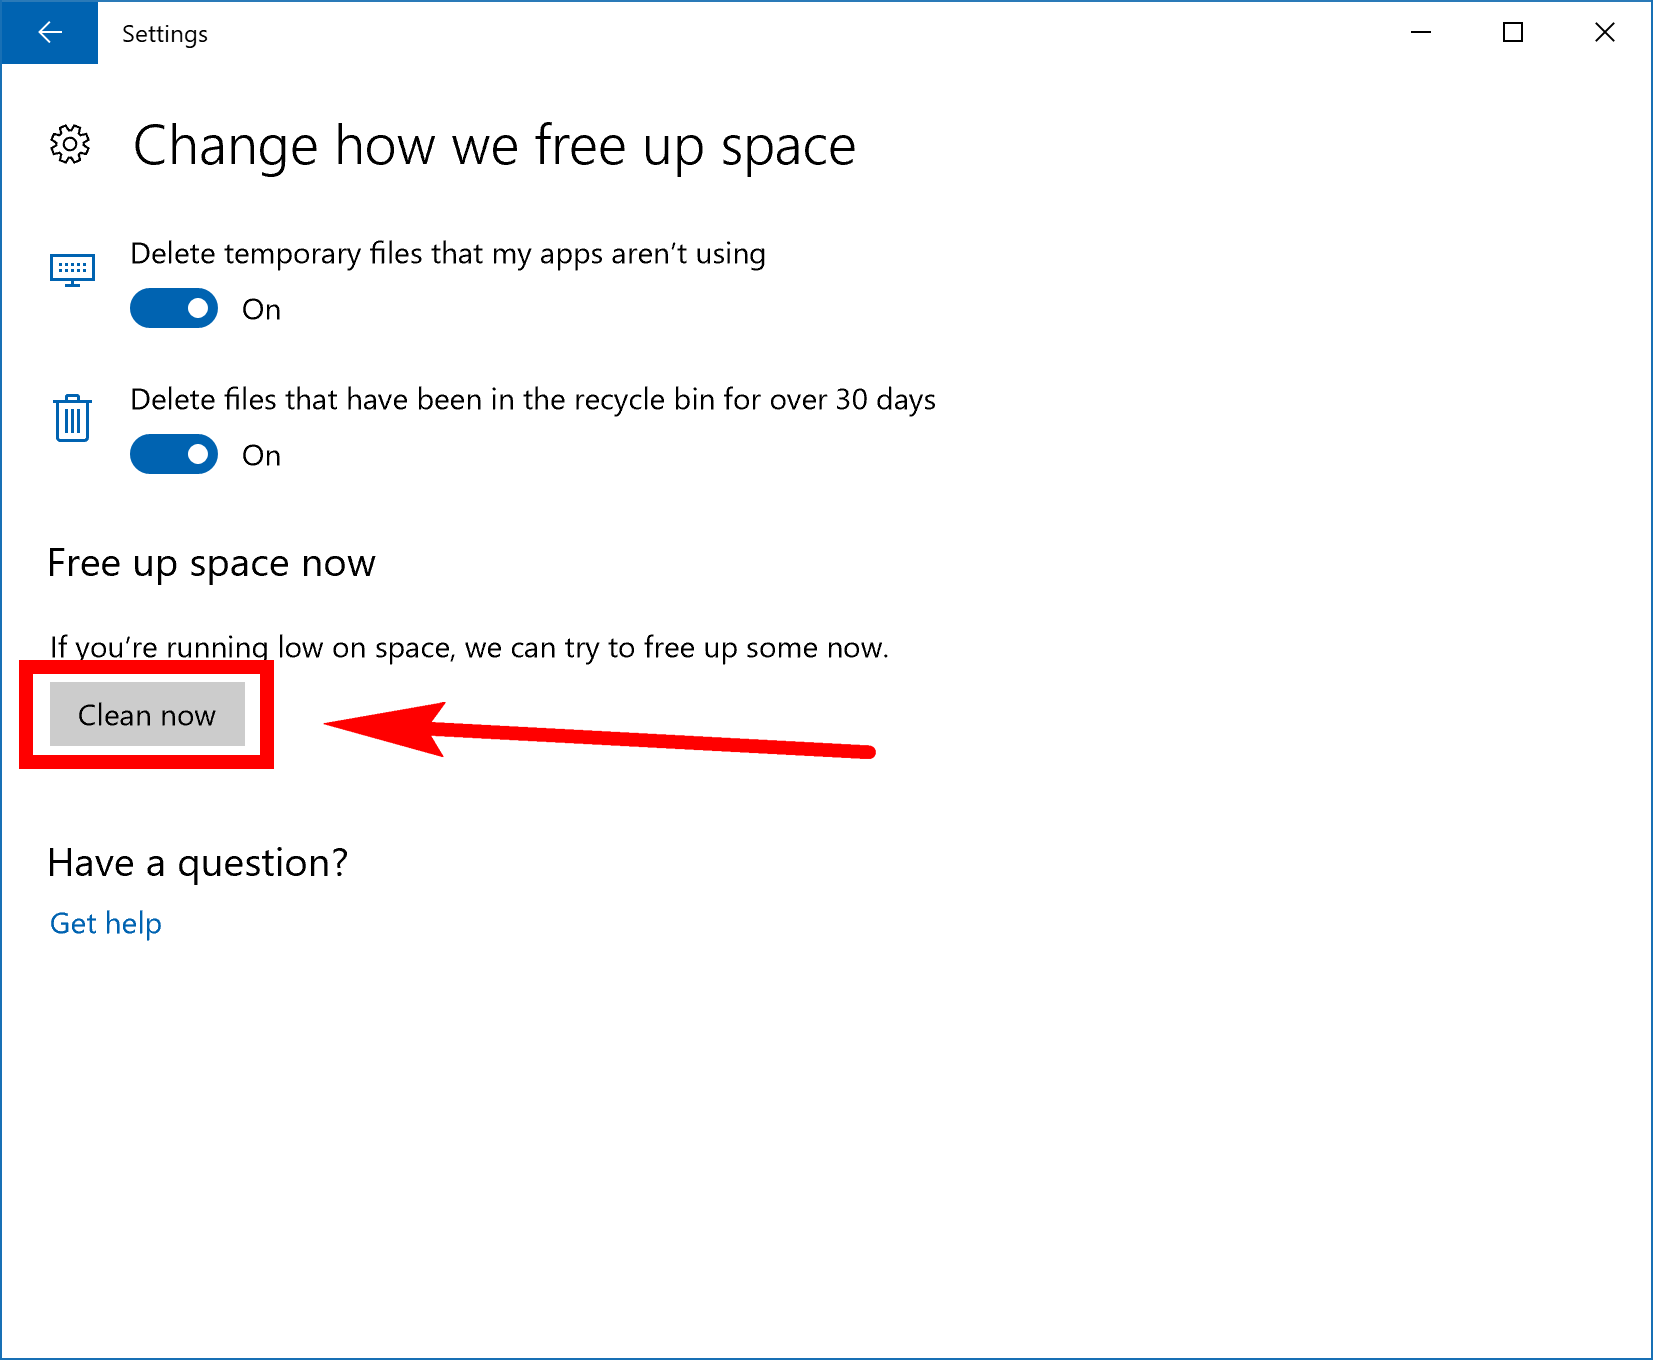
Now click on the Clean now button. If you haven’t already deleted the old version of Windows yet, there will also be an option above the button that says Delete previous version of Windows that you need to checkmark.
The Windows.old folder is always going to be on the computer if you have upgraded from an older version of Windows. Sometimes people have deleted it already without even knowing it because they have used the Disk Cleanup utility already, but if you haven’t, then you’ll be pleased with the amount of extra space your hard drive now has. You only want to remove the Windows.old folder if you are satisfied with the current version and know you don’t want to use it to downgrade. For most people, getting rid of the Windows.old folder makes sense. And if you have removed it already and wish you didn’t, things won’t be that bad. You’ll just want to start installing the new versions of Windows 10 from Windows Update as soon as possible, and the new software should fix your problem.
Related Tutorials
May 4, 2019 @ 22:29
Thanks for the great guide, Mathew :).
I just wanted to add that I literally stumbled upon the Windows.old folder while browsing through file explorer and though, I wonder how much hard drive space I can clear up if this Windows.old folder is what I think it sounds like!
As it turns out, it would not let me delete the folder from File Explorer, even though I was signed in with the administrator’s account. It said it needed “System” permissions still, which I’m not quite sure how to activate. I thought I was already using the operating system with the maximum permissions.
I then took to Google to try to find out how else I could delete it from my computer, and your excellent step by step guide works wonderfully. I used the first method and opened up Disk Cleanup. I was then able to delete the folder without any trouble from the same account I was using when trying to delete it from File Explorer.