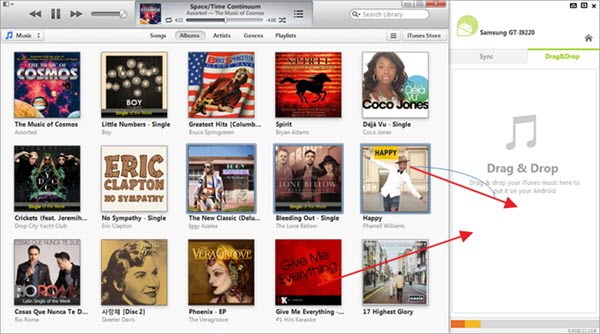
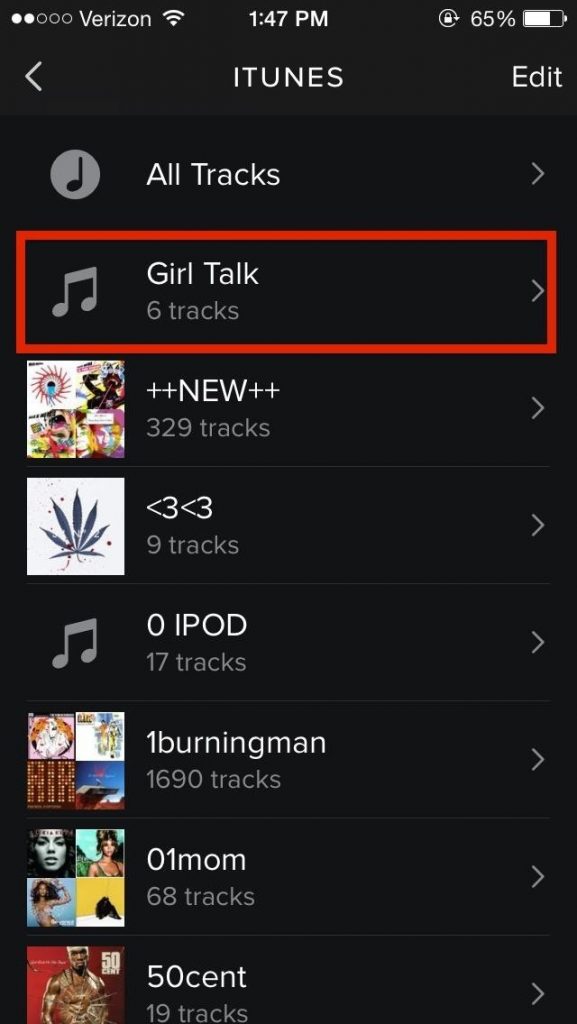
When learning how to export iTunes Playlist over to anything Android the manual is relatively straightforward, in fact, iTunes makes it easy to do on purpose. The only real difficulty users may have to make sure they convert to the right file format; this is what catches most people out. Don’t worry if you’re one of those people because today we’ll show you how to get the job done with as little fuss as possible.
How to Export iTunes Playlist to Android Devices
Step 1. Download the latest version of iTunes and open it up. Once your inside creates a playlist like you normally would do. This will be the playlist we want to export to Android also.
Step 2. Find the music file and right-click on it. Once you have right clicked select “Add to Playlist” that will be in the menu shown.
Step 3. Now click “My Playlist” located on the left-hand side of iTunes.
Step 4. Now click on the “View” option also located on the left-hand side of iTunes. A drop down menu will appear. Now choose the option “View Options.” Now you’ll see a pop-up box appear. Inside the pop-up box select the Kind box and then click “OK.” Now a kind area will have been brought up inside iTunes. Go inside the Kind area and select the right type of file format for your device. Now, this is the part where you will have to convert the file type so pay attention. All you have to do is change any DRM protected files intoMP3 Files, and this will now be Android ready. If you’re unsure how to do this, you can find the Guide here.
Step 5. Now grab your USB cable that comes with your Android device and plugs it into your PC. Once your computer picks up the device assign it to a drive letter. For example E Drive.
Step 6. Now inside iTunes click on the file name that is your playlist you want and hold it down, dragging it across and dropping it into the music file you opened on your Phone. Ensuring all your files have completed swapping places proceed to the next step.
Step 7. Remembering to safely remove your USB first by clicking on the option inside your taskbar. Once you have done so, remove the USB cable and your phone. It’s important to remove any USB drive correctly guys to avoid any driver damage and drive corruption. You might get away with it a lot of times, but it’s not worth the risk.
You might also be interested in:
- How To Export Playlists From iTunes For Mac
- How To Catch Something You Missed In iTunes With Backward And Forward Skipping
- How To Prevent Safari From Launching iTunes When Visiting App Store Webpages
- How To Play A Single Song Without Bothering iTunes On Your Mac
- How To Add A Book To The iBooks Using An Email And Not iTunes
Have something to say? You can contribute to this tech article by leaving a comment below.

