Last Updated on January 12, 2019 by Mat Diekhake
iTunes is one of the best music organizers out there that helps you organize your music tracks in a really nice way. It helps you create playlists so you can play them when you want and it also creates automatic playlists it thinks you would like using its artificial intelligence.
If you ever plan to switch to a new music player as your default one, you will want to backup the playlists you have created in the iTunes app on your computer. By backing up the playlists, you can save them at a safe place and use them whenever you want. Exporting a playlist from the iTunes app is as easy as going into the app and clicking a few options here and there.
You should note one thing though and that is the iTunes app does not actually export the songs that are in the playlist. What this means is that when you export a playlist, a list of the songs and their information will be exported and not the actual songs. If you would like for your songs to be backed up as well, then you need to drag and drop them onto a folder on your computer, and they will be saved there. You can then copy the backed up playlist file in there, and everything you wanted will be there in a single folder on your computer.
In the following guide, I am going to use the iTunes app on a Mac to demonstrate how you can export an iTunes playlist. The steps are the same for Windows users as well.
Here you go:
Exporting Playlists from iTunes on a Mac
You only need the iTunes app installed on your Mac to do the job.
First of all, you need to open the iTunes app on your Mac. To do that, click on Launchpad in your Dock and search for and click on “iTunes” and the app launches. You can also click on the iTunes icon in the Dock if it is available there to launch the app.

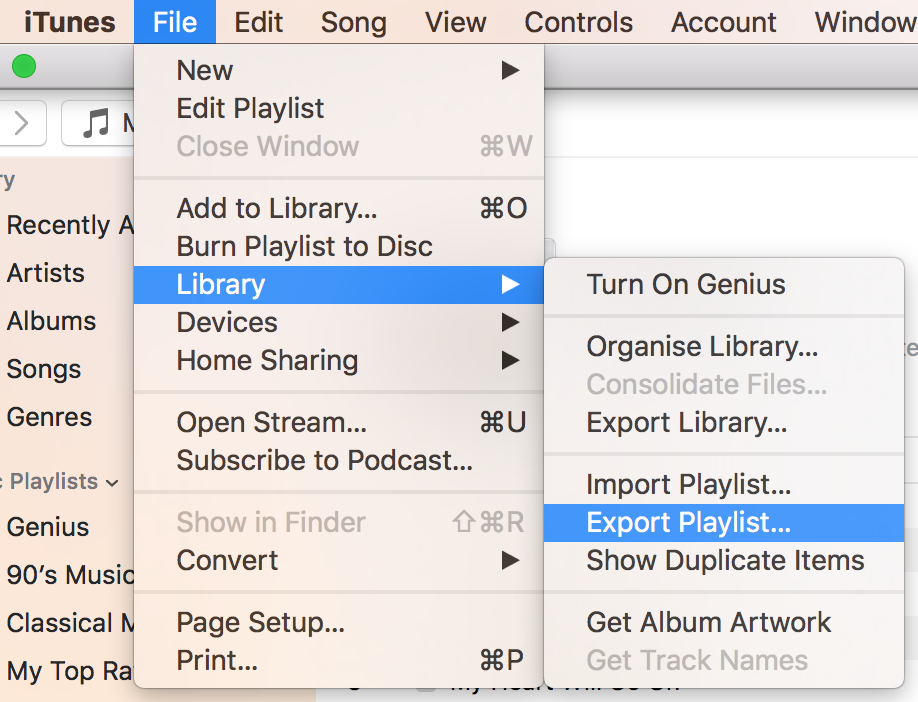
When the app launches, click on the playlist you would like to export in the left sidebar. Simply click on a playlist, and it will be selected to be exported. Then, click on the “File” menu at the top and select “Library” followed by “Export Playlist.” It is the option that allows you to export playlists from iTunes.
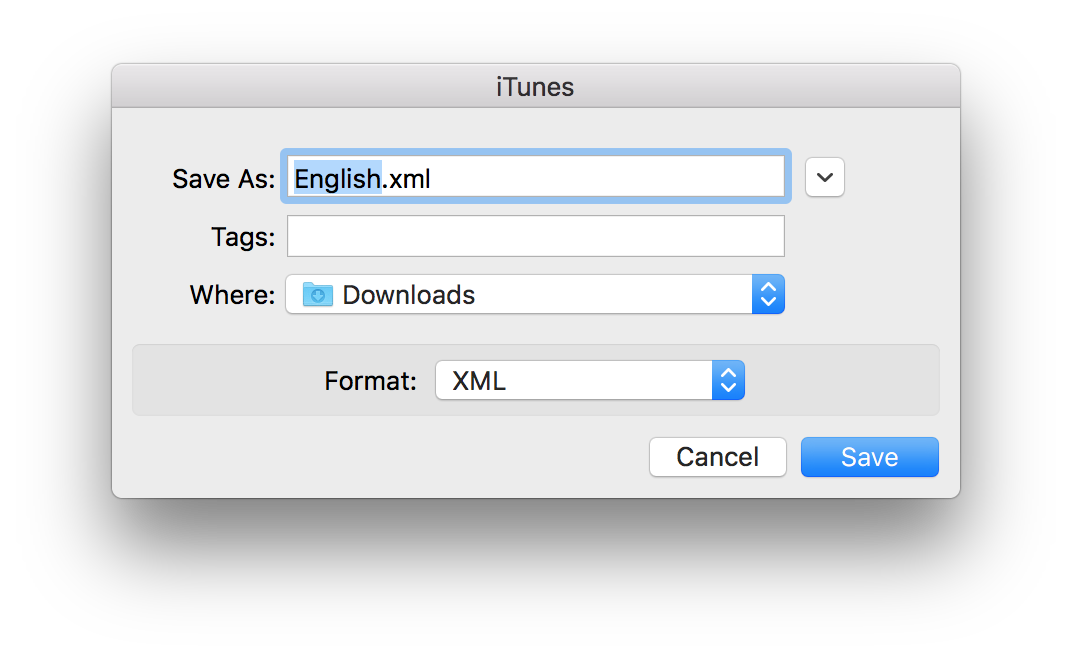
On the screen that follows, you are then asked how you would like to save the exported file. You need to enter a name for the playlist file, or it uses the name of the playlist. Then, you need to choose a location for the file and also the format of the file.
As for the format, you are highly recommended to use the “XML” one. Then, click on “Save” to save the playlist file.
The exported playlist should now be saved at your chosen location on your computer, and you can access it using any of the text editors on your computer. All that the file has is information about your songs.
So, that was how you could export iTunes playlists on your computer.