Last Updated on December 26, 2022 by Mat Diekhake
Computers back in the old days used to come with CRT monitors. The CRT monitors would allow you to lower the screen resolution without suffering from poorer picture quality. Back then it was more about getting that game you wanted to play to operate without the computer causing it to lag behind and offer gameplay that was smooth like a movie and not stopping and starting all the time.
A modern day computer display is LCD. The way the liquid crystals work is a lot different compared to the CRT monitor. If you lower the resolution on an LCD the image quality does, in fact, get worse—something that most young people will say “no duh” since it’s all they have known, but the older folk might not have assumed that was necessarily the case for the reasons explained above about CRT monitors.
Why Most People Ought To Keep the Native Recommended Resolution
Things are still more complicated than that again when it comes to LCD computer monitors, and even the young readers might not know this next part either. If you elect to take your LCD screen off its native resolution by raising it, it doesn’t necessarily create a better image either. In fact it won’t all the time because LCD screens are made up of individual pixels, and each one of those pixels that an image has then needs to correspond to the number of pixels on the LCD evenly. When you take it away from its native resolution, it can stop that from happening which is why we always recommend leaving the settings as they are unless you have a good reason to set it on something else.
Windows 10 will offer you a native resolution—that’s the resolution that it is set by default. You know what the native resolution is because it has “Recommended” written next to it when you visit the resolution are within the settings.
How to Change Screen Resolution of Computer’s Monitor in Windows 10
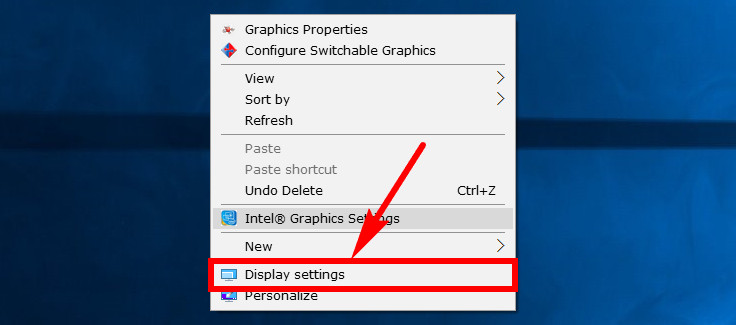
There are a couple of ways you can start changing the screen resolution in Windows 10. If you wanted you could use the Settings application to get there by heading to the Start menu > Settings > System > Display. It’s also possible to get the same Display settings open by right-clicking on the desktop of the computer and then choosing the “Display settings” from the menu like in the picture below.
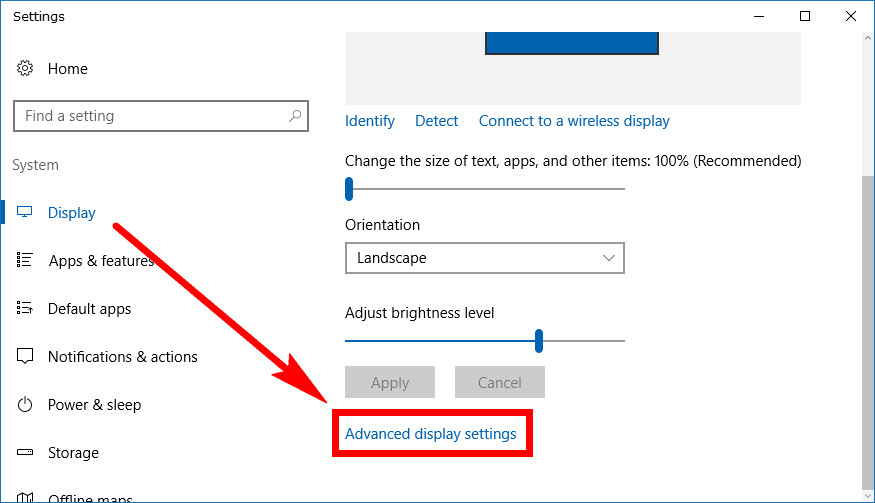
Scroll down the right side pane and then click on the “Advanced display settings” link.
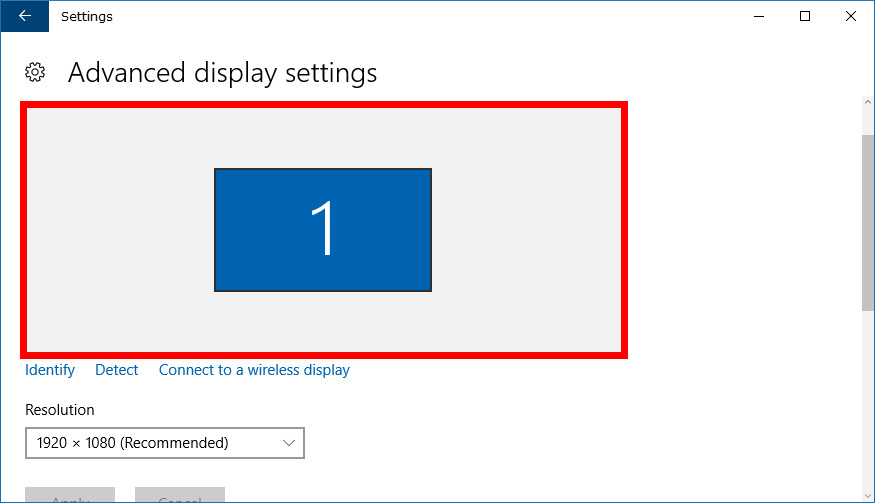
If you have more than one monitor set up on the PC, you’ll need to select the monitor you want to change the resolution for from this area. If you just have the one monitor, then you can skip to the next step.
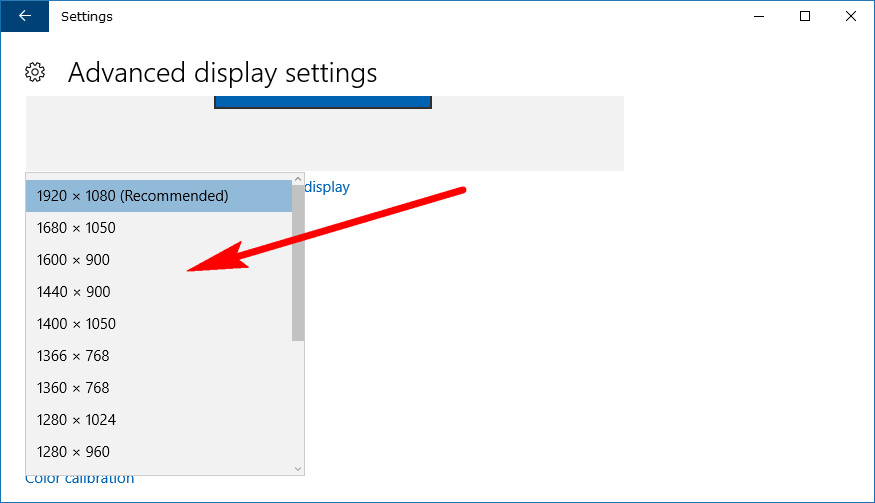
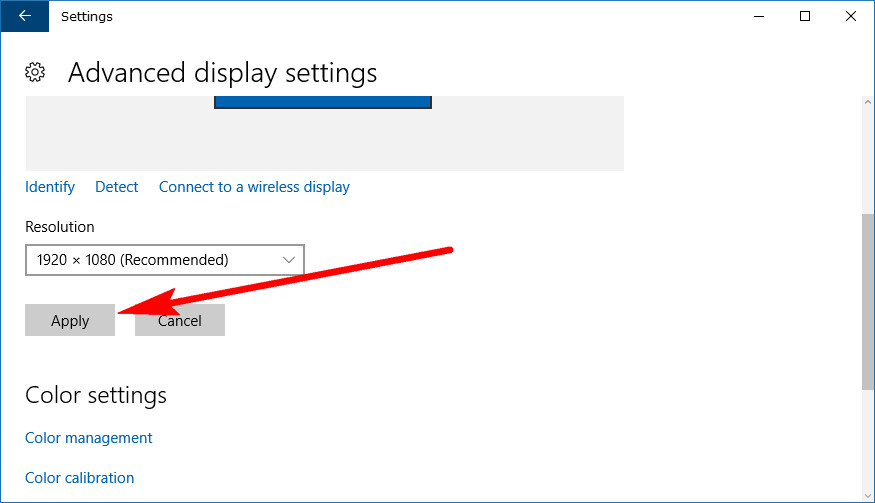
Click on the drop-down menu available where it gives the Resolution heading and then select the resolution that you want from the options. (We’ve written about why the Recommended resolution is best for most people in the introduction above, so you might fancy reading over that if you skipped it).
Once you’ve chosen the resolution you want to try the drop-down menu closes and the “Apply” button becomes visible. Click on it and then you’ll immediately start to see the resolution changes. The window should stay open so you can see how the results look and then change them again if need be. It’s not easy getting the right resolution you are looking for on the first go.
Most of the time when determining a resolution, the recommended and automatic choice by Windows operating systems is best because it produces the best graphics quality after learning how the LCD works. There will be times when people want a better resolution than what is recommended on occasion if they are working with things like big and high-quality images, so it is entirely natural sometimes to want to change it away from what Windows is recommending is the best on offer too. As long as you understand there is a difference to how the older CRT monitors work compared with LCD, then it shouldn’t take you too long to adjust to what works for your situation.
You might also be interested in:
- How to Change a Network Profile Name in Windows 10
- How to Hide or Show File Explorer Ribbon in Windows 10
- How to Uninstall and Block Updates and Drivers on Windows 10
- How to Upgrade from Windows 10 Home to Windows 10 Professional
You can subscribe to our RSS, follow us on Twitter or like our Facebook page to keep on consuming more tech.