Last Updated on February 25, 2024 by Mat Diekhake
While some things have come and gone and come again over the course of time in a version of Windows, one thing that has stayed the same perpetually is the taskbar that you see at the bottom of the screen. There have been some feature variations to do with the taskbar, but the taskbar itself, as a whole, has never stopped being a bar you see when you first start up the computer and sign in.
Something that’s very glaring in Windows 10 is that Microsoft wanted to give lots of different customization possibilities so that as many people as possible can be happy with the OS rather than forcing them into doing something the same way that Windows has offered it by default. The reality is that it is impracticable to think Microsoft would be able to please everyone with an operating system when they release it, so it makes sense to implement a way for users to customize things to how they want it. The only thing is it takes a lot of additional hard work offering the chance to change its features around to what is more practical for you as an individual.
The taskbar is something that can be profoundly customized. You can pin and unpin applications to and from the taskbar, pin a file or folder to the taskbar using a Jump List, configure or remove the Cortana virtual assistant, take away the Task View button from the right side of the search field, remove the Action Center, hide your choice of system icons from the system tray, hide apps from appearing in the notification area, and even move the taskbar from the bottom edge to one of the sides if you want, too.
This is what you need to know how to use the new “pin to taskbar” feature to pin folders and drives to the taskbar in Windows 10
How to Pin Folder and Drives to Taskbar in Windows 10
You can use the Pin to taskbar feature to pin folders and drives by using the File Explorer in Windows 10. To get started, open the File Explorer by clicking on the “Start” button on the left side of the taskbar and then clicking on the “File Explorer” icon from the Start menu’s left side pane.

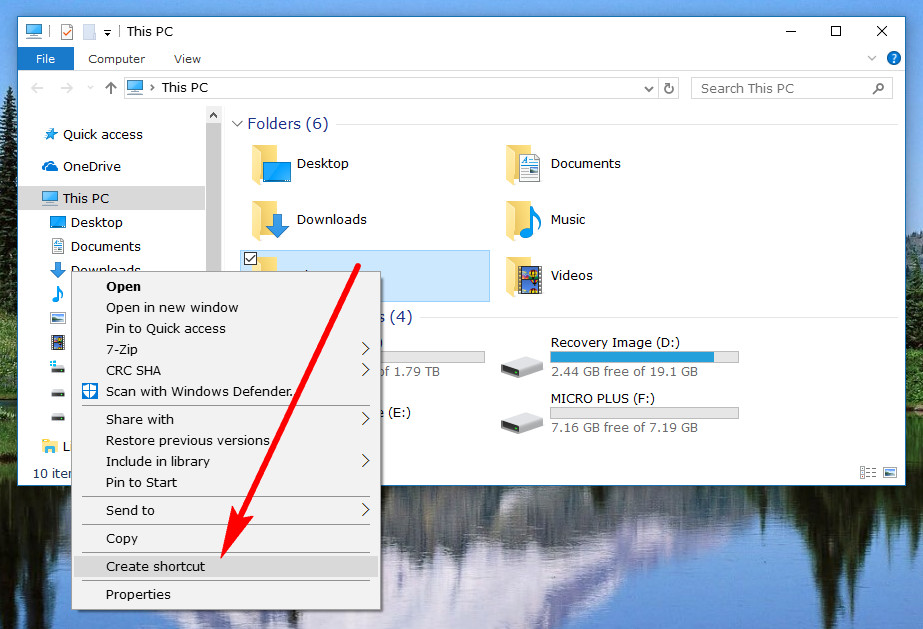
Find the folder or drive that you want to be pinned to the taskbar and then right-click on it and then select the “Create shortcut” option from the menu.
Windows 10 will give you a message letting you know that it can’t create a shortcut there but it will let you create the shortcut on the desktop instead. Click on the “Yes” button when you see it so that it does create it on the desktop for you.

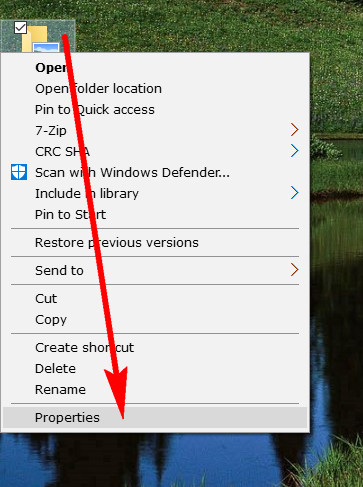
With the folder or drive on the desktop, right-click on it again and this time select the “Properties” link from the menu.
Click on the “Shortcut” tab at the top of the folder or drive’s Properties dialog box and then type “explorer” in front of the current file path. Note that you need to have a space between where it says “explorer” and the “C:\” for the C: drive or else it doesn’t work.

Now click on the “Change icon” button.
![]()
Choose the icon you want to give your icon that’s going to be pinned to the taskbar. If it’s going to be a folder, then you might want to select the folder icon as we have in the picture below.
![]()
Next-click on the “Apply” and “OK” buttons at the bottom of the Properties dialog box.
![]()
Your new icon is now pinned to the taskbar.
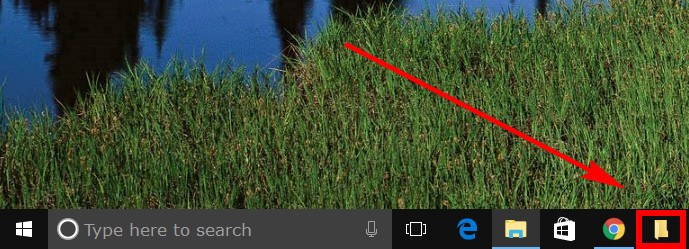
The folder or drive that you wanted to be pinned to the taskbar is now on the taskbar. You can at anytime unpin it by right-clicking on it and choosing the option to unpin. Also, the folder or drive is still on your desktop. You don’t have to keep it there if you don’t want. Deleting it does not alter the contents of the folder or drive that is currently on your taskbar.
Related Tutorials