Last Updated on July 4, 2022 by Mat Diekhake
While many of us know Windows-based computers which come with a BIOS when it starts up, Android have appropriately named their same sequence as the bootloader. Why? Because it does exactly as the name suggest. It’s during this time of the boot up process that hackers must unlock away from the restrictions which then opens it up for new features such as applying root access. While root access is never an official process that’s granted by Google or any OEM, it still relies of the system internals to work cooperatively with what they are trying to achieve.
Funnily enough, there are ways out there available for a select few devices for gaining rooting privileges without unlocking the bootloader. However, those cases are few and far between. Most Android smartphones and tablets still require the same unlocked.
Consider a locked bootloader similar to a locked gate. Your parents want your home with a locked gate so nobody can get in and that makes them feel safe. It’s the same thing with smartphones only swap the characters around. The device manufacturer doesn’t want you breaking into the internal system, or using anything apart from their stock Android version, so it locked the bootloader. However, as soon as we open up this part, we are opening the device up to a whole new world where people like you and me can have lots of fun.
Why do OEMs hate unlocking so much? They never speak publicly about it, but you can only assume they consider this bad for business. By unlocking, we are potentially moving away from the strict business model they have in place such as using the stock applications with stock features and so forth. If you start rooting then you are potentially running custom ROMS and not using Google’s services or the manufacturers services. While that does sound bad, think of all the people who love Android and buy Android because they are thinking about the endless possibilities with hacking. In my opinion, the sales get a firm boost thanks directly to the very thing they try to ban.
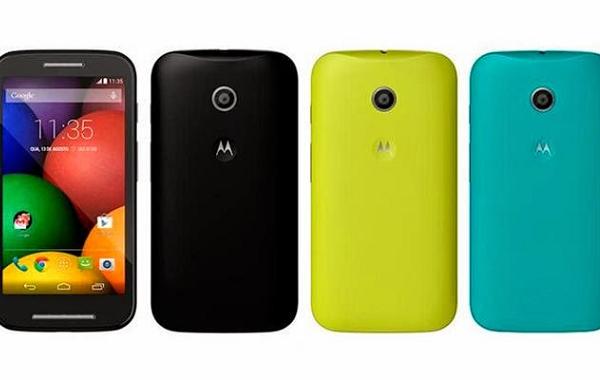
While the Google Nexus range of devices which are easy to personalize come with a dedicated application for unlocking, the “Hello Moto” company are not as lucky. Check out what I mean by viewing the Boot Unlocker for Nexus devices.
Anyway, you likely know all that and just want to unlock the Hboot. You can do that by applying the steps below. If you are a newbie to this, we recommend reading through some of the essentials before starting the steps. That way, you know what you are getting in to, what the risk are involved, how to adequately prepare your device and more.
- Just like most of the other how-to guides on this website, you should backup the data before starting. Make copies of the data such as phone contacts, call logs, music, videos, SMS texts, settings, videos and anything else you need. As usual, there is many ways one can do that. Try using the built-in backup functionality that comes with the device or install a third-party application from the Google Play Store.
- You must have a Windows computer running Windows XP, Windows vista, 7, 8 or 8.1 to complete the guide. It’s possible to set up Android SDK using a Mac or Linux, but not by following this guide.
- Enable the USB Debugging feature from the Developer Options menu.
- Run the latest Motorola USB drivers on your phone so you are connecting to the computer safely.
- The USB charging feature will look after the battery charge levels throughout the guide. If your USB charging is not working, you don’t want to start the guide unless you have at least 50% battery. Check the state of the battery by looking at the battery icon from the status bar.
How to unlock the Motorola Moto E bootloader
Install Android SDK and ADB on your Windows computer.
- Boot the Moto E up in fastboot mode.
- Connect the phone to the same Windows computer with the USB cable.
- Open the command prompt from the Android SDK folder on the computer.
– continue reading for further explanation. - Right-click the mouse and hold the Shift key on the keyboard and open the command line that way.
– do that from a blank white space in the SDK folder. - Manually type “$ fastboot oem get_unlock_data” as the first command from the prompt box.
- Wait for a string of numbers to show on the display. Don’t be alarmed, this is normal.
- Go to the official Motorola page here and follow the instructions for getting the code sent to your email address.
If you already have a Motorola account for your phone you can use that to sign into the official web page with your ID. Otherwise you can sign into the same section by using your Google Plus account. Don’t be shy: create an account with a new ID if you don’t have one already. Most of you probably don’t use Google Plus as often as you might Facebook, so you might not remember your details.
You might also be interested in:
- How to Unlock Bootloader on Motorola Moto G 2015 Smartphones
- How to Unlock Bootloader on Asus Zenfone 2 Smartphones
- How to Unlock Bootloader on LG G4 (Europe) Smartphones
- How to Unlock Bootloader of Huawei Ascend G526 Smartphones
- How to Unlock Bootloader on Huawei P8 Smartphones
- How to Unlock Bootloader on Motorola Moto E Smartphones
You can subscribe to our RSS, follow us on Twitter or like our Facebook page to keep on consuming more tech.