Last Updated on December 26, 2022 by Mat Diekhake
One of the biggest advancements we’ve made with technology over the year is the way we have altered the way we take pictures. Gone are the days when the average consumer spends money on an expensive camera now that we have smartphones with cameras so good that the pictures they take rival them anyhow. What is more, the other technology we have like our computers makes it a breeze to see those stunning images that we have captured on our smartphones.
As long as your computer comes with a screen resolution of high enough quality to match the guilty of the images, then you have no problems viewing the pictures you’ve taken on the computer without even having to print them. That’s what people love to do these days since cameras do allow the images to be viewed, the screens are a bit small for the ideal viewing size.
While checking out the pictures on the computer is fun, it can prove to be a hassle for many people who want to view the images the right way up because the picture can often get shown to you the same way it was taken. That means if you took a photo of that beautiful waterfall on your holiday to Queensland Australian with the camera upside down then you will get the picture showing up on the screen upside down also.
Thankfully, there is a way to change it so that you are viewing the image in the same direction you want to view the picture. Here is what you need to rotate pictures in the Windows 10 operating systems by using the File Explorer.
Rotating the images in Windows 10 OS by using the File Explorer
Click on the “Start” menu and then click on the “Settings” gear icon from the left side pane.
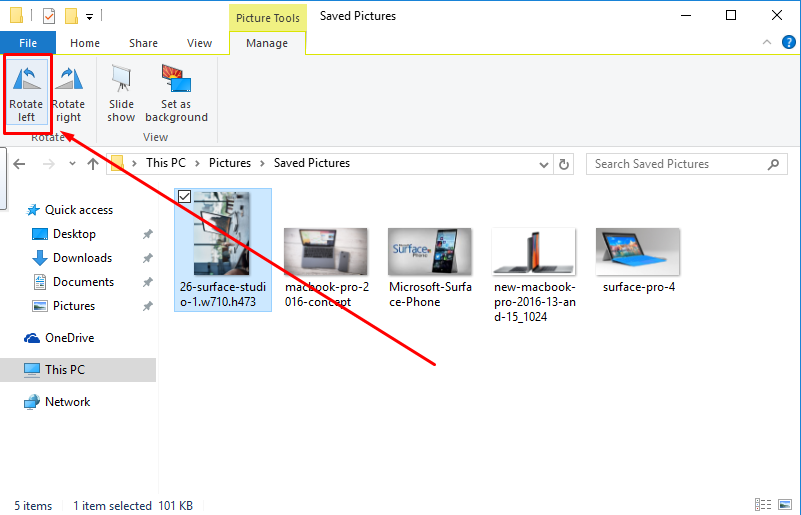
Click on the folder that contains your images; in my case, you can see that path is This PC > Pictures > Saved Pictures where I have saved some images to show you including the new Macbook Pro, the new Microsoft Surface Studio and the Microsoft Surface Pro tablet and phone.
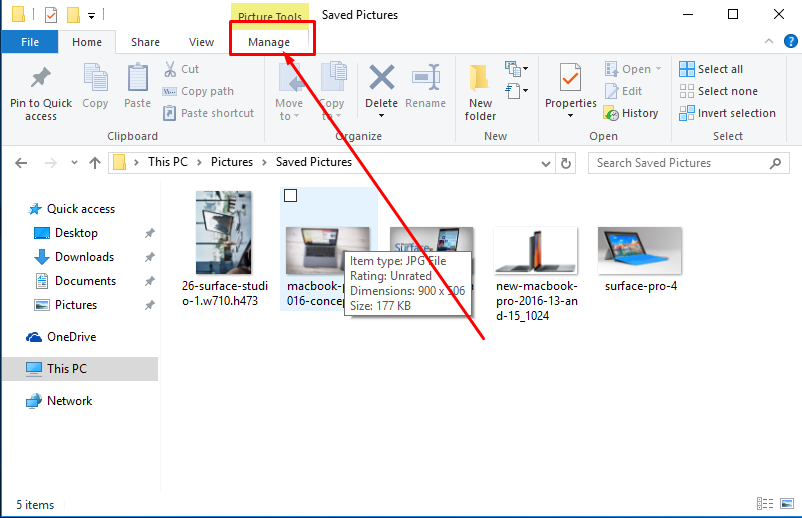
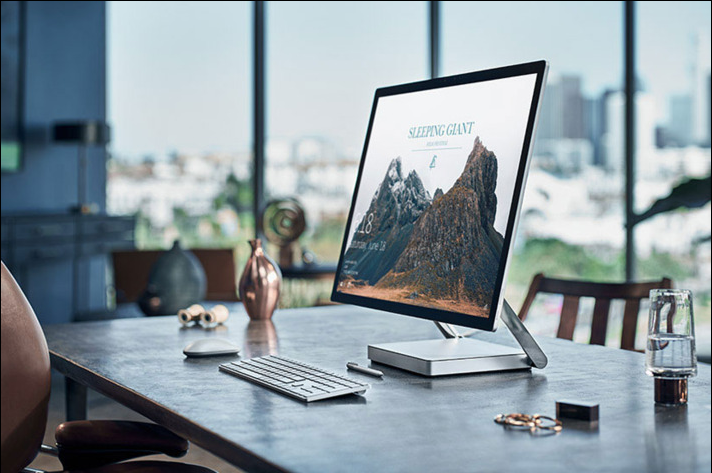
Click on the picture that you want to be rotated. You can see the picture of the Microsoft Surface Studio is sideways and it is the image I’m going to rotate to make it face the right way
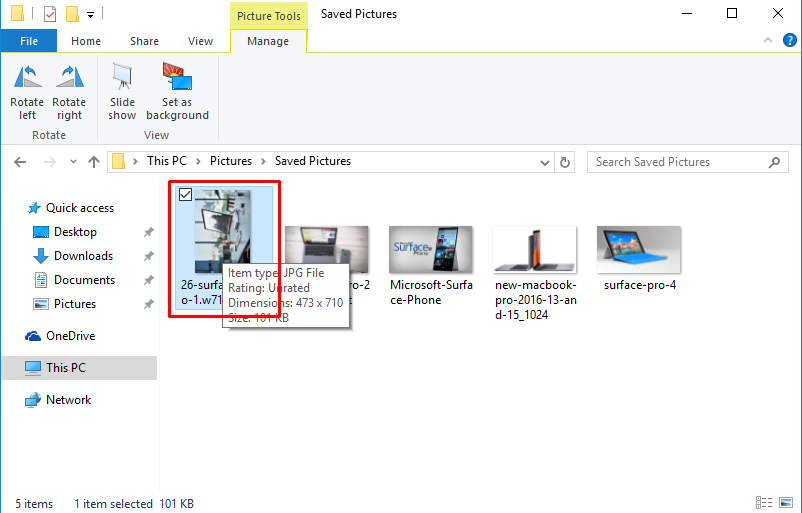
Click on the “Manage” button available under the Picture Tools menu at the top and then click on the direction you want to have the image rotated under the File menu where it says Rotate.
Keep rotating the image until it is pointing in the direction that you want the image viewed or saved.
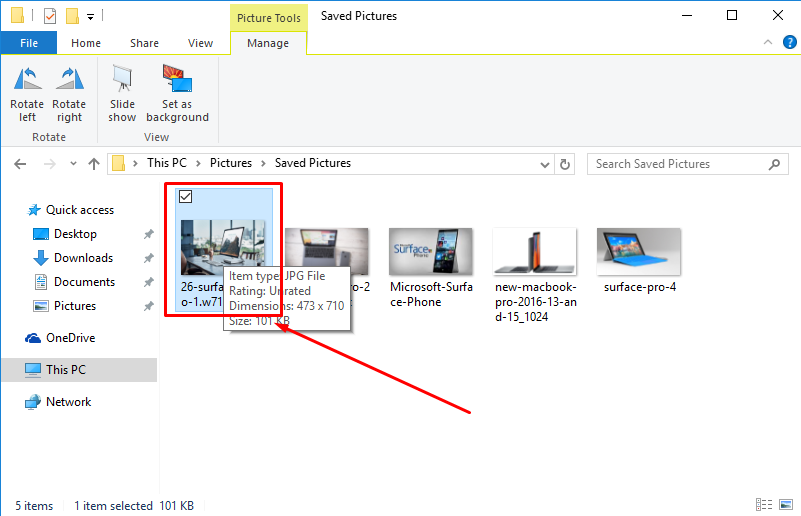
Double-click on the image to view the final result.
In conclusion, that is all you need to rotate your images that are saved in Windows 10 operating systems on the computer by using the rotating feature that is available to use from the File Manager that comes with the computer by default. When you view the final product at the end, you can also use that to for further editing work. Regardless, you should find that the image remains the direction you have chosen for it to be in after you rotate it in the File Manager.
You might also be interested in:
- How to Reset Windows 10 PC without Removing Data
- How to Transfer User Profiles from Windows 7/8 to Windows 10
- How to Change Default Printer in Windows 10
Have something to say? You can contribute to this tech article by leaving a comment below.