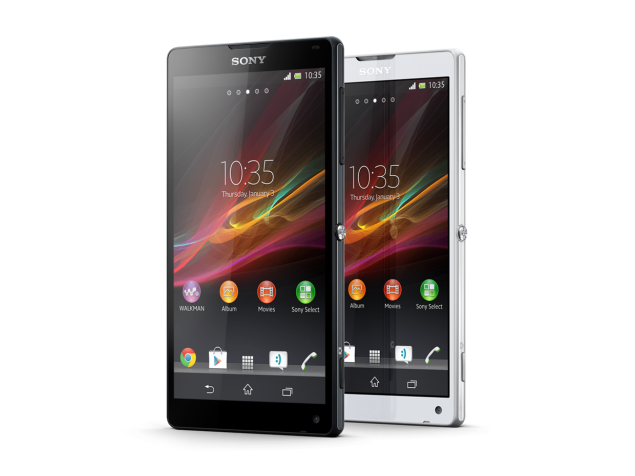
Those users who have updated their Sony Xperia ZL to the Android 5.1.1 can now enjoy root access on their phones, all thanks to the TWRP custom recovery and SuperSU for making it possible.
Once you have unlocked the bootloader and flashed a custom recovery on your Xperia ZL, you can go into the recovery mode and get the SuperSU flashed to gain root access on the phone. It is that easy to root your phone, and the guide below walks you through the individual steps to get you there.

Here you go:
Files You Need
- You must have a custom recovery installed on your phone before doing this tutorial. If you do not, flash one on your phone using our how to flash a custom recovery on the Sony Xperia ZL tutorial. When that is done, return here and continue.
- This flashes SuperSU using the custom recovery to achieve root access on the phone.
- Download SuperSU to your computer. It is the file that will root and install SuperSU app on your phone.
Rooting the Sony Xperia ZL running Android 5.1.1
- Connect your phone to your computer using a suitable USB cable. Ensure that your phone can receive files from your computer.
- Copy SuperSU .zip from your computer over to the internal SD card storage on your phone. Place the file on the top so you can easily find it in the below steps.
- When SuperSU is copied, unplug your phone from your computer as you do not need your computer anymore.
- Turn off your phone completely.
- Reboot your phone into the custom recovery mode. You can do that by holding down Volume DOWN and Power buttons together while your phone is turned off.
- Your phone should now reboot into the custom recovery mode.
- Once in the recovery mode, select the option that says Install. It is for installing a custom file on your phone.
- Navigate to where you have copied SuperSU .zip and select it to be installed on your phone.
- Select Swipe to Confirm Flash to confirm the prompt and to allow the recovery to flash SuperSU on your phone.
- Wait for TWRP Recovery to flash SuperSU on your phone.
- When the recovery’s done flashing SuperSU, reboot your phone by selecting Reboot followed by System in the recovery menu.
- Your phone should reboot.
- You should now be rooted!
Brilliant! Your Sony Xperia ZL running Android 5.1.1 is now rooted and you can confirm the same using Root Checker on your phone.
Now that you have a custom recovery and root access on your phone, you can go ahead and flash your phone with a custom ROM to get some of the really great goodies running on your phone. If that does not help you improve the performance of your phone, you can flash a custom kernel to tweak around the CPU settings of your phone.
Root and a custom recovery has brought about tons of customization opportunities for your phone. From making little changes to the UI of your phone to going as far as to completely replacing the entire OS of your phone, all these powers are now in your hands and you can implement them whenever you want.
You might also be interested in:
- How To Install A Custom Recovery On The Sony Xperia ZL Running Android 5.1.1
- How To Install A Custom Recovery On The Huawei MediaPad X2
- How To Root The LG Nexus 5 Running Android 6.0 Marshmallow
- How To Root The Android One Devices Running Android 6.0 Marshmallow
- How To Install A Custom Recovery On The Sony Xperia V Running Android 4.3
Have something to say? You can contribute to this tech article by leaving a comment below.