Last Updated on November 15, 2019 by Mat Diekhake
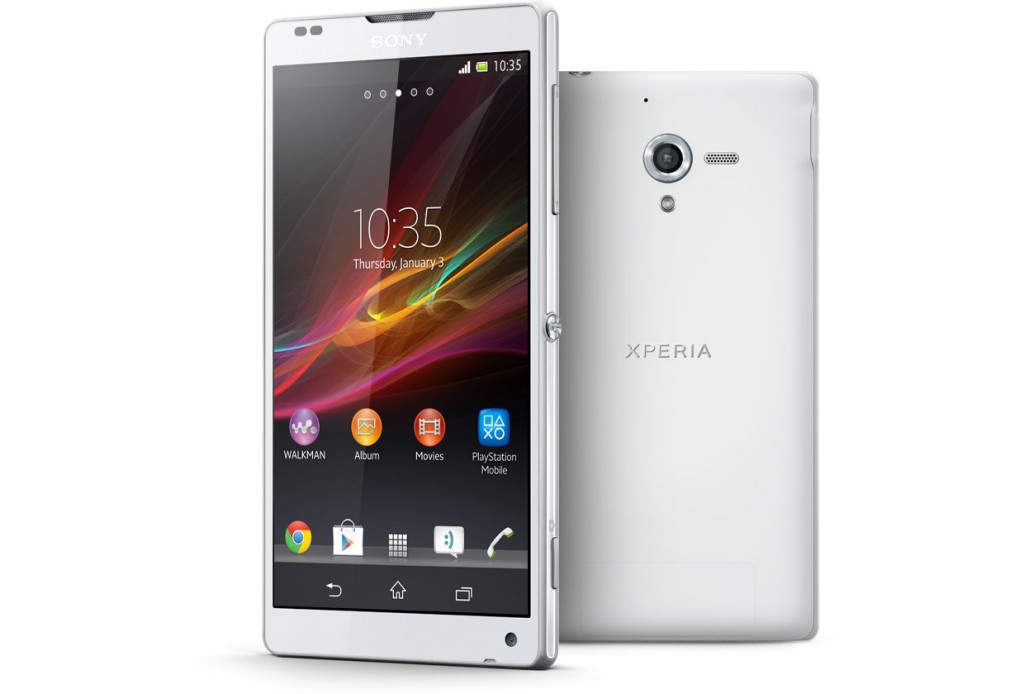
If you have waited to get root access on your Sony Xperia ZL that has been updated to Android 5.1.1, then your wait is now over as we have come up with a tutorial to teach you how you can root your phone on this latest version of the OS.
Before you can gain root access on your Xperia ZL, you are going to need a custom recovery that will then allow you to flash SuperSU to obtain root on your phone. So, this guide is all about getting a custom recovery up and running on your phone, so you can then go ahead and flash SuperSU to gain root.
Here’s how:
Files You Need
- You must have unlocked the bootloader on your phone before doing this tutorial. If you have not done so yet, please head over to the Sony Bootloader website and get your bootloader unlocked first. Then, come back here and continue.
- This should flash the popular TWRP custom recovery on your phone.
- You must be running a Windows running computer to do this tutorial.
- You should have appropriate Sony USB drivers installed on your Windows computer.
- Download Fastboot to your computer. It will help you issue commands to your phone.
- Download TWRP Recovery to your computer. It is the custom recovery that will be installed on your phone.
Installing a Custom Recovery on the Sony Xperia ZL running Android 5.1.1
- Unzip files from Fastboot over to your computer by right-clicking on it and selecting Extract here.
- On your phone, head to Menu->Settings->About phone and tap on Build number for 7-8 times to unlock the developer options menu on your phone.
- Head back to the main Settings screen and tap on Developer options. Turn on the option that says USB debugging.
- Turn off your phone completely.
- While your phone is turned off, hold down Volume UP and Power buttons together to get the phone into fastboot mode.
- Your phone should now be in fastboot mode.
- Connect your phone to your computer using a compatible USB cable.
- Open a Command Prompt Window in the folder where you have extracted the fastboot files. It is the folder containing fastboot.exe file. To do that, open the folder, hold down Shift and right-click anywhere on the screen and select Open command window here.
- Type in the following command into the Command Prompt Window and press Enter:
fastboot devices - You should see your phone listed in the list. That means your phone has been recognized by your computer.
- Type in the following command replacing recovery.img with the original recovery image name and press Enter. It should flash the TWRP Recovery on your phone.
fastboot flash recovery recovery.img - Wait for it to flash TWRP Recovery on your phone.
- When it’s done flashing TWRP, reboot your phone using the following command:
fastboot reboot - Your phone should reboot normally.
- And you are done!
Congrats! You have successfully installed a custom recovery on your Sony Xperia ZL running Android 5.1.1. In addition, you might want to know how to boot the Sony Xperia ZL into the custom recovery mode.
Now that a custom recovery is up and running on your phone, head to our how to root the Sony Xperia ZL running Android 5.1.1 tutorial to learn how you can go about rooting and getting the most out of your phone. Root is real fun, believe me!
You might also be interested in:
- How To Install A Custom Recovery On The Huawei MediaPad X2
- How To Root The LG Nexus 5 Running Android 6.0 Marshmallow
- How To Root The Android One Devices Running Android 6.0 Marshmallow
- How To Install A Custom Recovery On The Sony Xperia V Running Android 4.3
- How To Root The Sony Xperia V Running On Android 4.3
Have something to say? You can contribute to this tech article by leaving a comment below.