Last Updated on July 19, 2022 by Mat Diekhake
Your wait for gaining root access on your Nexus 5 running Android 6.0 Marshmallow is over, as a root method is now available to root the aforesaid phone on the latest Marshmallow.
The root comes in the form of a modified boot image, and takes help of a custom recovery to flash SuperSU to actually gain root access on the phone. It all works so great that you could be running root access on your phone in no time.
Here’s how to root your Nexus 5 running Android 6.0 Marshmallow:
Files You Need
- This should wipe off all the data stored on your phone. So, please backup everything that you will need or you will lose it.
- You must have a computer that runs Windows in order to do this tutorial.
- Ensure that proper ADB drivers are installed on your Windows based computer.
- This flashes a modified boot image, a custom recovery, and SuperSU to obtain root access on the phone.
- Download Fastboot to your computer. It will help you issue commands to your phone.
- Download Custom Kernel to your computer. It is a modified boot image that will let you achieve root on your phone.
- Download Custom Recovery to your computer. It is the custom recovery that will be flashed on your phone.
- Download SuperSU to your computer. It is the file that will actually root your phone.
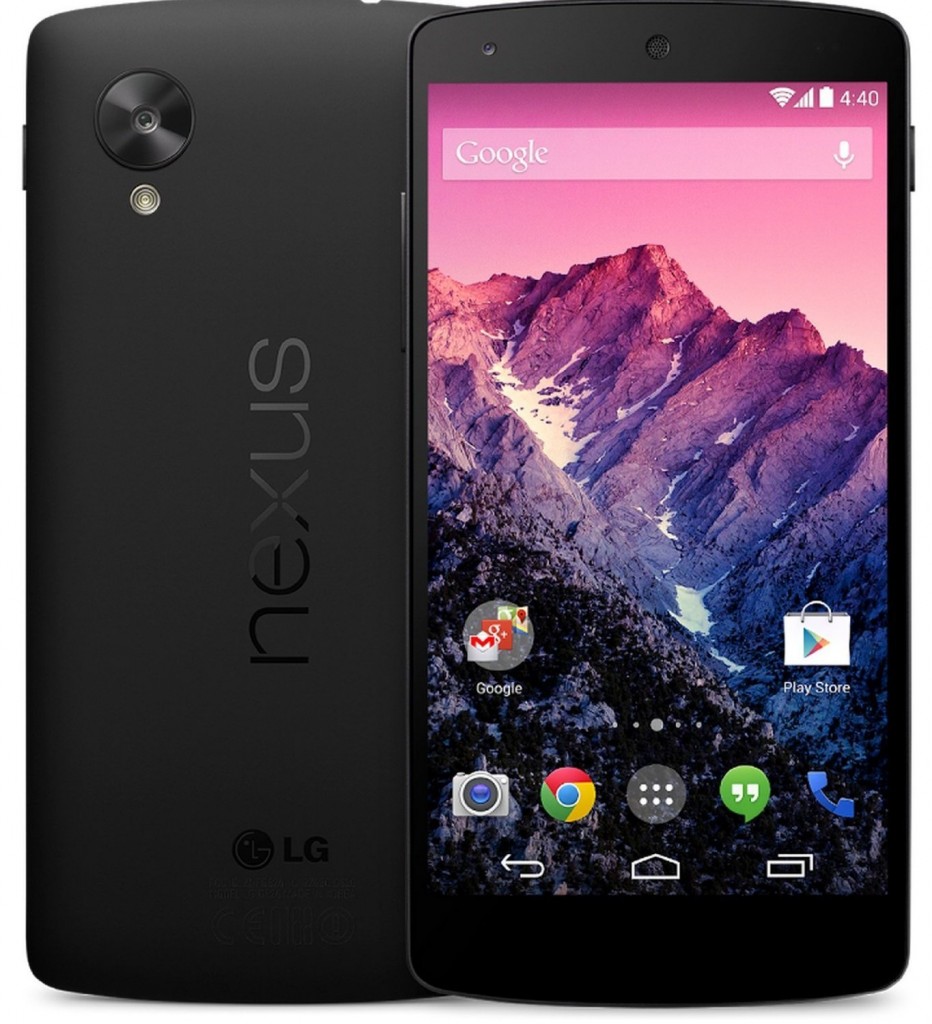
Rooting the LG Nexus 5 running Android 6.0 Marshmallow
- First of all, extract files from Fastboot and Custom Kernel over to your computer by right-clicking on each of them and selecting Extract here.
- Head to Menu->Settings->About phone on your phone and tap on Build number for 7-8 times to unlock the developer options menu on your phone.
- Head to Menu->Settings->Developer options and turn on both USB debugging and Allow OEM unlock options.
- Plug in your phone to your computer using a USB cable.
- Copy SuperSU from your computer over to the internal SD card storage on your phone.
- When SuperSU is copied, disconnect your phone from your computer.
- Turn off your phone.
- Reboot your phone into fastboot mode so that a modified boot image can be flashed on it. To do so, hold down Volume DOWN and Power buttons together for a few seconds.
- When the bootloader menu shows up, connect your phone to your computer using a suitable USB cable.
- Launch a Command Prompt window in the folder where fastboot files are located. It is the folder where fastboot.exe exists. To do that, open the folder, hold down Shift and right-click anywhere on your screen and select Open command window here.
- Type in the following command into the CMD window and your device will show up:
fastboot devices - Next up, issue the following command to unlock the bootloader on your phone:
fastboot oem unlock - Follow the on-screen instructions to unlock the bootloader on your phone. When the bootloader is unlocked, issue the following command replacing kernel.img with the actual name of the kernel image that you have downloaded to your computer:
fastboot flash boot kernel.img - When the kernel has been successfully flashed, issue the following command to flash a custom recovery on your phone. Make sure to replace recovery.img with the actual name of the recovery image that you have downloaded to your computer:
fastboot flash recovery recovery.img - Wait for the recovery to be flashed on your phone.
- When the recovery has been flashed, turn off your phone.
- Hold down Volume DOWN and Power buttons at the same time on your phone and your phone will get into bootloader mode.
- Select Recovery from the bootloader menu to get into the recovery mode.
- Once in the recovery mode, select the option that says Install.
- Choose SuperSU .zip to be installed on your phone.
- Confirm the prompt and wait for it to flash SuperSU on your phone.
- When it’s done flashing SuperSU, reboot your phone by choosing Reboot followed by System.
- Your phone should reboot.
- You are now rooted!
Cheers! Your LG Nexus 5 running the Android 6.0 Marshmallow is now rooted and has a custom recovery to help you enjoy custom ROMs on your phone.
You might also be interested in:
- How To Root The Android One Devices Running Android 6.0 Marshmallow
- How To Install A Custom Recovery On The Sony Xperia V Running Android 4.3
- How To Root The Sony Xperia V Running On Android 4.3
- How To Root The Sony Tablet S
- How To Install A Custom Recovery On The Sony Tablet S
Have something to say? You can contribute to this tech article by leaving a comment below.