Last Updated on May 30, 2021 by Mat Diekhake
Some of the Android devices come with a virtual navigation bar that lets you navigate your phones using the on-screen virtual buttons instead of the actual physical buttons attached to the bezel of the device.
A virtual navigation bar is useful in many ways such as you don’t need to move off the screen to be able to navigate as the buttons are just present there on your screen for you to tap on them to perform navigation actions.

Even if your device has not come with a virtual navigation bar, you can add that using a free app available on the Google Play Store. You may want to do so when the actual navigation buttons have got broken on the device, and you are unable to navigate through things on your device. At such times, a virtual bar really helps and comes as a boon for you.
Here’s how to get one on your device:
Getting a Virtual Navigation Bar on an Android Device
Launch the Google Play Store app on your device by opening the App Drawer and tapping on the “Play Store” icon. The app should launch.

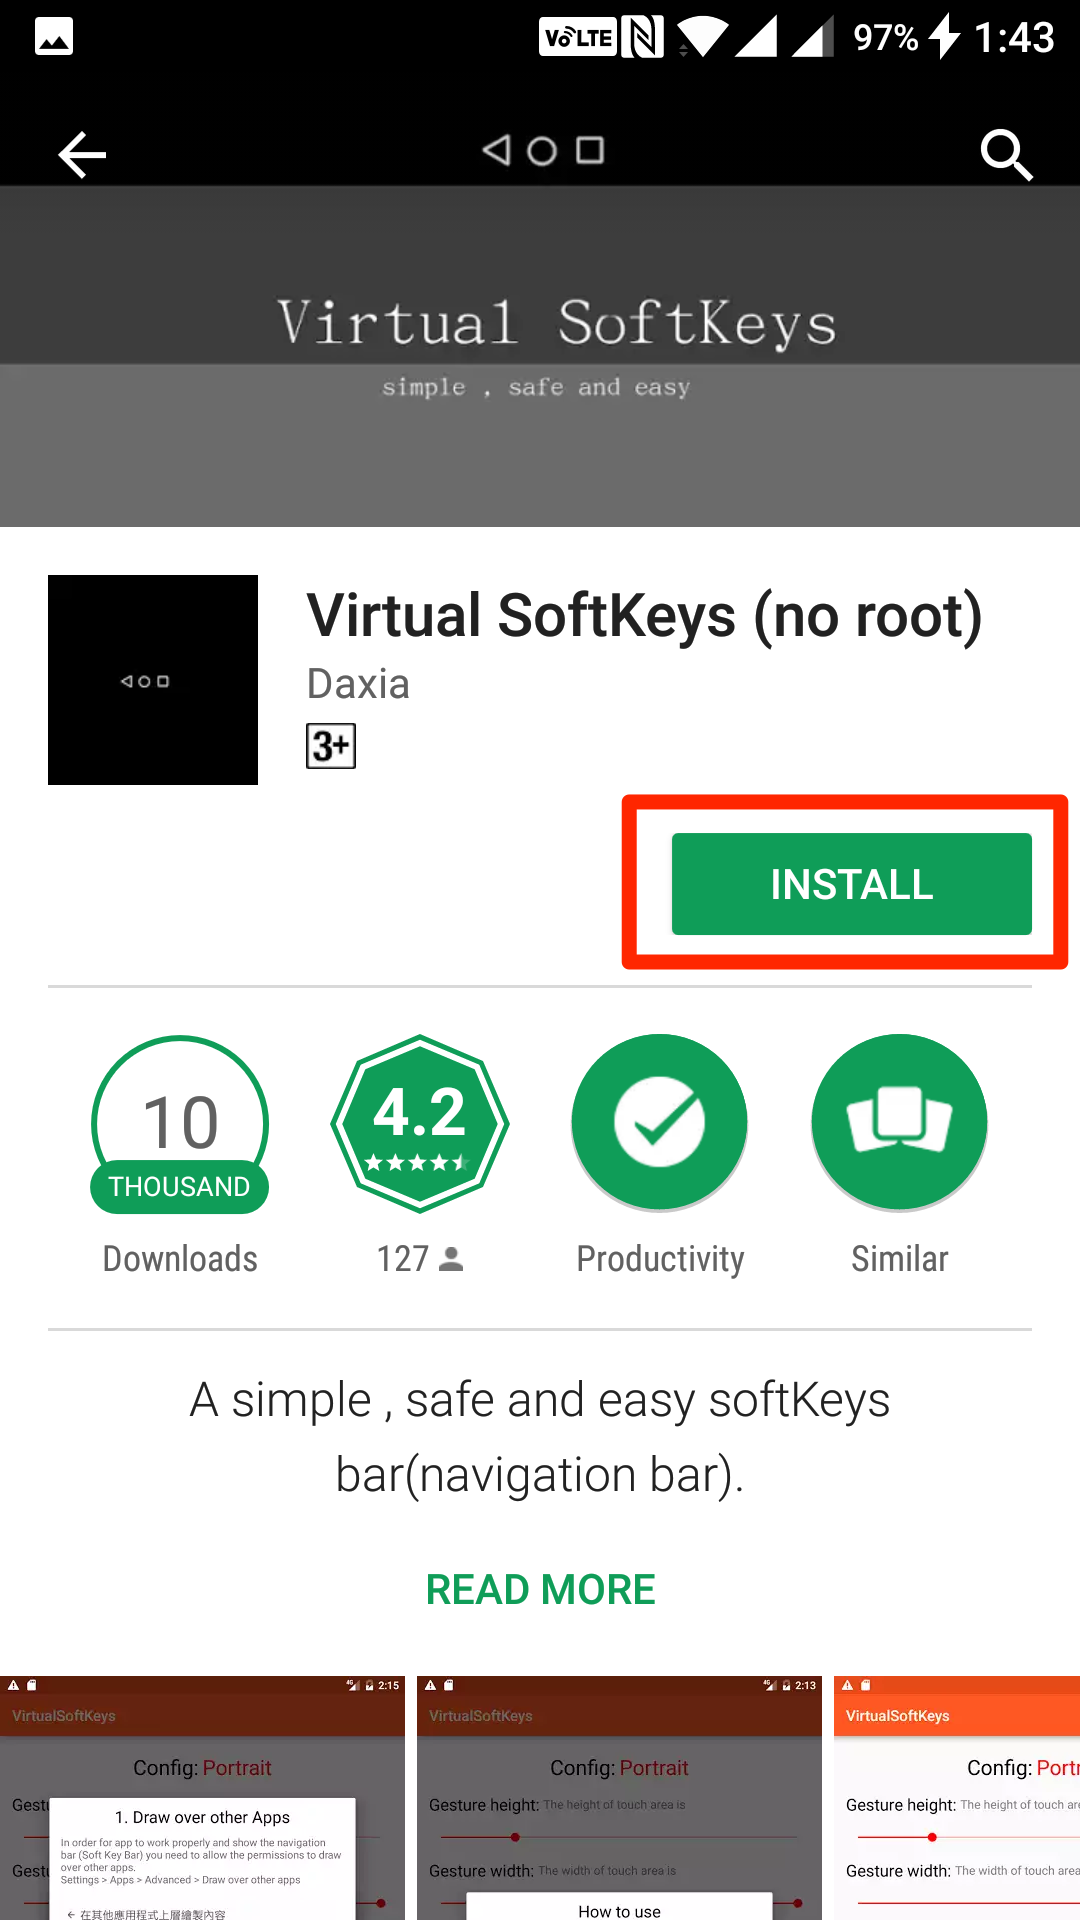
2. When the Play Store launches, search for and tap on “Virtual SoftKeys (no root).” It is a free app and works even on non-rooted devices.
When the app page launches, tap on the button that says “Install” to begin downloading and installing the app on your device.
Once the app has finished downloading and installing, open the App Drawer once again on your device and tap on “VirtualSoftKeys” to launch the newly installed app.

When the app opens for the first time, you are asked to provide it with the permissions it needs to function properly. Namely, these permissions are Draw over other Apps and Accessibility service.
The Draw over other Apps permission should already be enabled because it comes turned on on most Android devices. If that’s not the case with you, then tap on the button beneath that permission name in the app, and you will be taken to the panel from where you can grant the permission to the app.
As for the Accessibility service permission, tap on the button that says “Go to Settings” to be taken to the settings panel so you can then enable accessibility permission for the app.
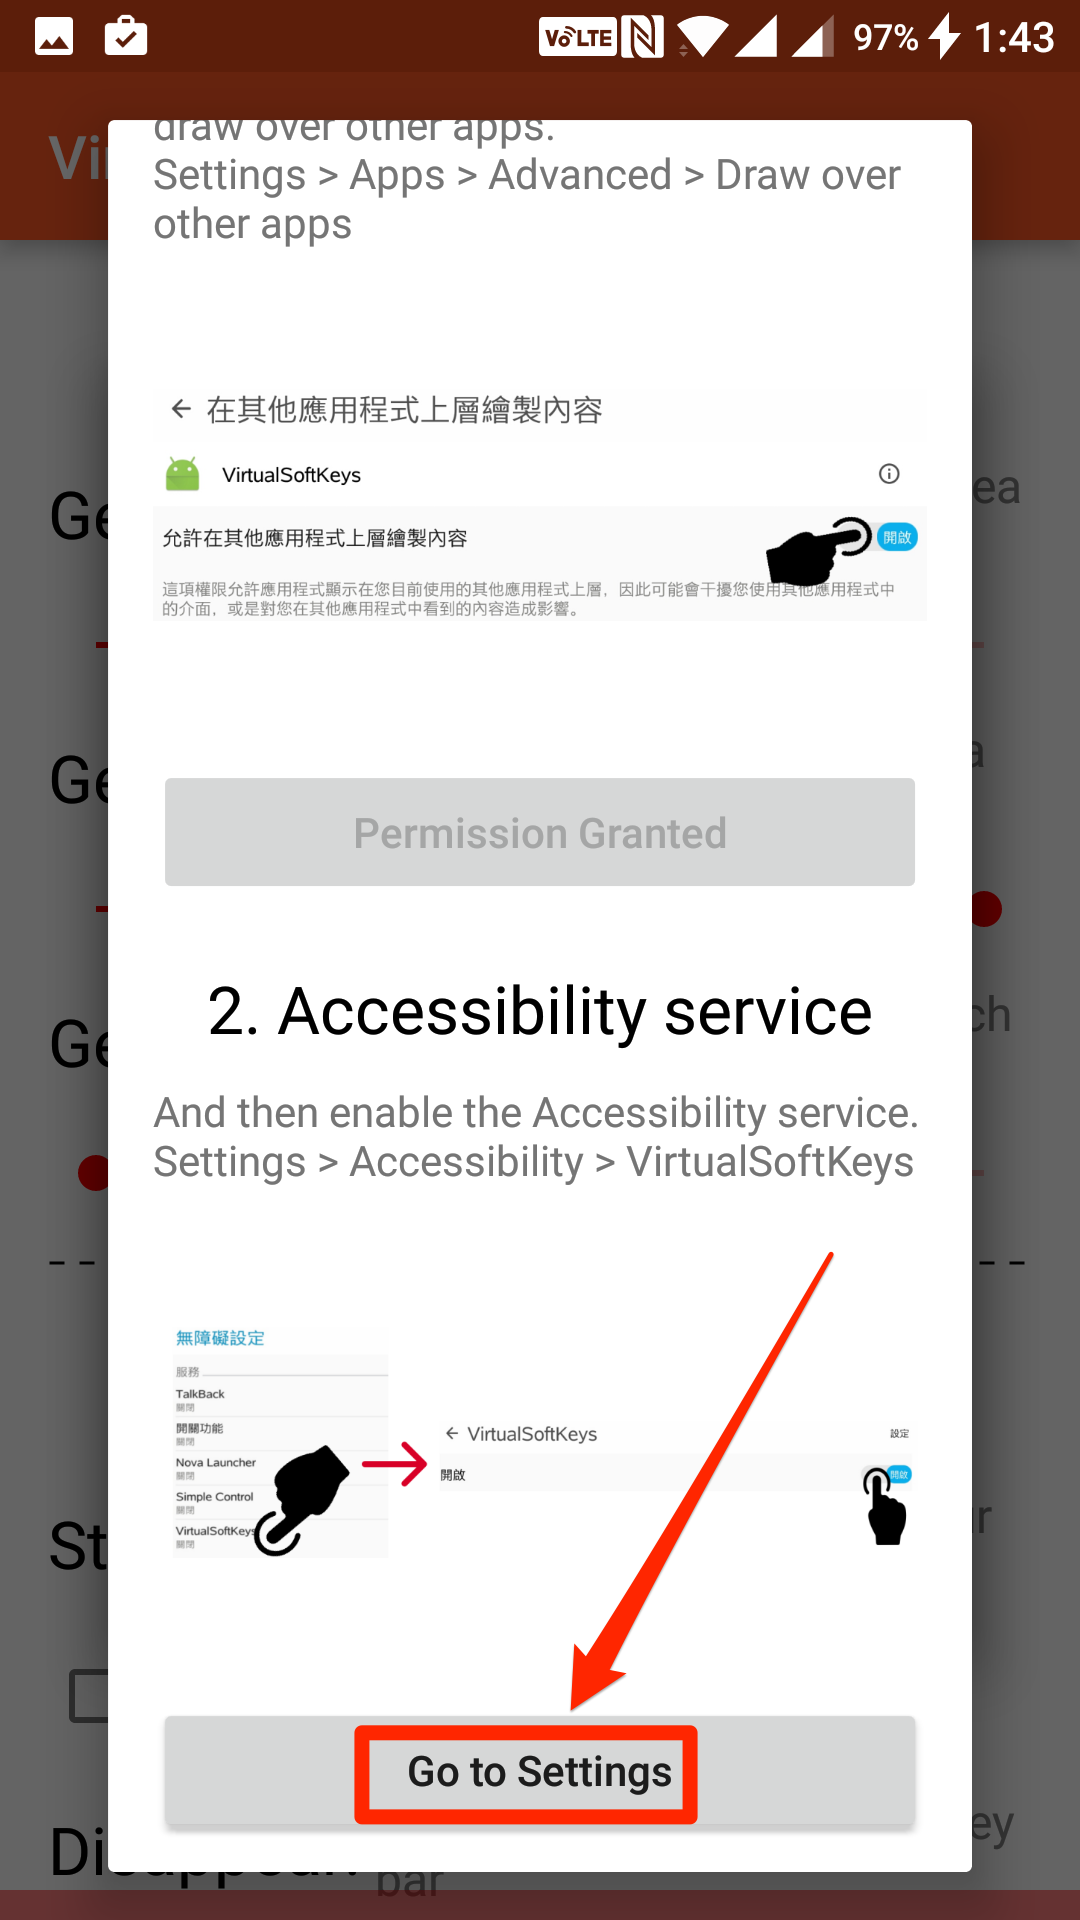
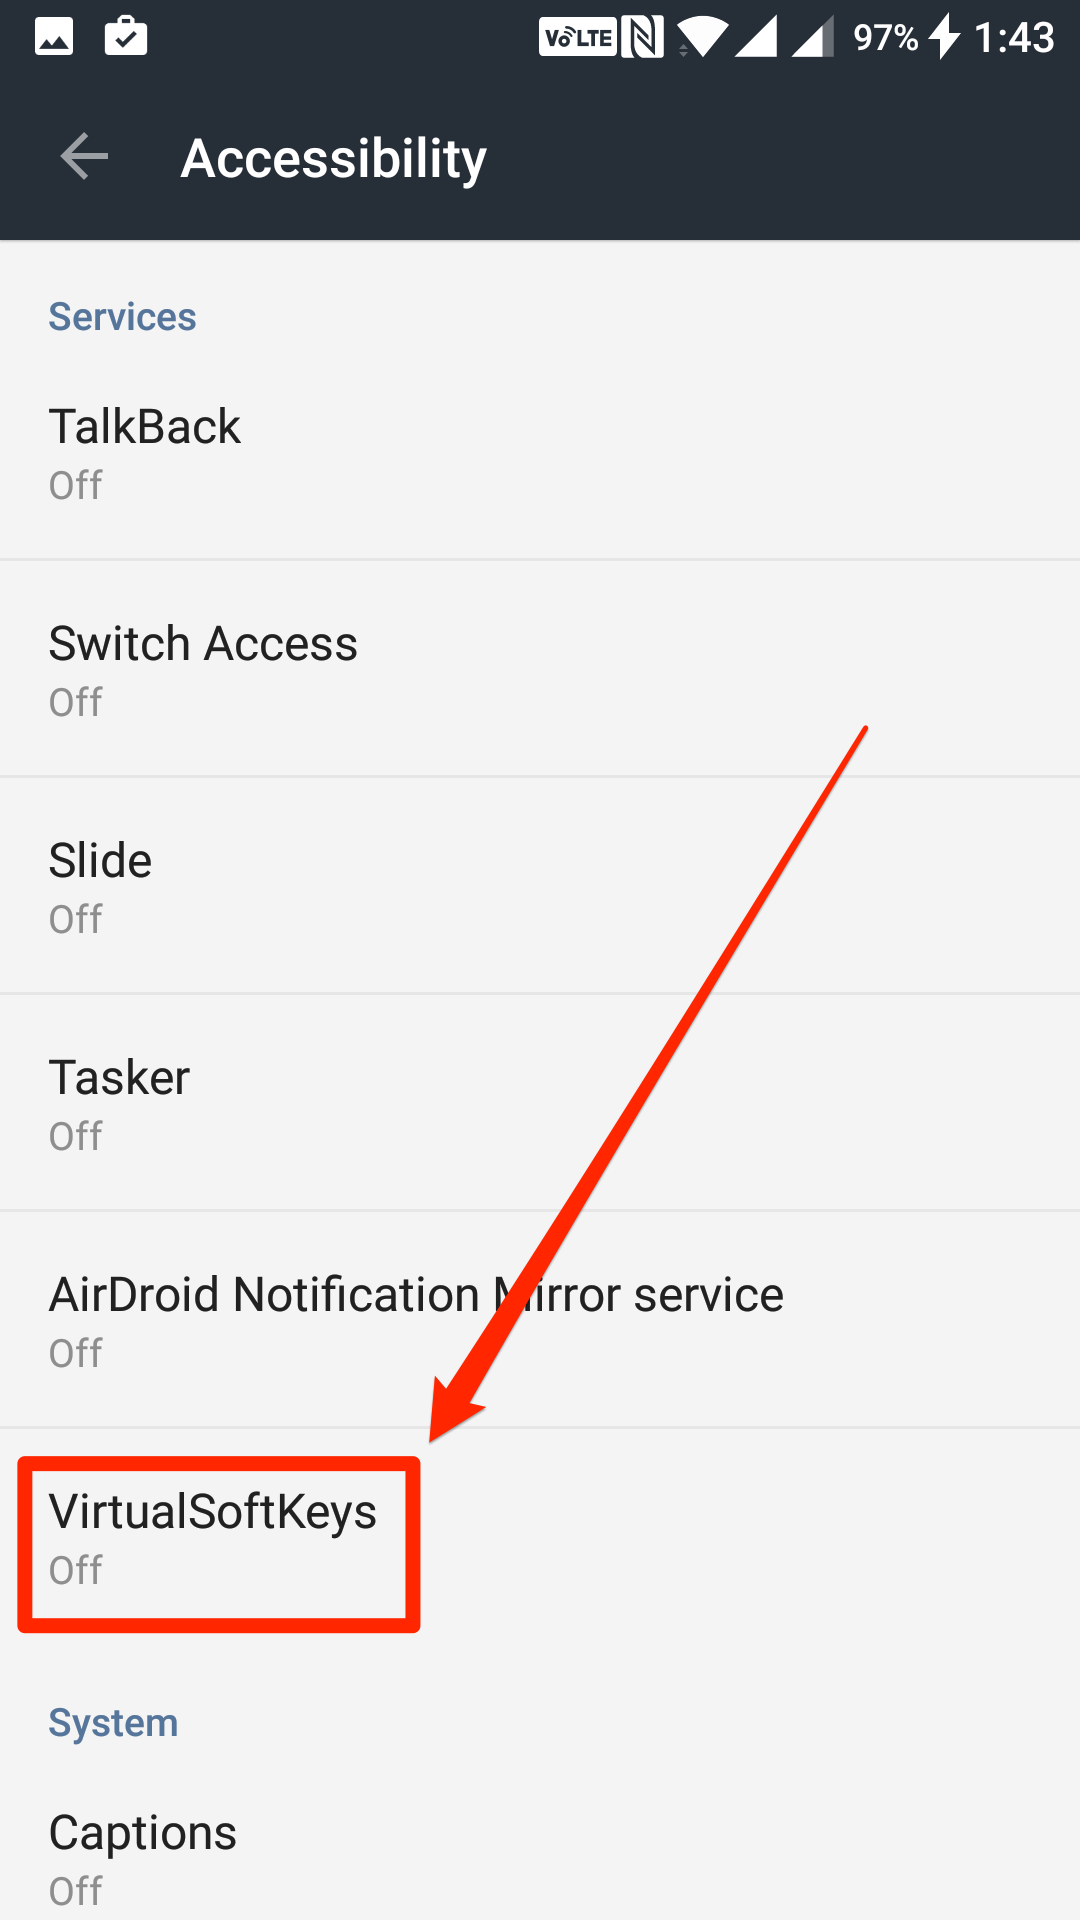
As soon as you tap on the “Go to Settings” button, you are taken to the Accessibility panel as shown below.
From here, find the option that says “VirtualSoftKeys” and tap on it.
On the following screen, turn the toggle to the on position and the accessibility service will be enabled for the app.
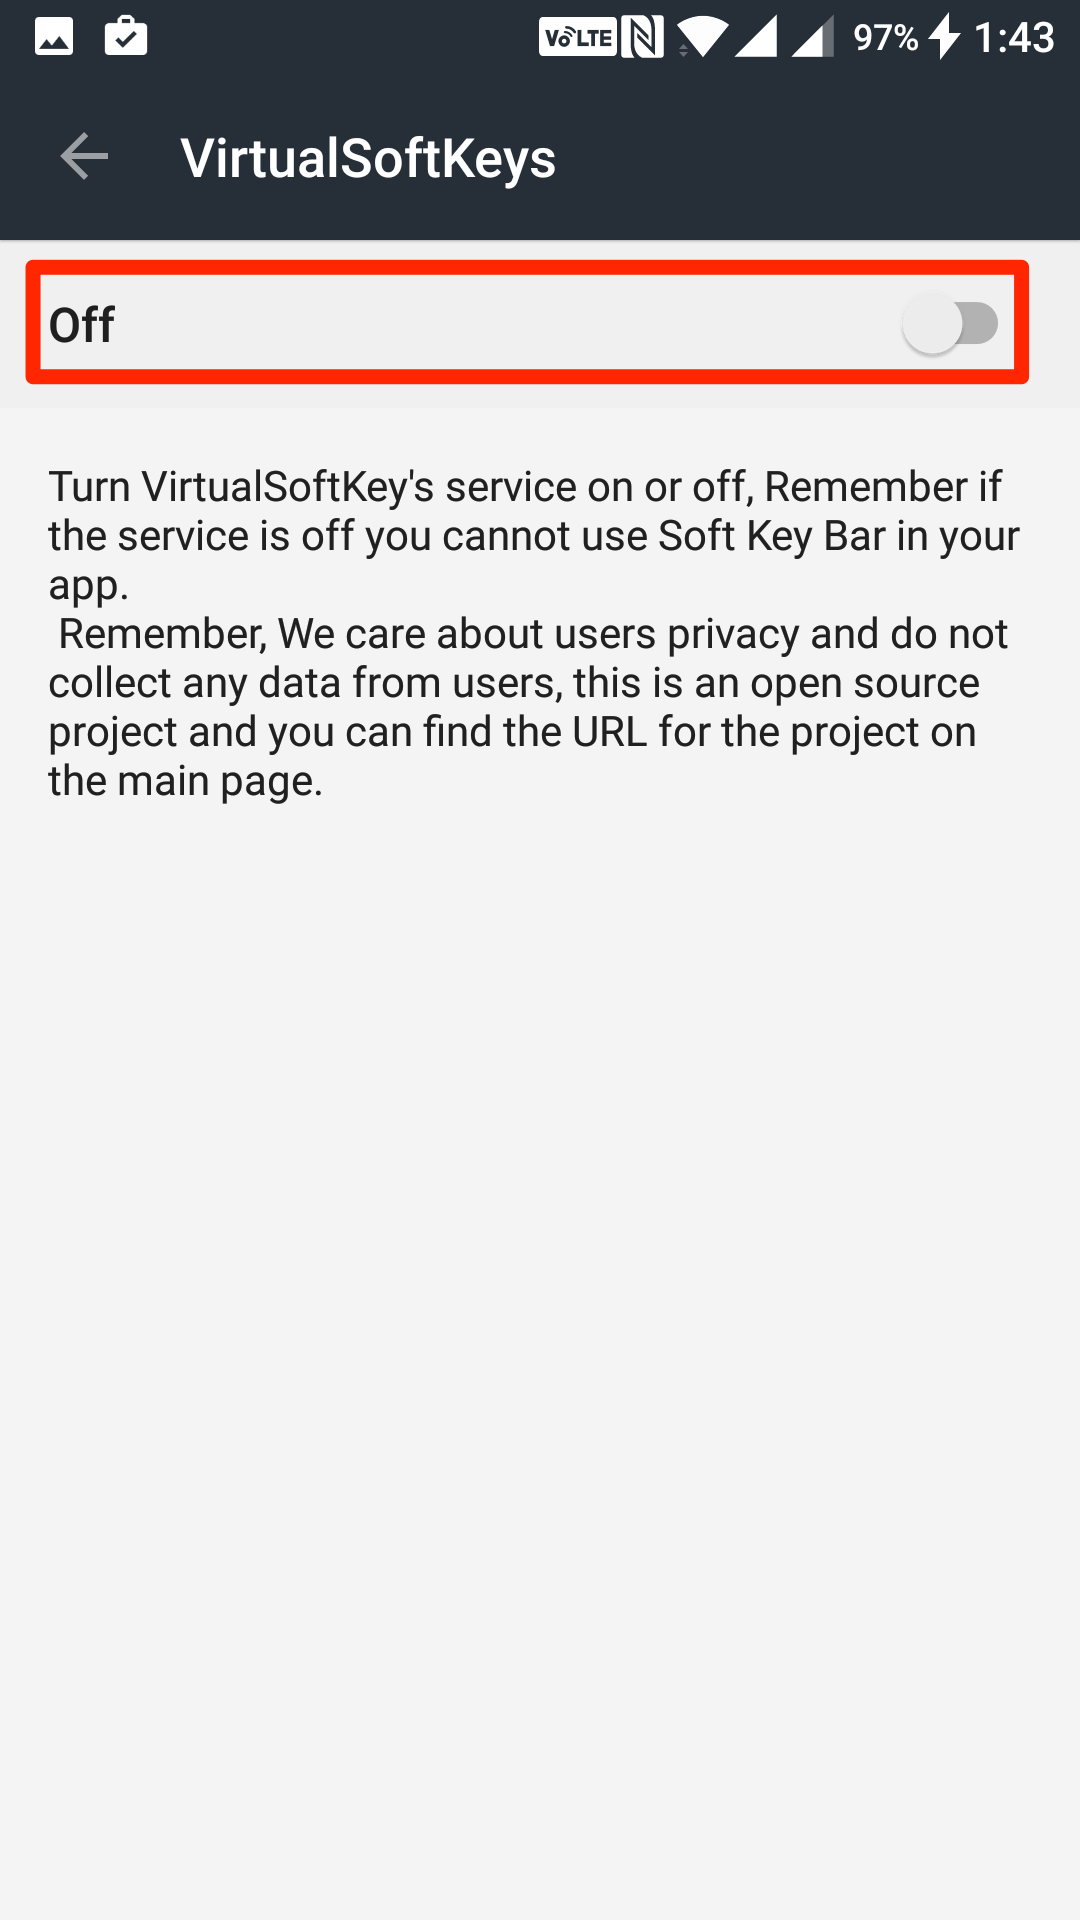
A prompt appears asking for you to confirm your action. Tap on “OK,” and you should be good to go.

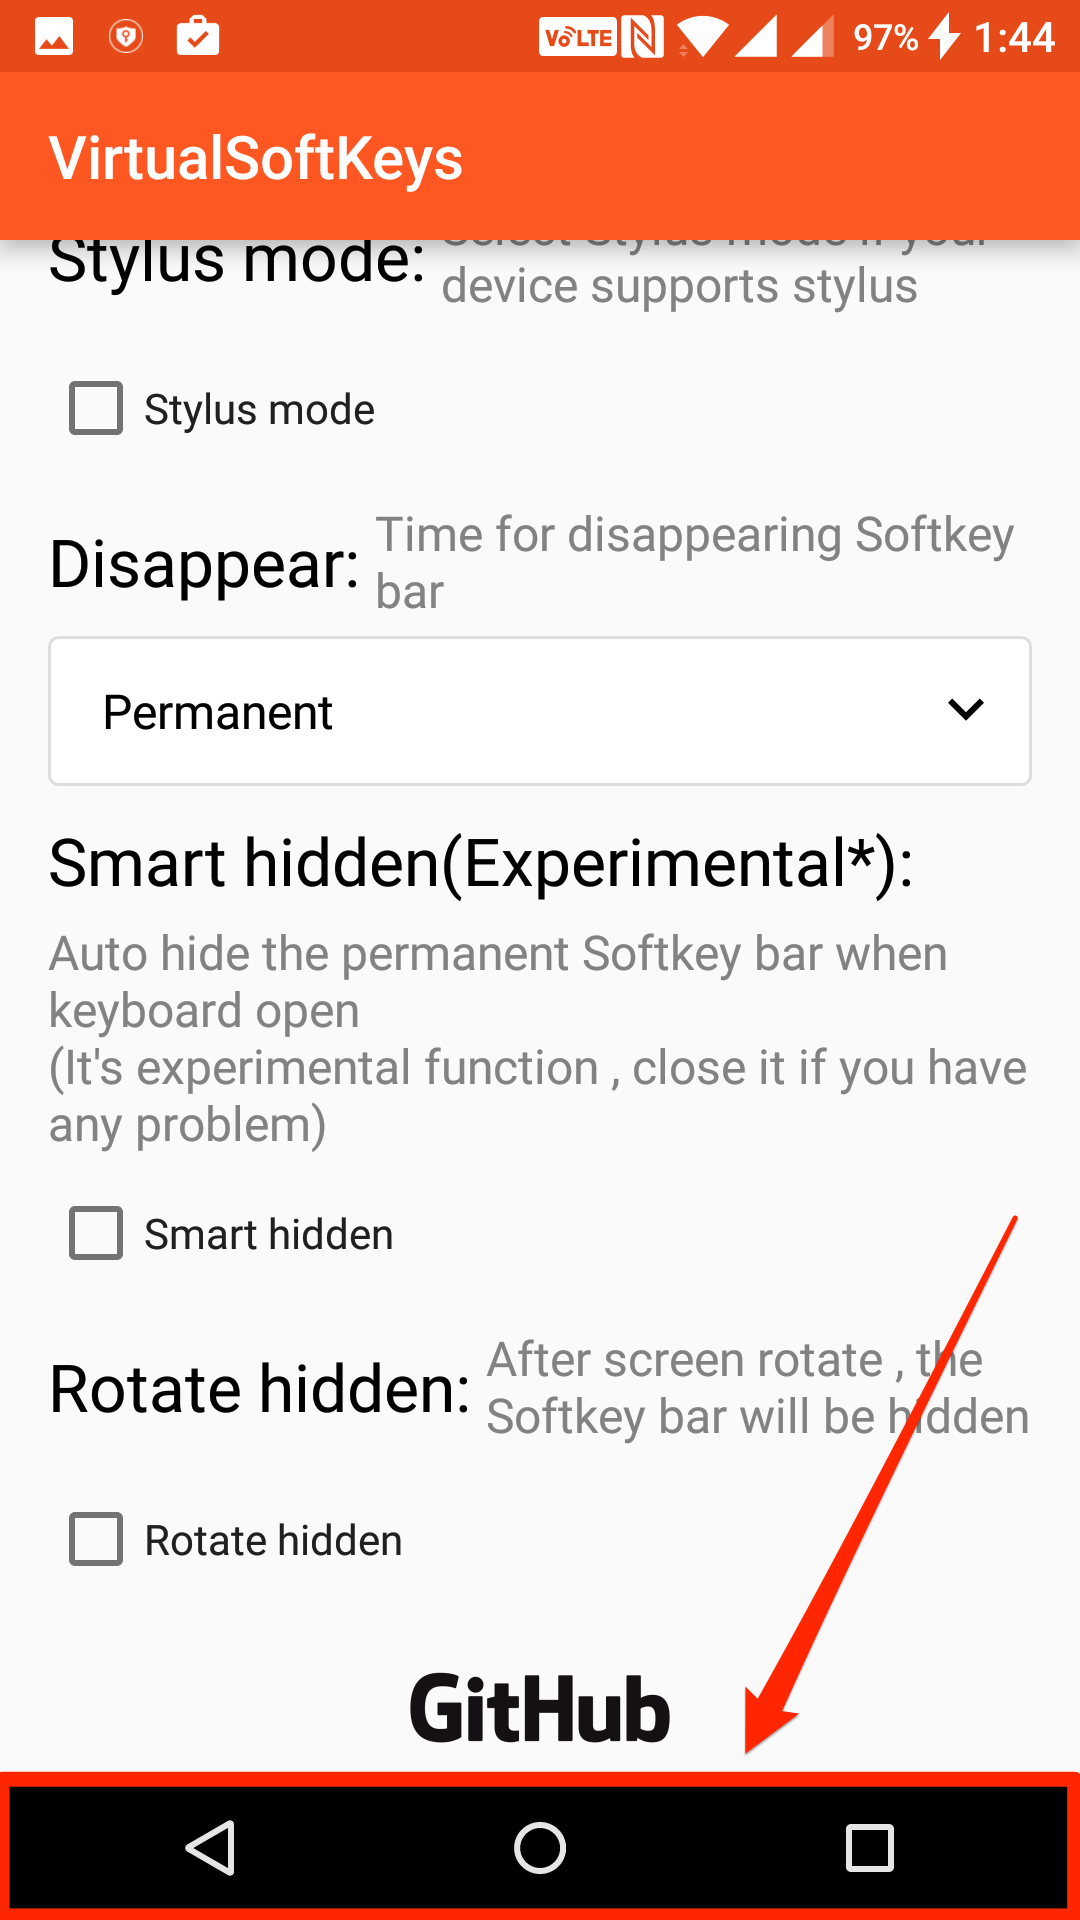
Keep tapping the back button and you will be back to the app. The main interface of the app should now be open on your screen.
This interface allows you to change various settings related to the navigation bar. So adjust them however you want. When you are done, swipe up from the bottom of your screen, and the navigation bar will appear. This is the navigation bar we wanted to add to our device and see it appeared and worked as well as the actual physical navigation buttons.
So, that was how you could add a virtual navigation bar to an Android device using a free app that does not even require root access.
You might also be interested in:
- How To Change The Resolution Of Your Android Device Without Root
- How To Turn Photos To Black And White In Android
- How To Save Battery While Still Having Snapchat In Android
- How To Block Ads Without Root Access On Your Android Device
Have something to say? You can contribute to this tech article by leaving a comment below.