Last Updated on December 26, 2022 by Mat Diekhake
Before a user can edit or delete a protected operating system file, they would first need to take ownership of that file. Windows 10 is good at many things but quickly allowing users to take ownership of files isn’t one of them. It is possible to run some commands from the Command Prompt to get the job done, but doing so is not very straightforward.
The far better method is by adding the option to take ownership of files from the context menu of your files, so all you have to do is right-click on the file and then select the option, wherever it may be located around the operating system.
The chance to take ownership of files in Windows 10 editions has been around for a while now, but since the tool has gone viral, the developers have taken the time to create a proper installation wizard that you can run through now instead of having to allow the file to make changes to your registry.
Taking ownership of files using this new method results in the same thing as the last. The only difference is what you need to do in order to have it set up on your computer.
The following tutorial demonstrates how to take ownership of files and folders so you can get full administrative access to them when you’re using a version of the Windows 10 operating system.
How to Get Full Access to Files and Folders by Taking Ownership in Windows 10
Here is how you can take ownership of files and folders so you can get full access to them in Windows 10:
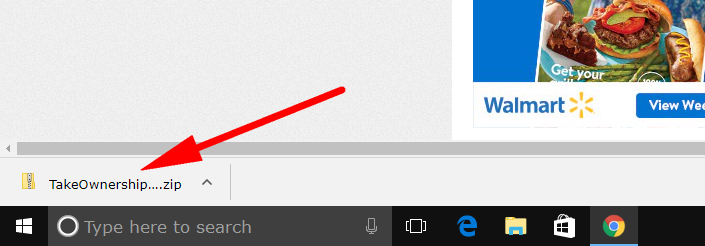
1. Download the Take Ownership tool and then click on the zip file once the download completes just above the taskbar.
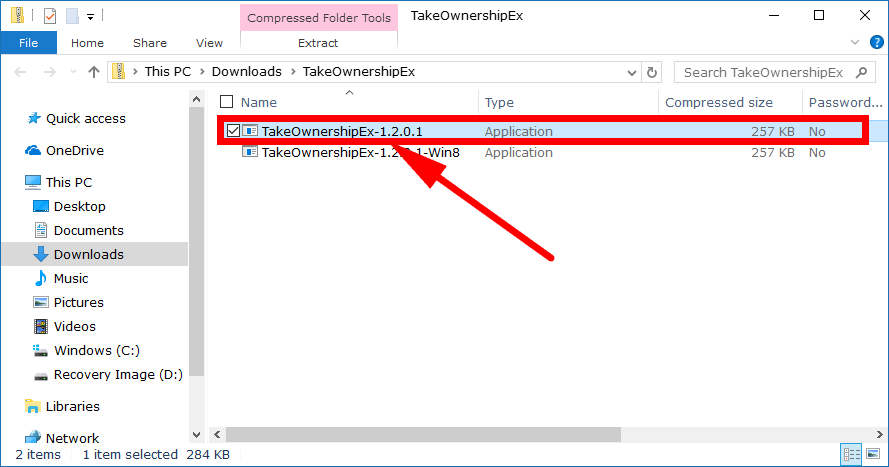
2. Click on the first file you see when the File Explorer window opens. It isn’t an extracted file yet, so you’ll be prompted if you want to do that now. Select the option to go ahead and get it extracted.
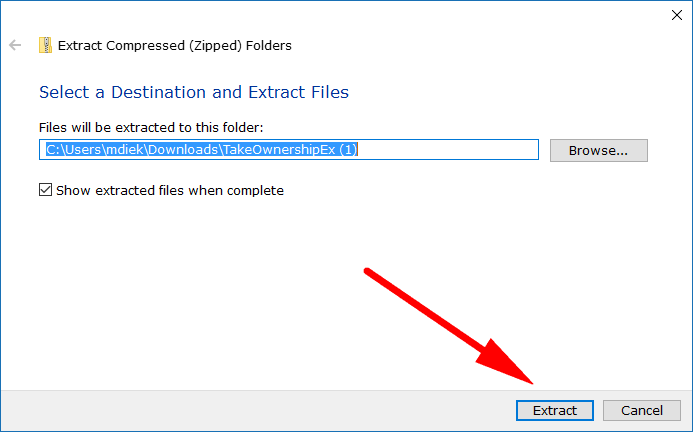
3. It’ll then give you an option to choose where you want to extract the file. Leave it set to the Downloads folder and then click on the Extract button.
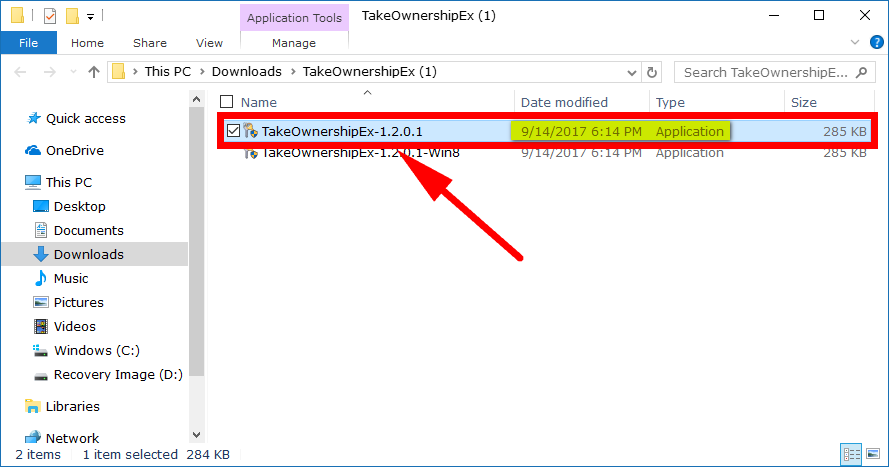
4. You’ll then be directed back to the file’s location in the Downloads folder from File Explorer. Click on the top option again.
It looks similar to the same screen you saw before, but the extracted version shows you the date modified now whereas the zipped version didn’t show anything other than the fact that it is an application.
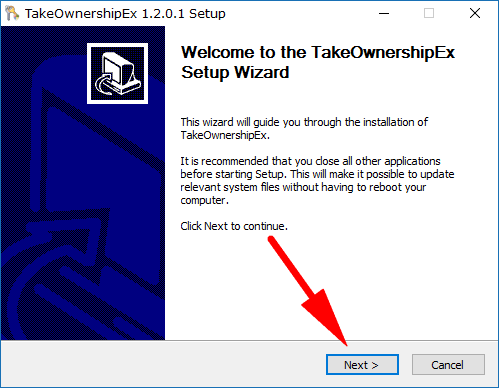
5. The beginning of the Take Ownership tool’s setup wizard now opens up. Click on the Next button.
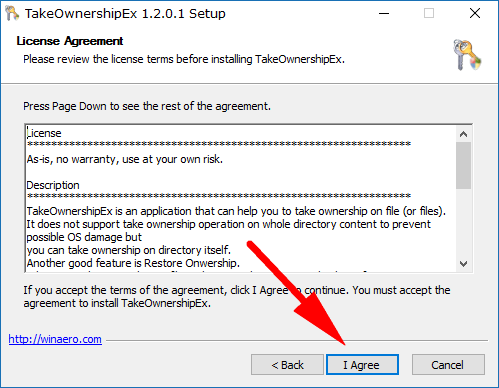
6. Click on the I Agree button to agree to the terms and conditions.
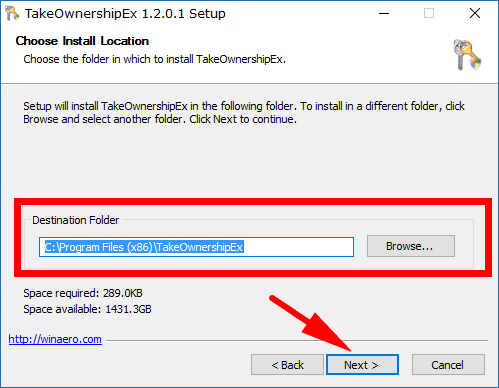
7. Choose a destination folder by clicking on the Browse button (or just leave it on the default option) and then click on the Next button.
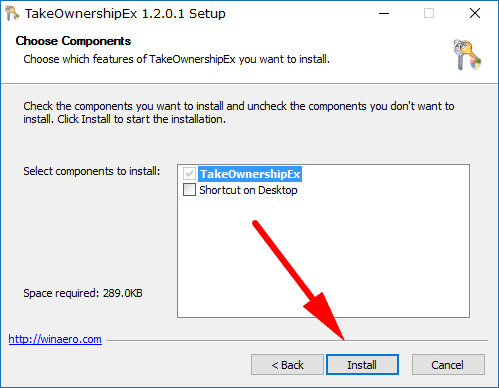
8. It then gives you the chance to choose what components you want to have. It doesn’t have the desktop icon option checked by default, so you’ll need to checkmark that box if you want it. After you’ve made your sections, click on the Install button.
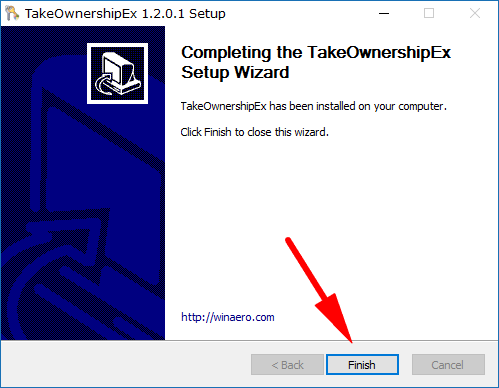
9. It only takes a few seconds to finish installing since it’s such a small file. Click on the Finish button when you are done.
You’ll occasionally need to take ownership of files to edit, modify of delete them if you use the Windows 10 operating system long enough, and now that you’ve got the tool installed, you can do it anytime just by right-clicking on the file and choosing the option to take the ownership.
That’s all.
This article was last updated on May 31, 2019.
Related Tutorials