Last Updated on February 25, 2024 by Mat Diekhake
System Restore is many people’s favorite Windows feature of all time that sadly might not be around for much longer on some devices that don’t offer enough storage space to support it. As long as you can spare a few GB’s of space, System Restore can save restore points which are like snapshots of past dates. You can then restore those snapshots, so you turn back the time and use the operating system back the same way it was on the date that the restore point was taken.
You can manually choose when to take these restore points or just leave it up to Windows to take them automatically for you when it feels something of significance has happened. Just remember though that older restore points get wiped when it goes over the maximum allocated usage for taking the restore points, which by default is set to around 4 GB’s but can be changed from the settings if you want to allow more or less space.
If you use the Windows operating system a lot, nobody will blame you for not remembering how to go and take these restore points or restore them. Microsoft doesn’t exactly make that easy to do. It required some memory or some research—that is unless you choose to make a “Create a System Restore Point” shortcut so that it is always available from the desktop.
Here’s what you need to create the “Create a System Restore” shortcut sitting on your computer’s desktop when you’re running on a version of the Windows 10 operating system.
How to Have a “Create System Restore Point” Desktop Shortcut in Windows 10
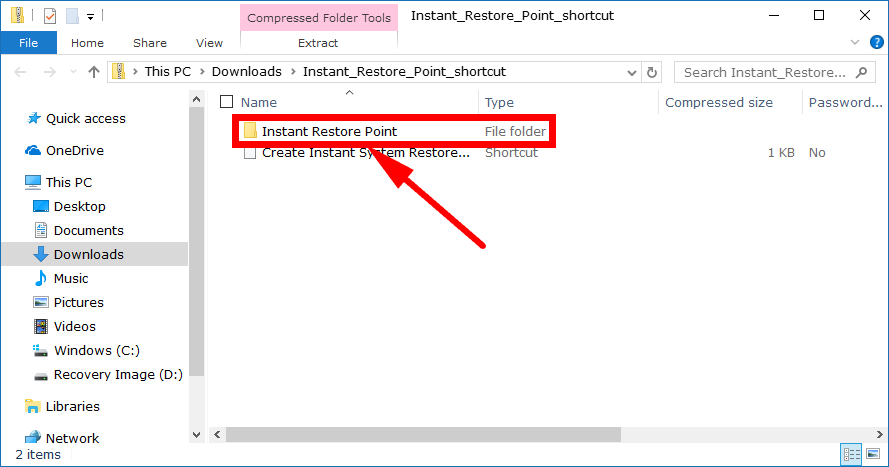
Download the Restore Point zip file to the computer and then click on the file when the download completes just above the taskbar in the bottom left corner of your computer’s display.
Unblock the file by right-clicking on it and then clicking on the “Properties” link from the menu.

Then keep it on the General tab and check the box that’s available for the unblocking next to where it gives you the Security heading.

Don’t unzip the file. Instead just click and drag it over to the desktop of the computer.

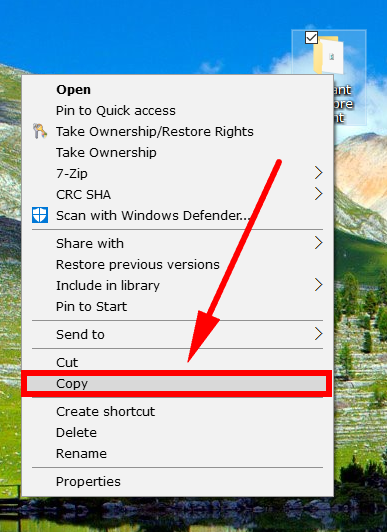
Right-click on the file and then click on the “Copy” link from the menu.
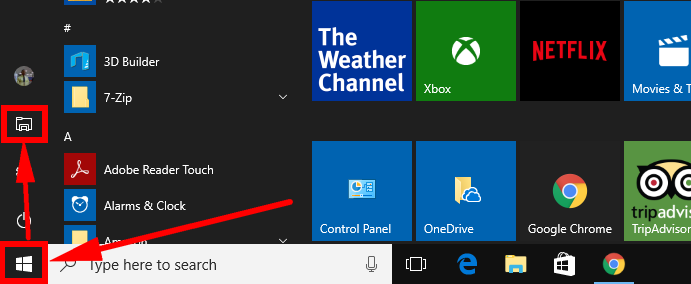
Open up the File Explorer by heading to the Start > File Explorer from the Start menu’s left side pane.
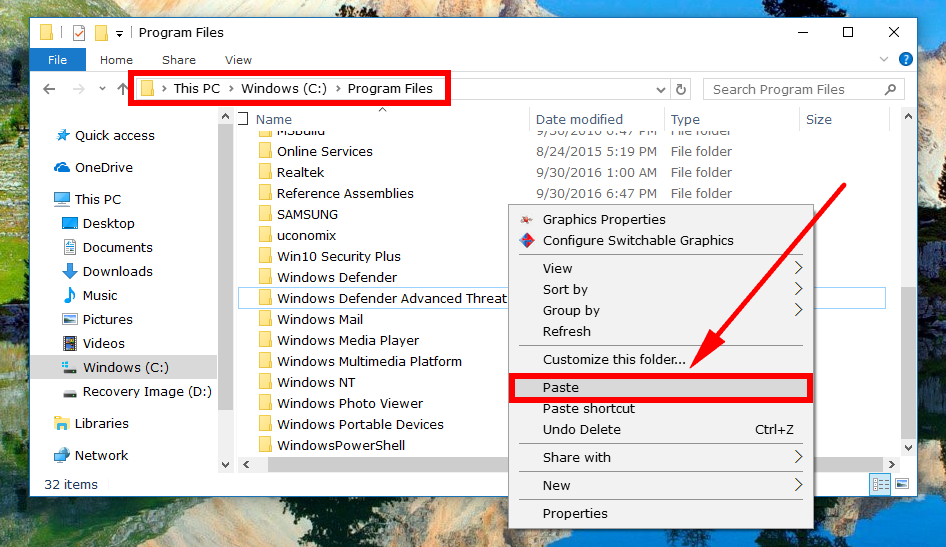
Now navigate to the Programs Files folder by clicking on the “C: drive” under the Devices and drives heading inside “This PC” and then clicking on “Programs Files.” Once you are inside Programs File,s right-click the white background to the right side of File Explorer and then click on the “Paste” button.
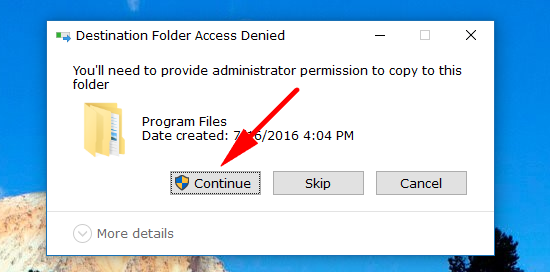
You might get a “Destination Folder Access Denied” message even if you are signed in as an administrator. If you do, then just click on the “Continue” button.
All you need to do now is drag and drop the “Create a Restore Point” shortcut over to the desktop.
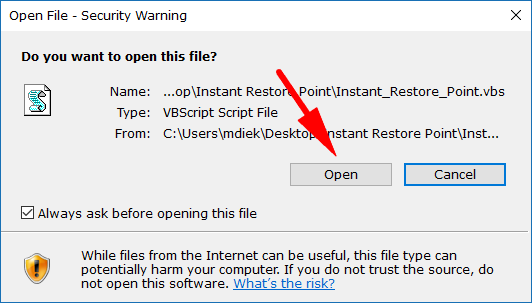
If you were to try and unzip the file and then run it from the desktop, you would get a box like this one that you need to click “Open.”
If you are finding the “Windows Script Host access is disabled on this machine” error message what you need to do is enter the Registry Editor and change it.
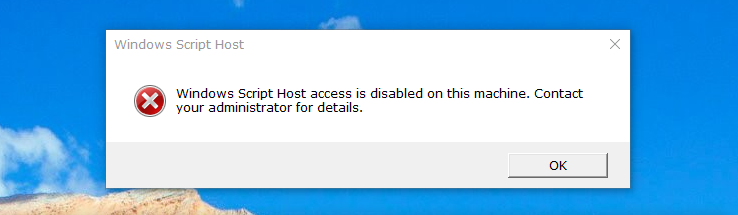
You can do that by opening Run dialog box and typing “Regedit” and then navigating to HKEY_LOCAL_MACHINE\Software\Microsoft\Windows Script Host\Settings and clicking on the “Enable” option in the right side pane. It’ll open up Edit DWORD box where you need to then change the Value data from “0” to a “1” and then save the changes by clicking on the “OK” button again. You can find a full run down on how to do that from this guide: How to Enable/Disable Windows Script Host Access.

System restore has always helped save people from plenty of problems ever since it was first introduced in Windows ME. Now you can quickly take a restore point whenever you feel like it just by using the shortcut that’s on your desktop. That way you don’t need to leave it up to Windows to decide on when your restore points are created.
Related Tutorials