Last Updated on July 31, 2020 by Mat Diekhake
This is what you need to flash a firmware file to your mobile devices by using the smartphone flash tool.
There are a few different versions of the SP flash tool that you can download, but all of them work similarly, with the same names on the buttons for easy navigation. The small changes that are there can easily be negated (i.e., older version of the tool show “scatter-loading” on the button where the newer versions say “choose”).
Smartphone Flash Tool Features
The SP flash tool is primarily used for installing firmware files manually when you don’t want to install over the air software updates, but the tool also has many other features available as well. They are as follows:
- Install Android stock firmware (scatter files)
- Install Android custom firmware (custom ROMs)
- Advanced memory testing and verifying
- Read/write parameters
- Formatting of MTK-based chipsets
- Resetting of MTK-based chipsets
The following tutorial demonstrates how to install a firmware file by using the smartphone flash tool on a computer that runs on a version of the Windows operating system.
How to Install Firmware Using Smartphone Flash Tool
Here is how you can flash firmware to your Android smartphone by using the smartphone flash tool on a Windows computer:
Notes:
- You must have a Windows-based desktop computer or laptop to use this tool.
- You need to have a USB cable to connect the smartphone to the computer you’re using.
- The tutorial will not work unless you install the USB drivers on your computer that are available during the guide. If you get stuck with drivers, you want to install drivers that work for MTK-based chipsets.
1. Start off by downloading and install the Android CDC driver on the Windows computer.
You don’t have to install the driver a second time if you’ve already got it on the computer.
2. Download the ROM that you want to flash onto the computer and extract the file by right-clicking on it, and then clicking Extract from the menu.
Note: You can also follow the same steps given below for flashing a custom ROM that’s made for your device if you like.
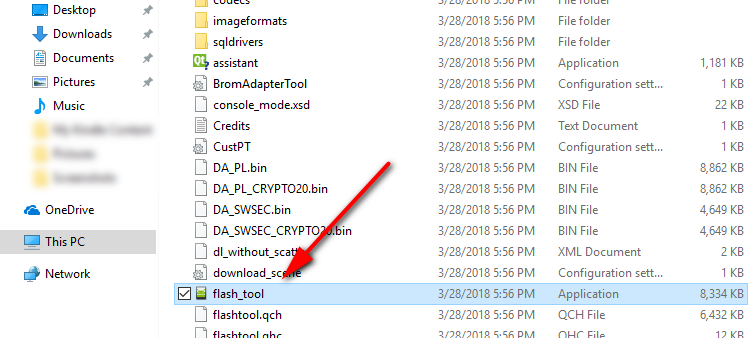
3. Download and extract the smartphone flash tool file onto your computer.
4. Double-click on the SP flash tool application from within the extracted folder.
5. You’ll now have the smartphone flash tool interface open on your computer. Click on the Download tab from its menu.
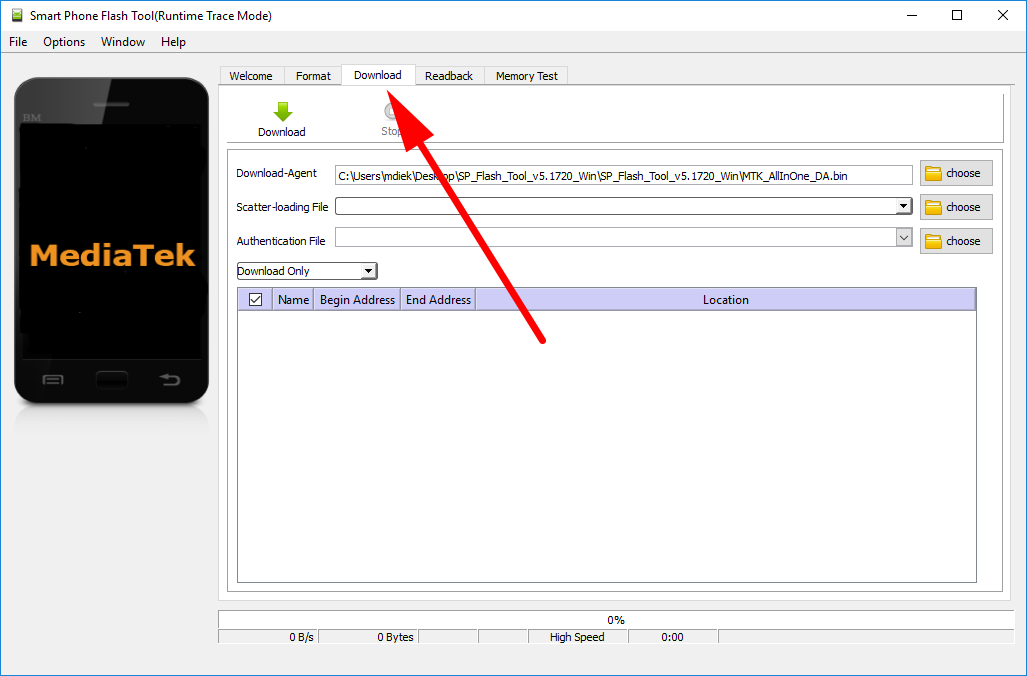
6. Click on the Choose button from the Scatter-loading section. Navigate to where your ROM file is on your hard drive, click on it, and then it will upload to the flash tool.

7. Click on the Download button when you want to start the ROM flashing.

8. Pick up the smartphone, making sure it is powered off first, and connect it to the computer with the USB cable.
You can help the computer detect the mobile device by pressing one of the Volume buttons once it’s connected to the PC.
The ROM will then get flashed to the smartphone. You know the flashing is finished when you get a big green tick at the end.
Related Tutorials
- Download Micromax Stock ROM for All Devices
- Download Samsung Stock ROM for All Devices
- Download Sony Xperia Stock ROM for All Devices
- Download Lenovo Stock ROM for All Devices
- Create Bootable USB Flash Drive to Install Windows 10
- How to Use SUT L3 Tool to Flash NB0 Firmware
- Download UMT Ultimate Multi Tool Latest Setup
- Download Lenovo Downloader Tool (All Versions)
- Download Android Multi-Tools to Remove Pattern Lock/Password
- How to Flash CPB Firmware Using YGDP Tool
- Download Minimal ADB and Fastboot Tool (All Versions)
- Download Sony Mobile Flasher (All Versions)
- Download QcomDloader Tool (All Versions)
- Download Qualcomm Flash Image Loader (QFIL)
February 24, 2019 @ 12:13
great