Last Updated on December 26, 2022 by Mat Diekhake
A user account is something that we all have to have when we use the Windows 10 operating system. If you have managed to log into Windows 10 without creating an account, then it is only because you are using someone else’s account. Otherwise, it wouldn’t be possible.
There are two types of user accounts that somebody using Windows 10 can have. The most common one—and the one that Windows developers hope you use more and more as time goes on—is the Microsoft account. The other one is the local user account.
As we’ve gone over time and time again, the Microsoft account is the better option if you want to sync your things. For example, if you log into the same Microsoft account on different devices, you are greeted with practically the same computer. The wallpaper background and theme of the operating system will be the same for you, all of the tiles will be in the same place and so on. None of that happens with the local user account though.
In the most recent Creators Update, the local user account didn’t get a big boost compared to earlier versions of the Windows 10 operating system in that now you can use a local user account to install applications from the Windows Store. Before roughly the beginning of April in 2017, that was not possible in Windows 10, and you were forced to sign into a Microsoft account to install the apps from the Windows Store.
Since there is going to be so many people around the world adding user accounts to computers, it’s only natural that sometimes people are going to want to delete user accounts too. It might not be because the same individual wants to delete their account and remove themselves from Windows or because they want to create another account instead. Sometimes computers have several users accounts assigned to it, and the administrator of that computer wants to remove one of the users who is listed in the accounts section but is no longer users of the computer. Sometimes a spring clean of a computer is just what the doctor ordered.
How to Remove a User Account in Settings
Click on the “Start” button and then click on the “Settings” gear icon from the menu’s left side pane.

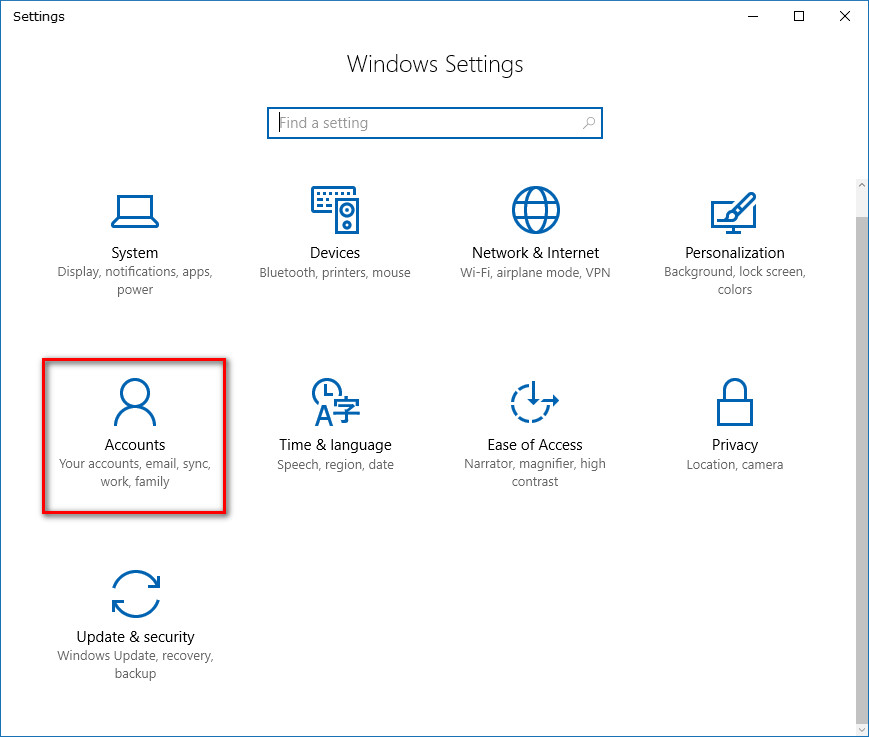
Click on the “Accounts” button that is available from the “Windows Settings” screen.
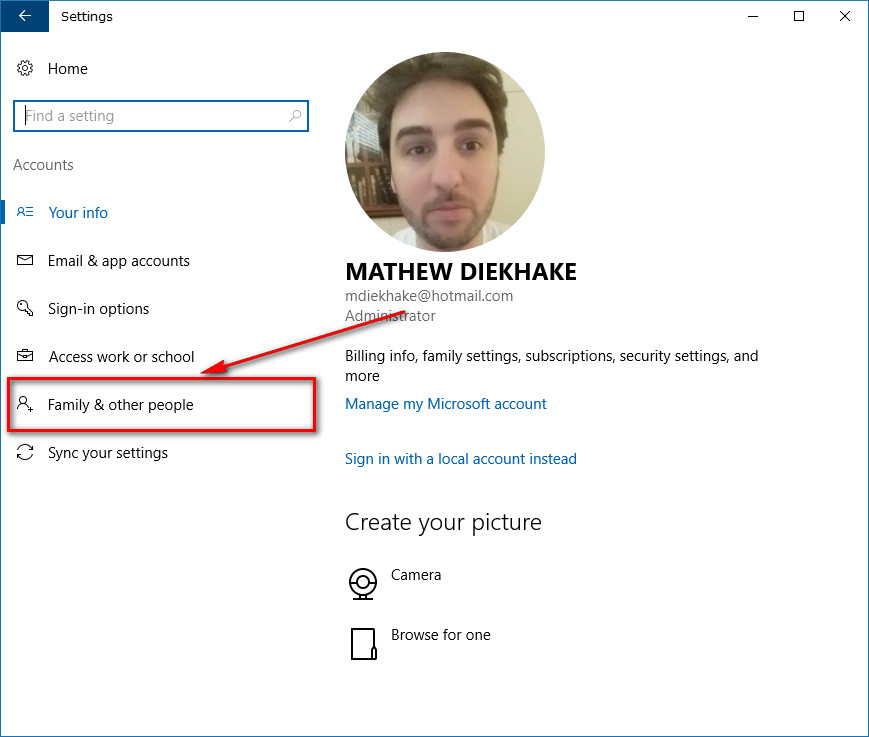
Click on the “Family & other people” link in the left pane.
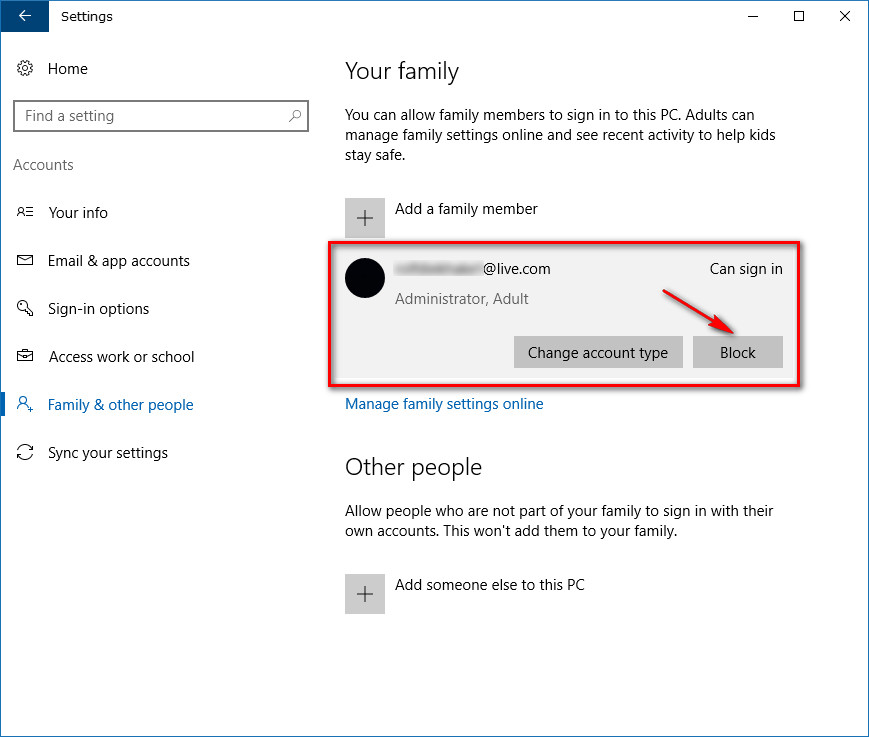
If you are signed into your Microsoft account but using someone else’s computer, then you will see the option to “block” that user and not delete them. You cannot delete a user account that was the first user account to set up Windows 10. That rule applies even if you have the administrator permissions. The original administrator can only be blocked and not deleted.
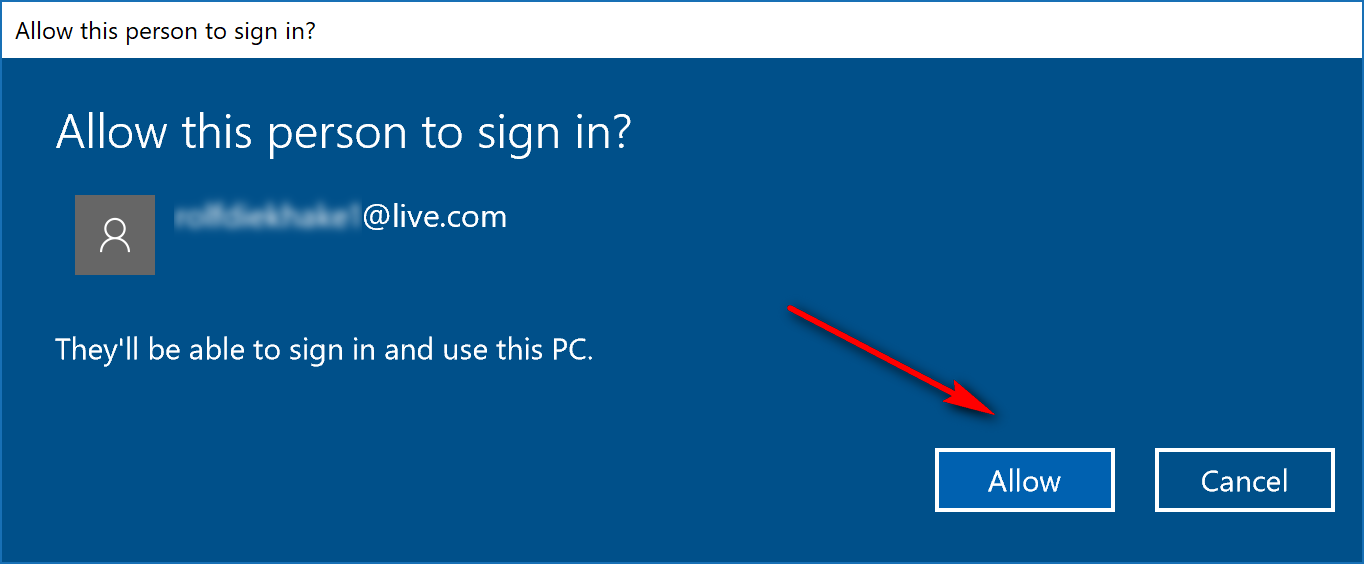
However, if you enter the same area on the computer that is yours (meaning it was your account that was first used to set up the computer), then you will see the option to allow that person the chance to use your computer first. Once you enable them to use your computer by clicking on the “Allow” button, you can then block them.
If you don’t see the “Allow” button here, it might be because that user already has the permissions to log in as a user from the computer you are using. You know that is the case if you already see the “Block” button.

Windows 10 then gives you a dialog box checking to make sure that you do indeed want to allow this person to have an account that they can use on your computer. To accept, click on the “Allow” button and then that user’s account is associated with the computer.
Now if you look back at the same user from the “Family & other people” page, you will see there is a “Block” button for you to press

Click on the “Block” button when you get to the “Block this person from signing in?” dialog box.
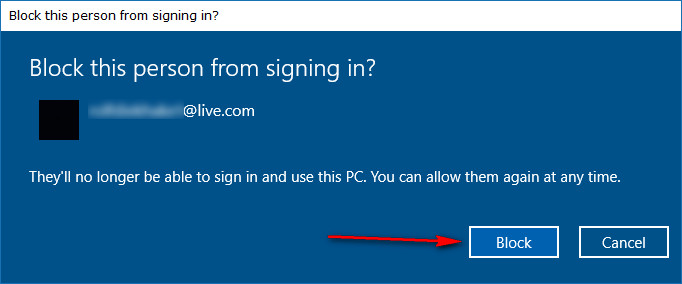
In earlier versions of the Windows 10 operating system, there used to be a button that said “Remove” and then a confirmation box that said “Delete account and data” but that has now changed to the “Block” button. The Windows developers might have done this because the older way gave the impression that it would have deleted the users account entirely and not just from the computer. Of course, that is not the case, and you won’t be deleted someone else’s Microsoft account when you remove their accounts from the computer. To avoid the confusion, you now get to block the user you had once allowed and thus doing the job of no longer allowing that person to use the computer.
How to Delete a User Account in Control Panel
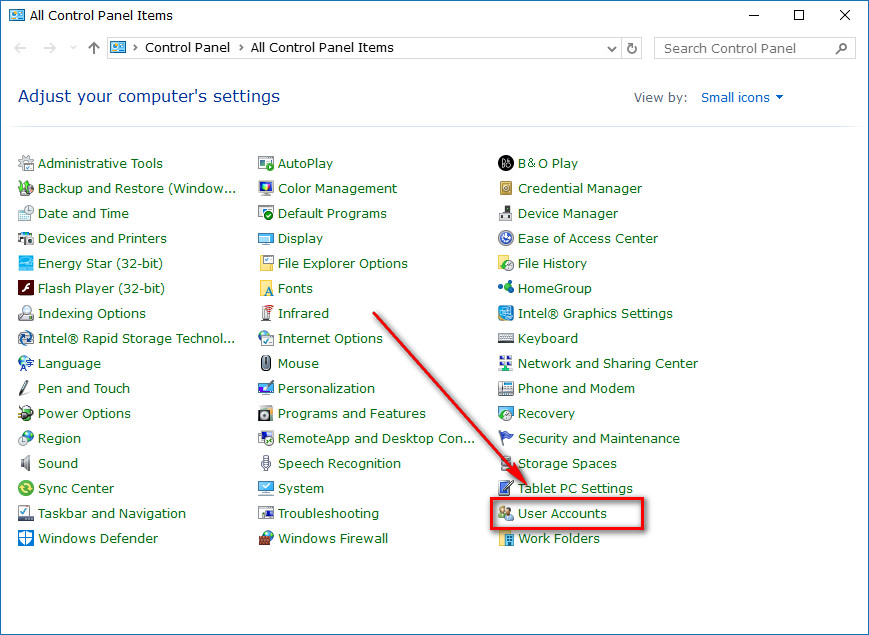
Open the Control Panel by typing “Control Panel” into the search field and then clicking on the Control Panel desktop application that becomes available under the “Best match” section. When you have the Control Panel open, make sure you have the “Small icons” selected from the “View by” section in the top right corner.
When you can see all of the links available from the Control Panel page, click on the “User Accounts” option.
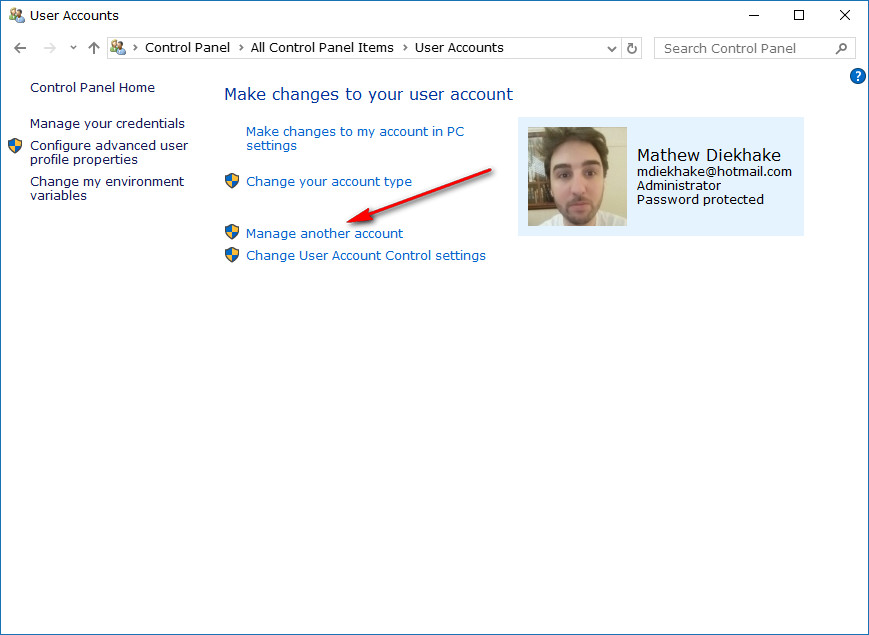
You should see your current profile accessible to the right side (where you can see my ugly head) and to the left of that account should be a few links. Look for the link that says “Manage another account” and click on it.
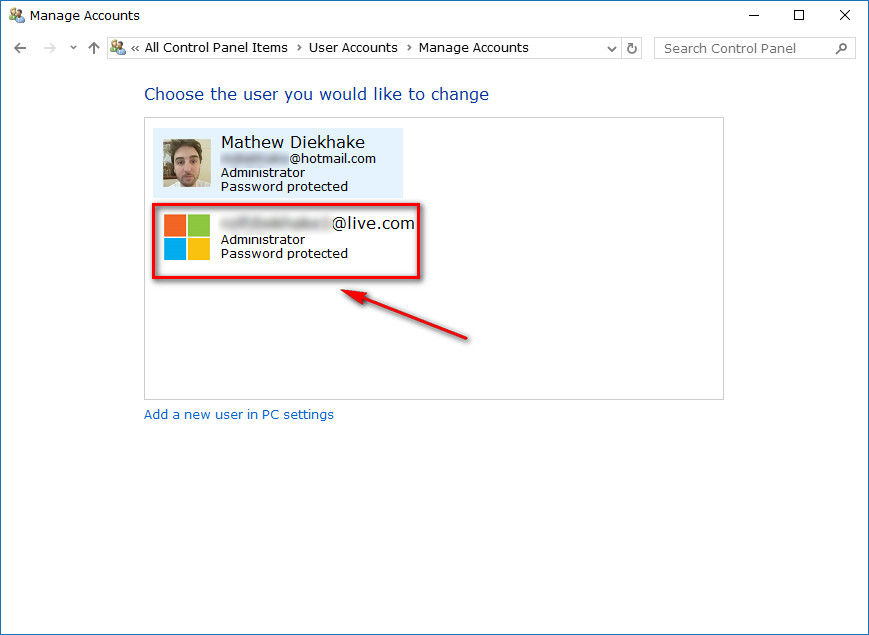
You then get a list of all accounts that are associated with the computer. To be clear, it doesn’t necessarily mean user accounts that were created using this PC. It is possible to allow other user accounts to be a part of your computer. Once you allow them from the “Accounts” section in “Windows Settings,” then you will find them here too.
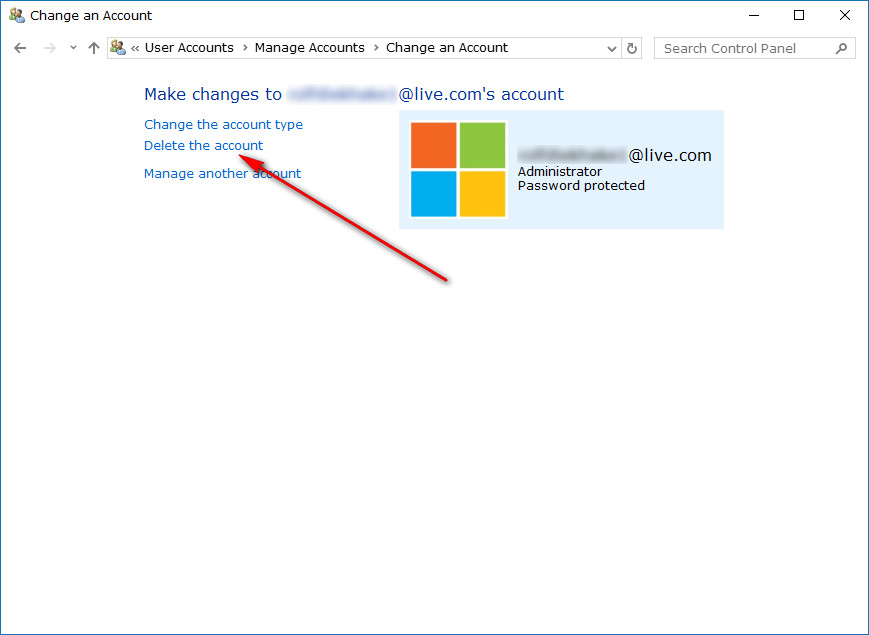
Click on the user account that you want to be removed from the computer.
Click on the “Delete the account” link that is available on the left side of the screen.
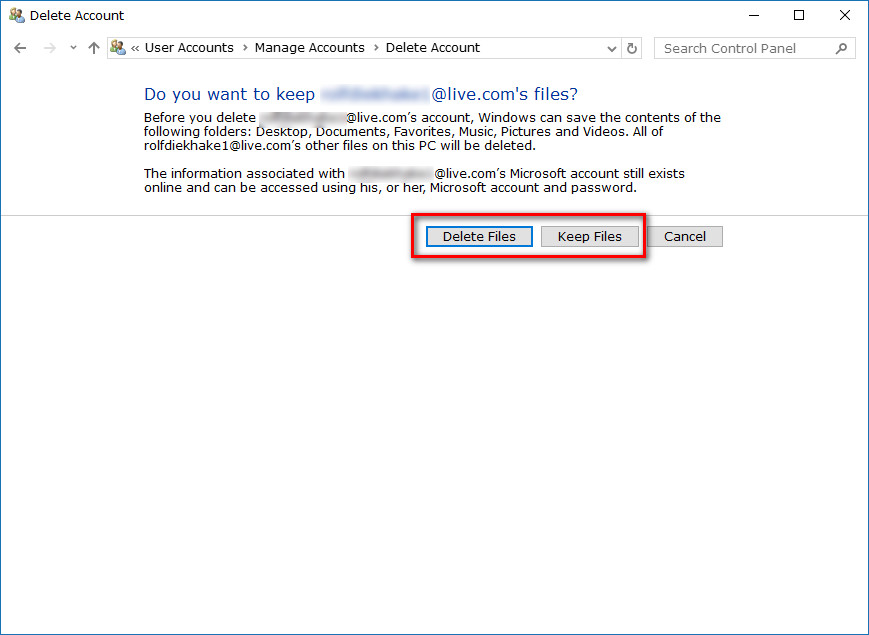
You then get a message letting you know that you can choose to delete the account and delete all of the files that were associated with that account or you can delete the account and keep the files that were associated with the account. Those files are the ones available from the user account’s desktop, documents, music, pictures and video folders from their account. (This only deletes the files from the account on the computer. The person can still access the same account from other computers and find all of the same files available.)
Once you have decided what you want to do with the files, either click on the “Delete files” if you want them gone or “Keep Files” if you want the files kept on the computer.
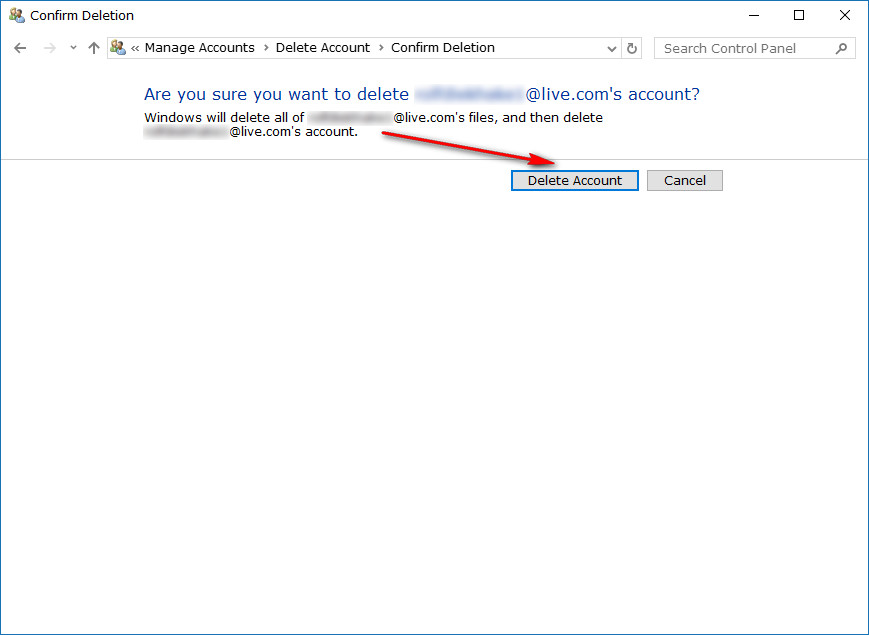
You then get one last confirmation message just to make sure that you do want to delete the user account from the computer. Click on the “Delete Account” button when you are sure that it is what you want to do.
How to Delete a User Account in Local Users and Groups
Note: You’ll need to be using a Windows 10 Pro, Education or Enterprise edition of Windows 10 for this guide to work. You can’t make policy changes in the Local Group Policy Editor using the Windows 10 Home. You can upgrade from Windows 10 Home to Windows 10 Pro by heading to the Settings application if you want to be able to make changes to group policies.
Open the Local Users and Groups by pressing the Windows logo key + R to open up the “Run” dialog box and then type “lusrmgr.msc” and click on the “OK” key.
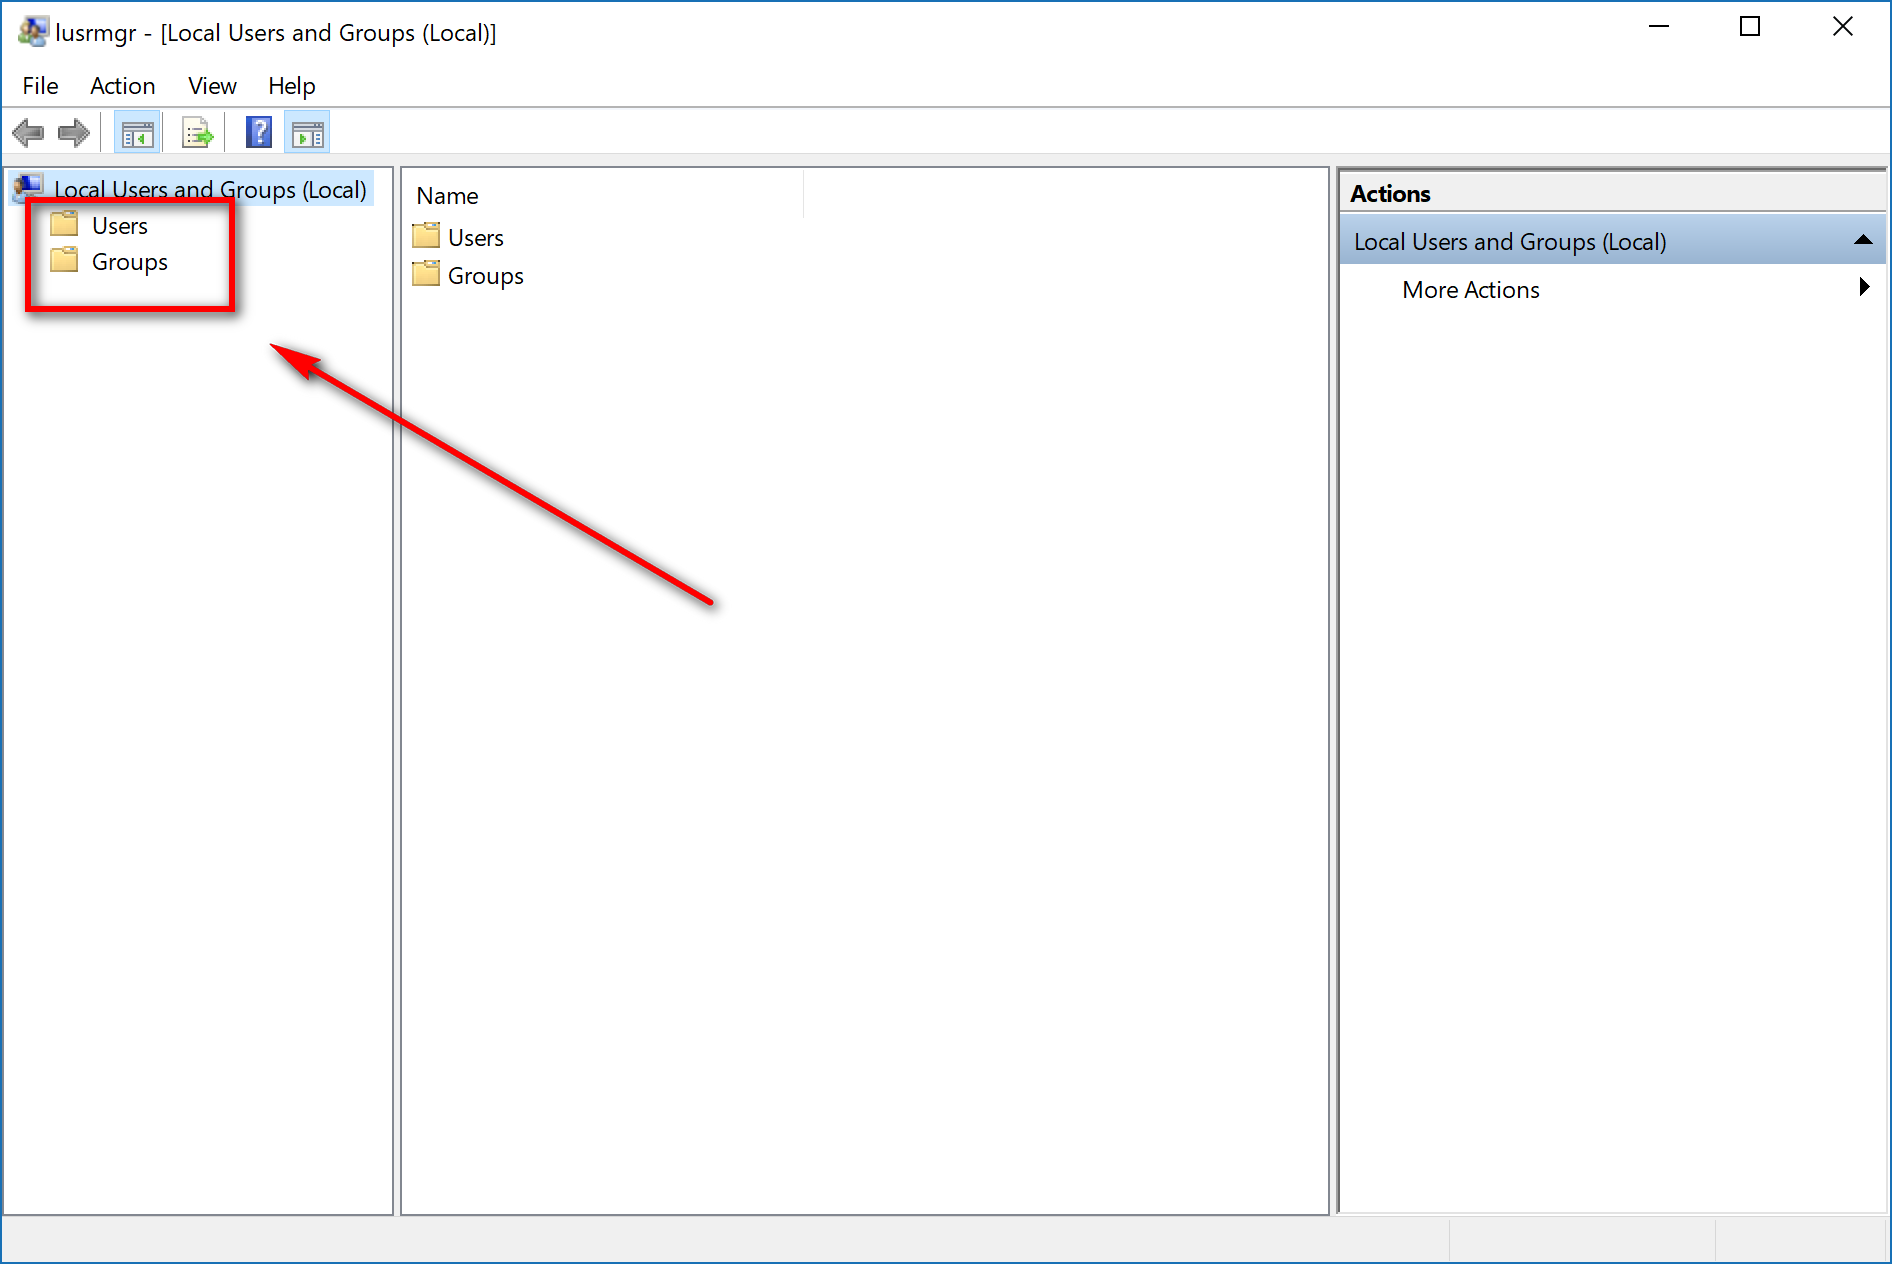
Doing so gives you the “Users” and “Groups” keys available from the left side pane. Click on the “Users” key.
Once the “Users” key is expanded, you then get to see all of the accounts on the computer from the middle pane. Find the user accounts that you want to delete and click on it so that it is highlighted.
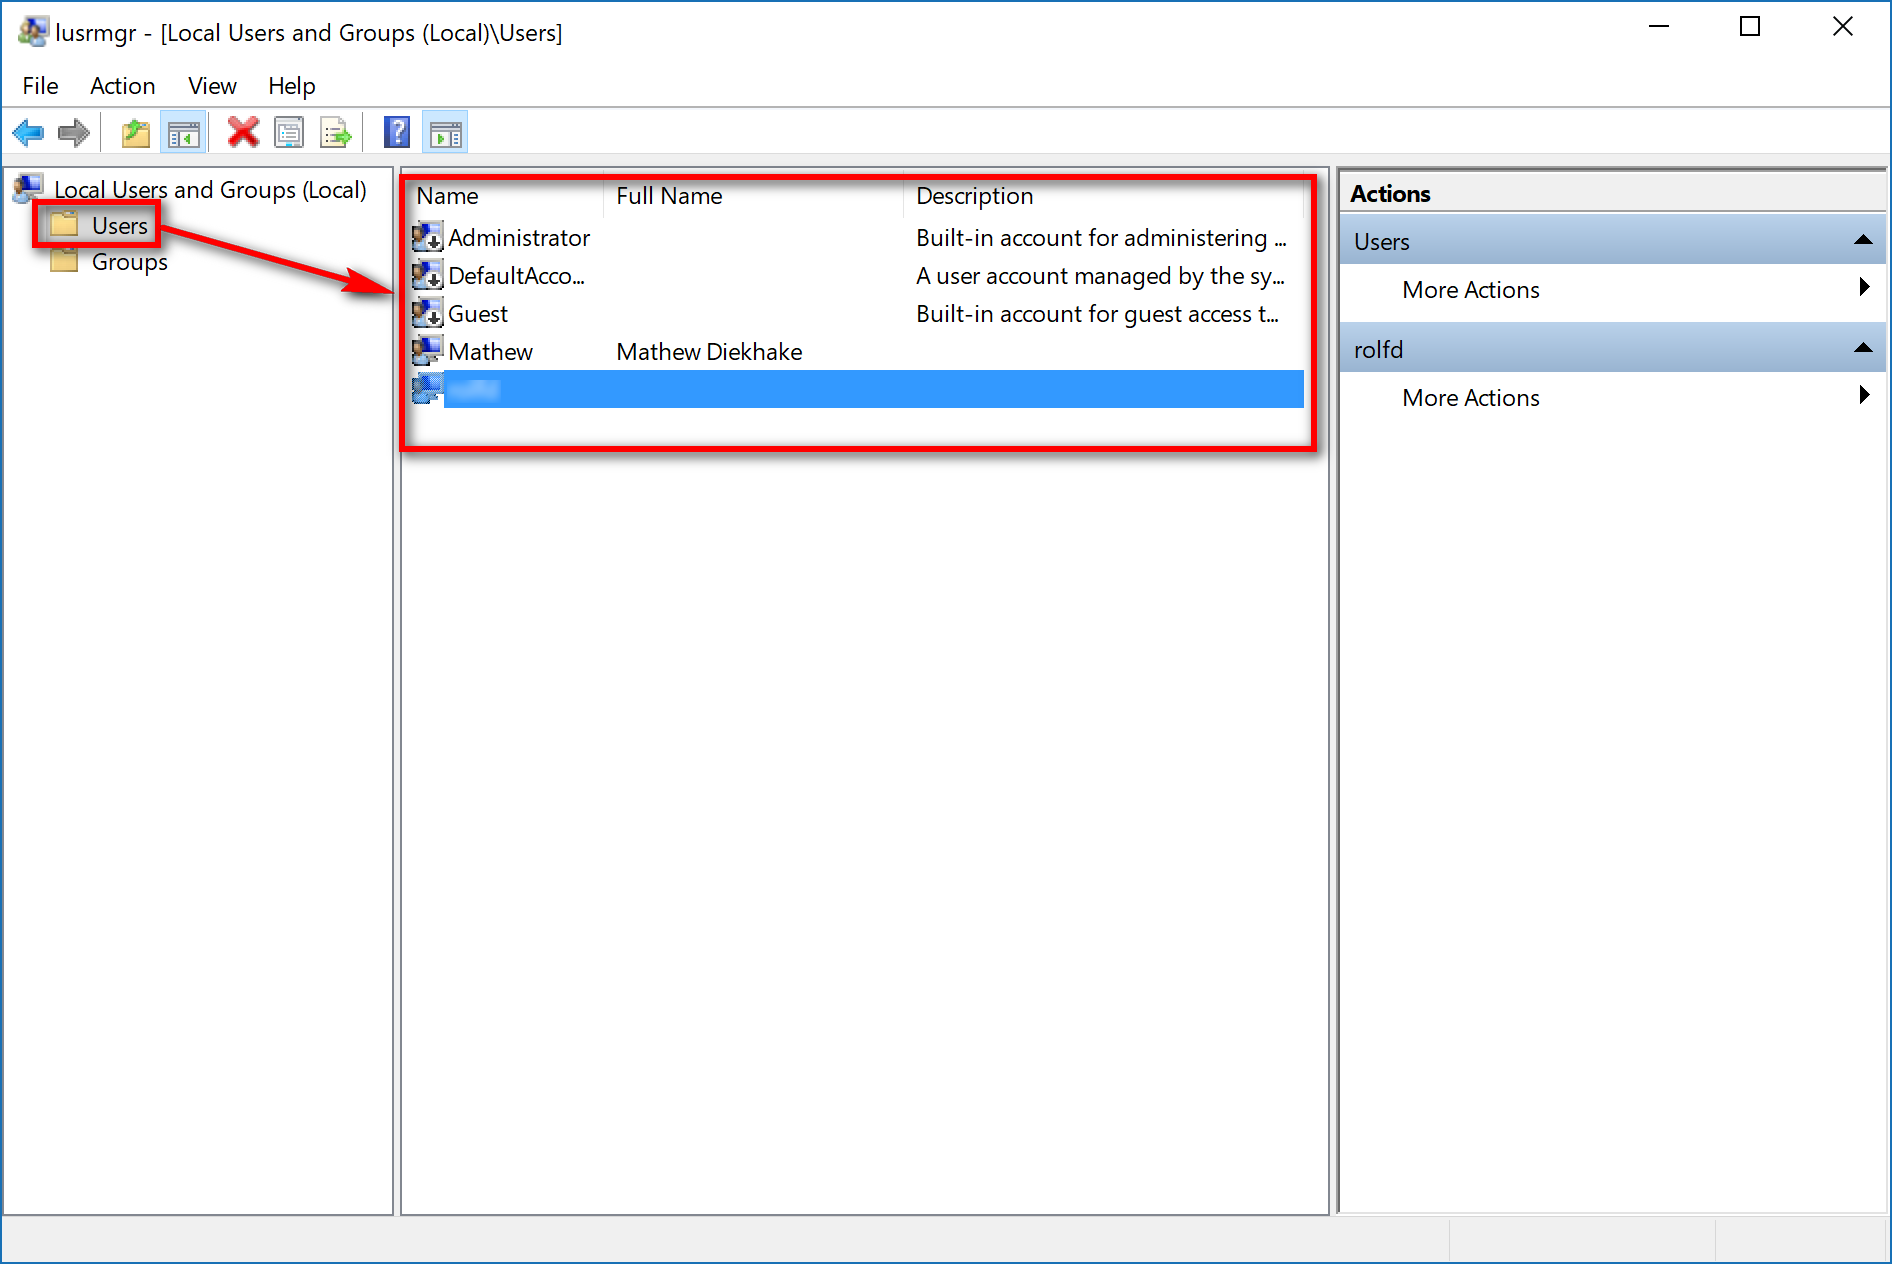 Having the account highlighted means that you can now click on the “More Actions” link in the right pane and then click on the “Delete” option from the menu.

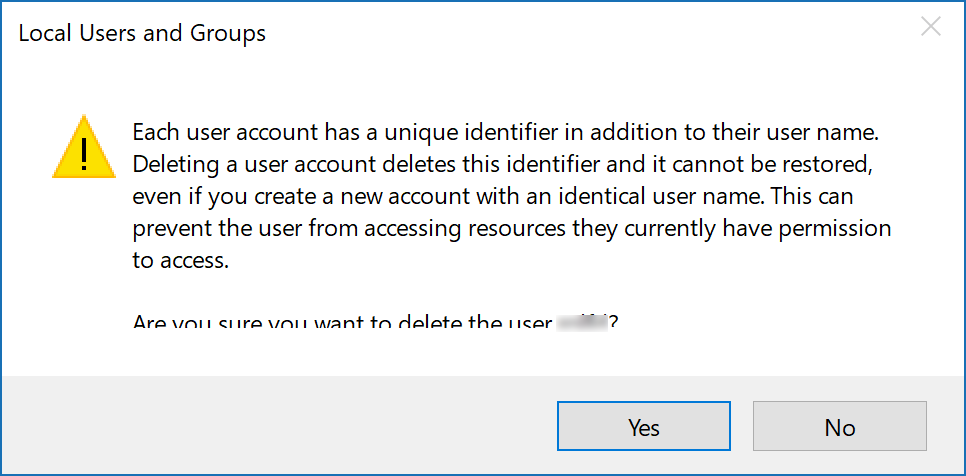
The Local Users and Groups gives you one dialog box that makes you click on the “Yes” button to confirm that you do want to delete that user’s account from the computer. The one difference with the Local Users and Groups way of deleting is that it lets you know that a user account has a unique identifier as well as the username and when the user account is deleted, the identifier cannot be restored. Apparently, this can mean there might be some resources that the user currently has permissions to access that they will not be able to access again if the user account is deleted.
You don’t see this message on other methods of deleting an account, because in order to have gotten into the “Local Users and Groups” you need to have a Pro, Education or Enterprise version of the Windows 10 operating system. (That would only be relevant until the admin assigns those permissions to the account again which can always be done from the Local Group Policy Editor.)
How to Remove a User Account in Netplwiz
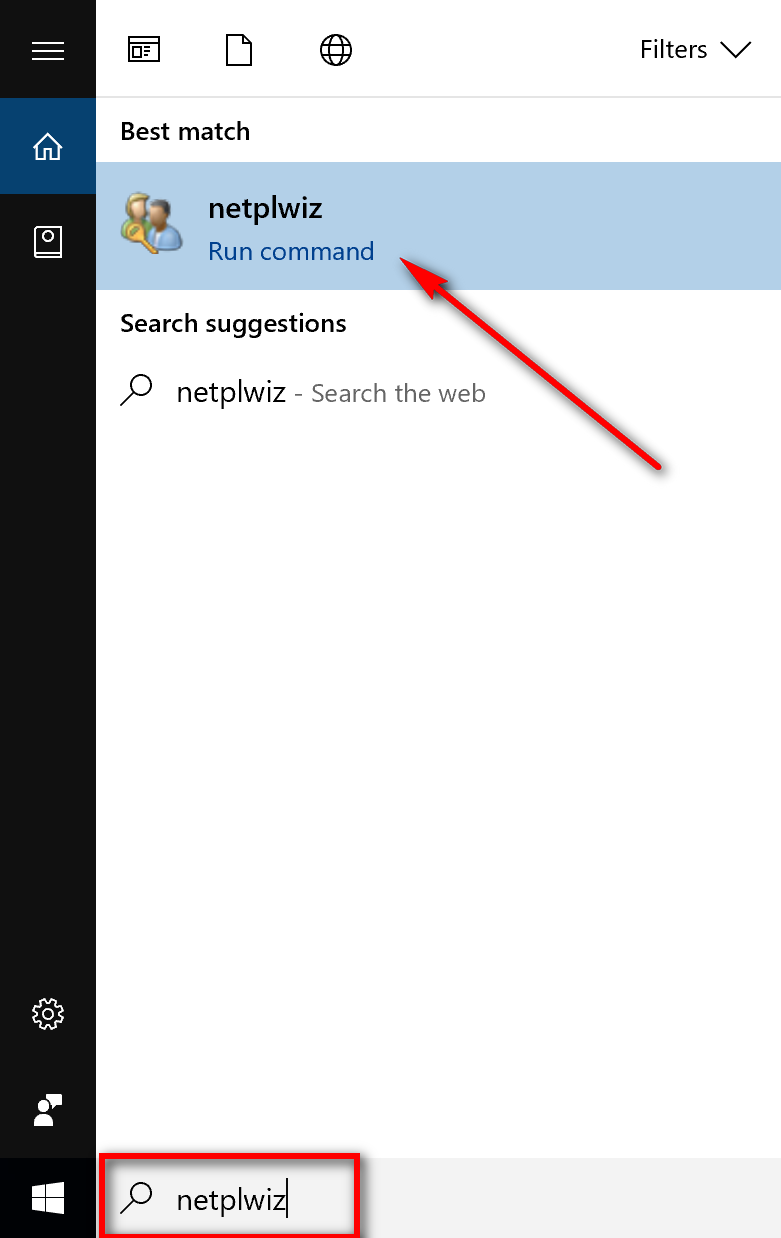
Type the “netplwiz” into the search box and then click on the “netplwiz” Run command found under the “Best match” section at the top.
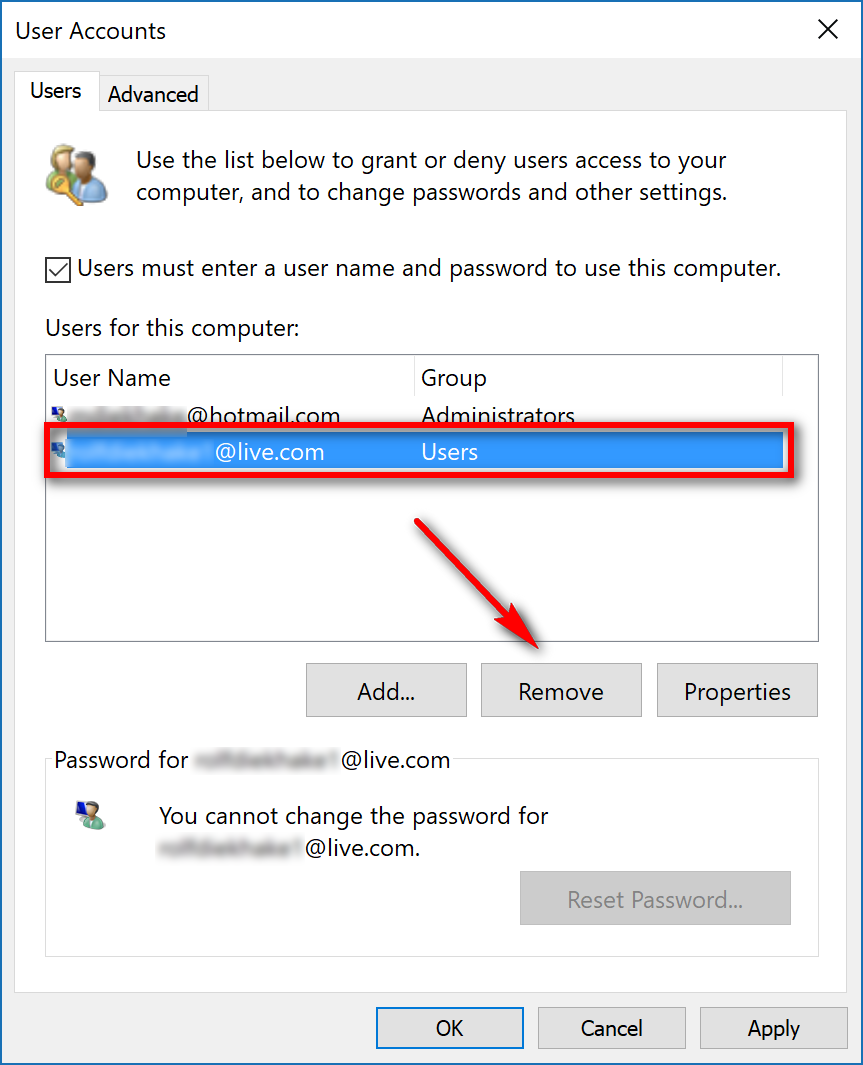
Make sure that you have the “Users” tab open and then look for an empty checkbox. You need to check the checkbox with a checkmark by clicking the mouse or touchpad in the box before you can do anything. Do that now, and then you’ll see the user accounts available for you to select.
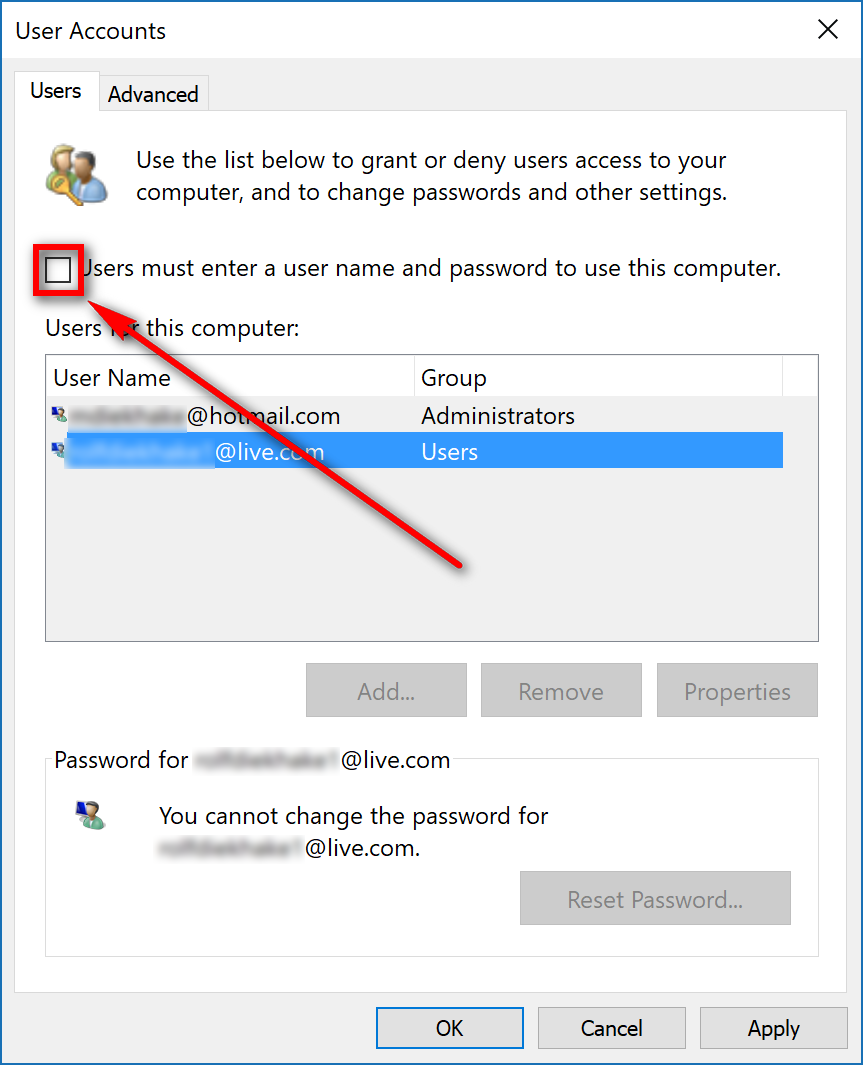
Select the user account that you want to be deleted by clicking on it once so that it is highlighted and then click on the “Remove” button.
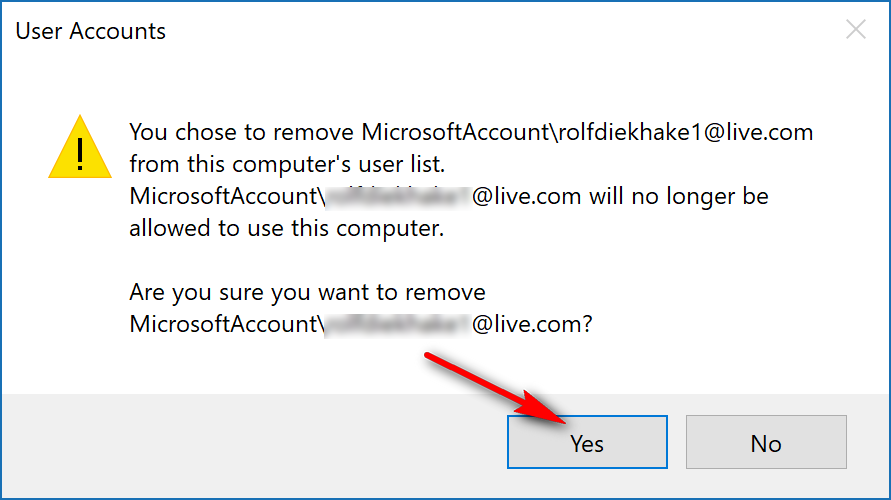
The “User Accounts” dialog box then gives you one last warning asking if you are sure that you do want to delete that user’s account. Click on the “yes” button for it to be deleted once and for all.
Those are the four main ways for you to delete a user account when using the Windows 10 operating system. Some of the ways are only available if you have a Pro, Education or Enterprise version of Windows 10 while others are available for all versions of Windows 10, including the popular Home version.
You might also be interested in:
- How to Open Settings Menu in Windows 10
- How to Change Folder Template of Folder in Windows 10
- How to Change Screen Saver Settings in Windows 10
- How to Open Command Prompt in Windows 10
You can subscribe to our RSS, follow us on Twitter or like our Facebook page to keep on consuming more tech.