Last Updated on January 12, 2019 by Mathew Diekhake
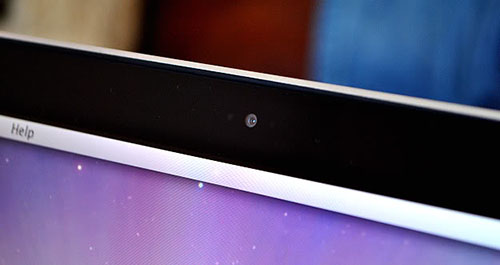
While most people don’t have to disable the camera on their Mac, some people will want to do it as they find that it is something people can use to spy on them.
If you are one of those users and you would not like covering the camera using a tape or using any other methods to detect camera activities, then you have a way that completely disables the camera on your Mac.
Once disabled, none of the apps on your Mac will be able to access the camera. Also, if you ever want to re-enable the camera, you can do so using a few commands.
Here’s how:
Completely Disabling the Camera on a Mac
To do the task, you are going to use a few commands in the Terminal app on your Mac and that will disable the camera of your Mac completely. It is recommended that you backup your Mac before you do the procedure as you are going to change some of the system values in the following steps. So, in case something goes wrong, you can restore the backup on your machine.
The first thing you need to do is disable system integrity protection (SIP) on your Mac. There are numerous guides on the web that will teach you how you can do that. So go ahead and get that done first and then do the following steps.
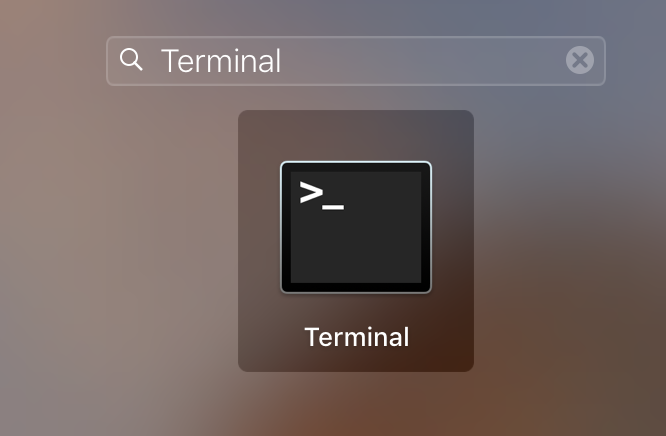
Launch the Terminal app on your Mac by clicking on Launchpad in your Dock and searching for and clicking on “Terminal.” The app should open.
When the Terminal app launches, type in the following command and hit enter. Since the command is prefixed with “sudo,” you need to enter your admin password before the command can be executed.
sudo chmod a-r /System/Library/Frameworks/CoreMediaIO.framework/Versions/A/Resources/VDC.plugin/Contents/MacOS/VDC

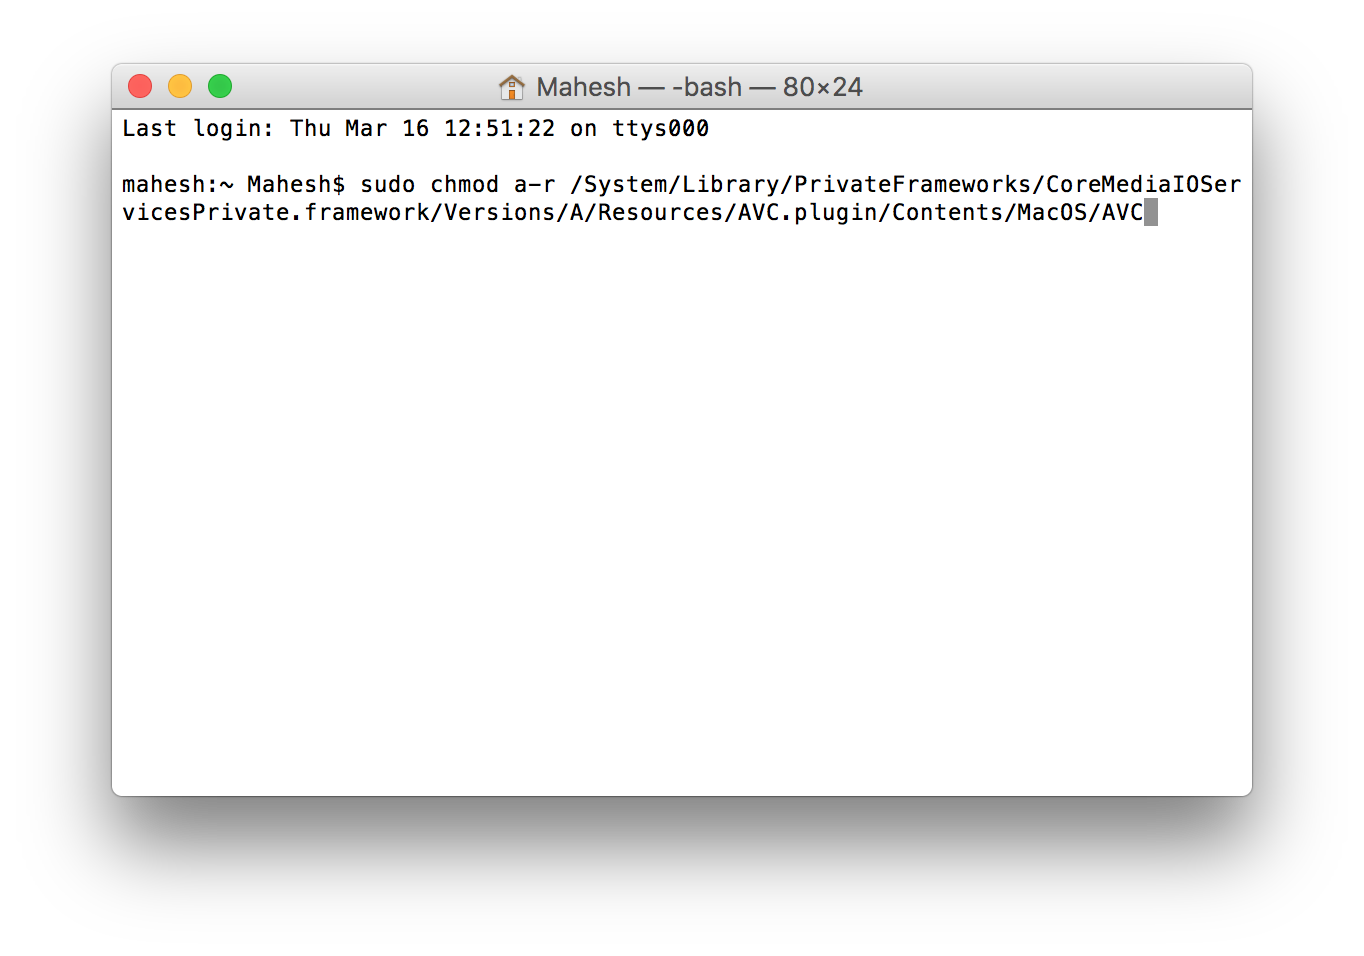
Once the above command has been executed, type in the next command and hit enter.
sudo chmod a-r /System/Library/PrivateFrameworks/CoreMediaIOServicesPrivate.framework/Versions/A/Resources/AVC.plugin/Contents/MacOS/AVC
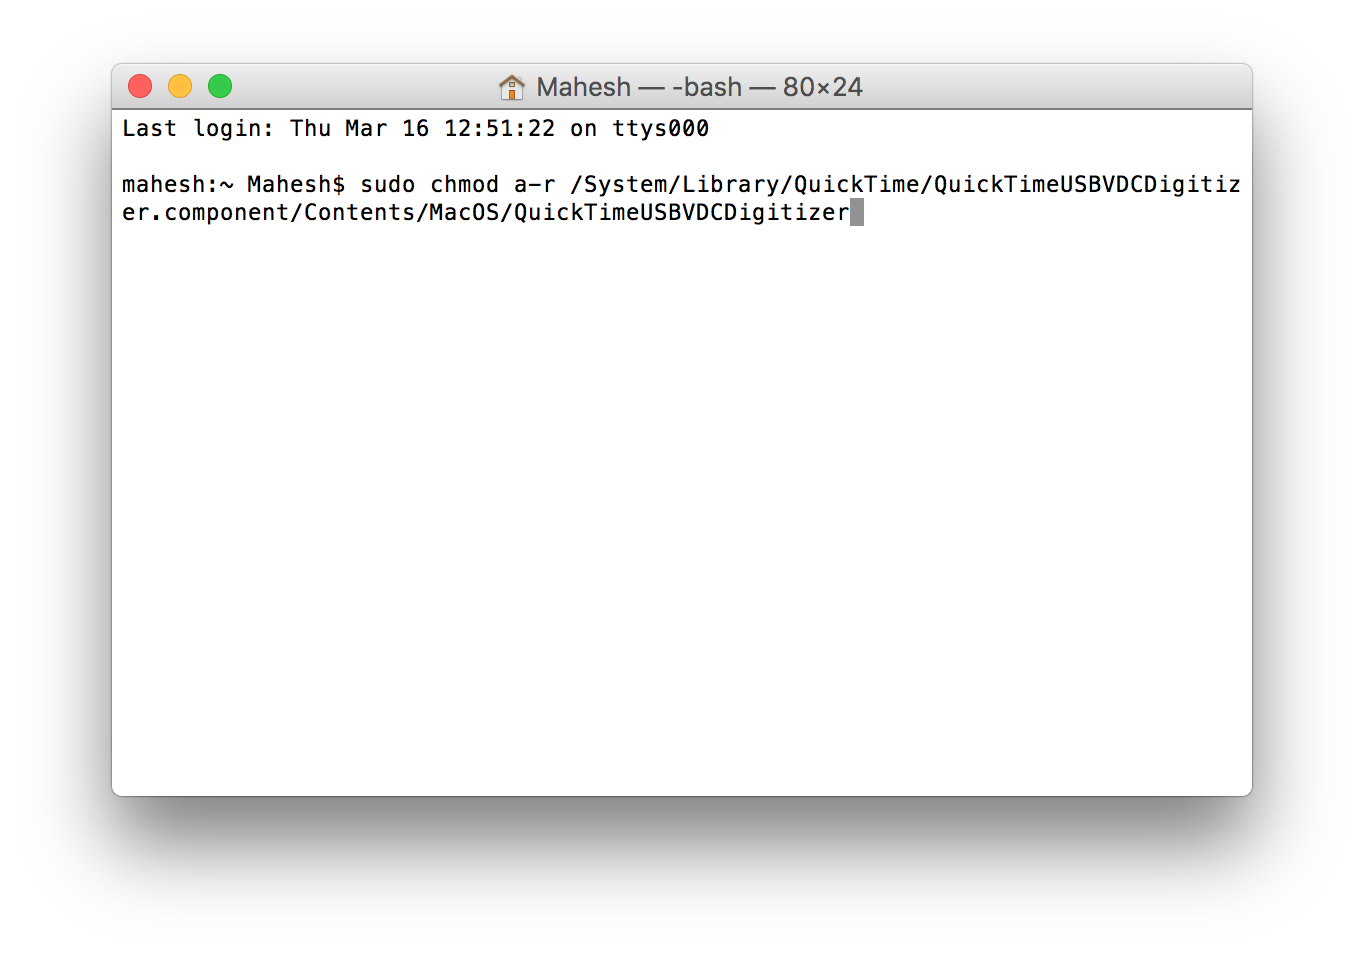
When the above command is done executing, run the following command in the Terminal.
sudo chmod a-r /System/Library/QuickTime/QuickTimeUSBVDCDigitizer.component/Contents/MacOS/QuickTimeUSBVDCDigitizer
Now you need to run the following command in the Terminal.
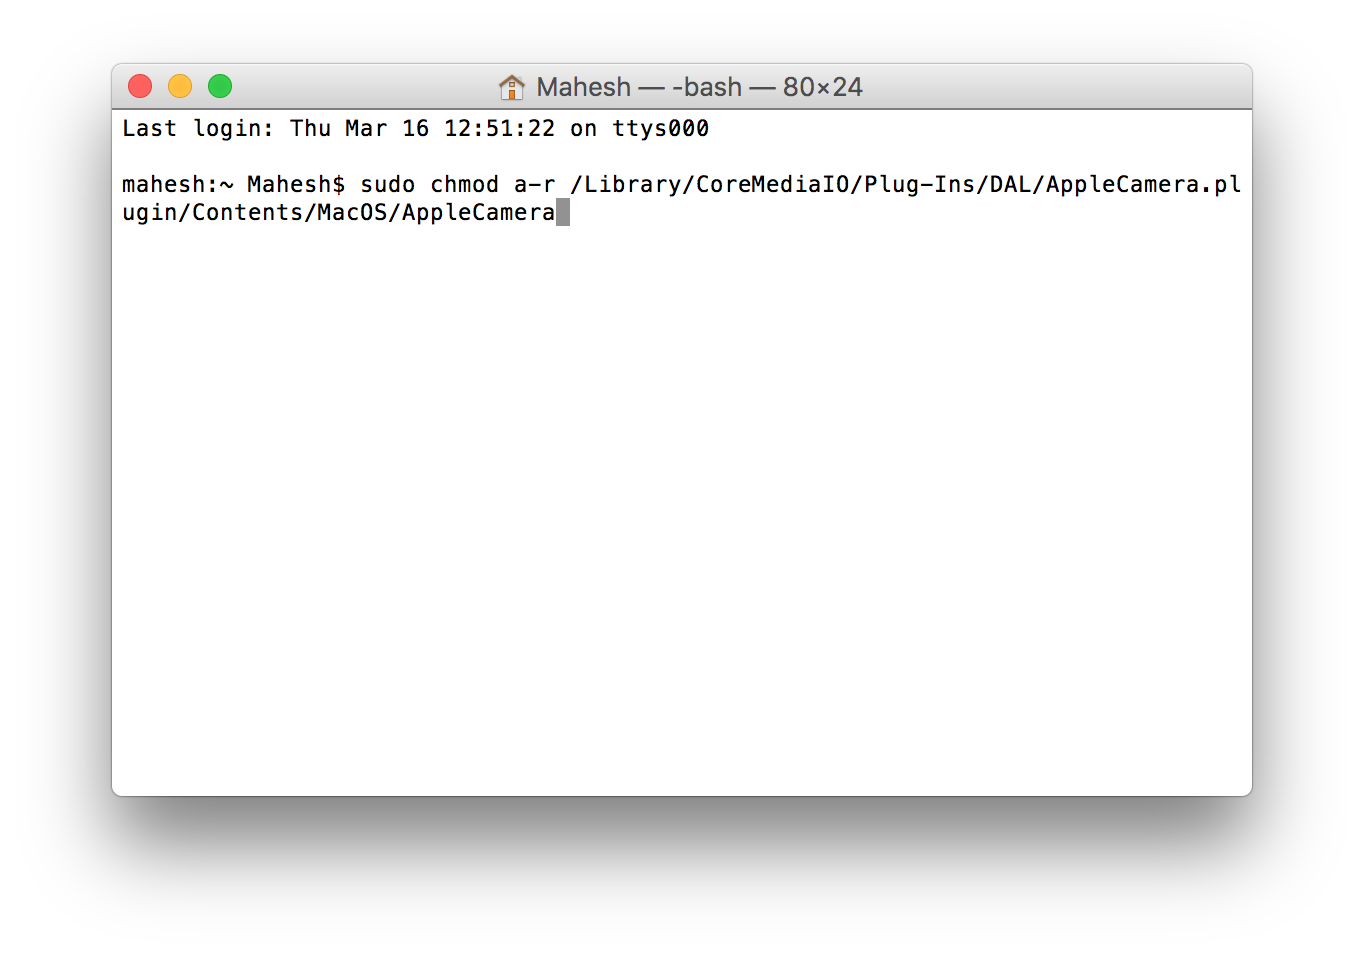
sudo chmod a-r /Library/CoreMediaIO/Plug-Ins/DAL/AppleCamera.plugin/Contents/MacOS/AppleCamera
Here is the last command that you need to run in the Terminal.
sudo chmod a-r /Library/CoreMediaIO/Plug-Ins/FCP-DAL/AppleCamera.plugin/Contents/MacOS/AppleCamera

Once the last command is executed, you may close the Terminal window as you no longer need it.
Now that the commands have been executed, it is time that you go ahead and enable SIP on your Mac.
The commands have made the changes to your system already, and there is no need for you to restart your Mac.
The above commands have completely disabled the camera on your Mac. From now on, whenever you launch an app that utilizes the camera of your Mac, you will get a message saying “There is no connected camera” instead of actually seeing the footage of the camera.
If you were worried someone was spying on you using your camera, you could now have peace of mind as the camera on your machine has been completely disabled and no app can access it now.
In future, should you ever wish to use the camera, you can enable it using the following steps.
Enabling the Camera on a Mac
Again, you are going to use a few commands in the Terminal app to re-enable the camera. Also, make sure SIP is disabled on your Mac before you do the following steps.
Launch the Terminal app on your Mac by clicking on Launchpad in the Dock and searching for and clicking on “Terminal.”
When Terminal opens, type in the following commands one by one hitting enter after each.
sudo chmod a+r /System/Library/Frameworks/CoreMediaIO.framework/Versions/A/Resources/VDC.plugin/Contents/MacOS/VDC
sudo chmod a+r /System/Library/PrivateFrameworks/CoreMediaIOServicesPrivate.framework/Versions/A/Resources/AVC.plugin/Contents/MacOS/AVC
sudo chmod a+r /System/Library/QuickTime/QuickTimeUSBVDCDigitizer.component/Contents/MacOS/QuickTimeUSBVDCDigitizer
sudo chmod a+r /Library/CoreMediaIO/Plug-Ins/DAL/AppleCamera.plugin/Contents/MacOS/AppleCamera
sudo chmod a+r /Library/CoreMediaIO/Plug-Ins/FCP-DAL/AppleCamera.plugin/Contents/MacOS/AppleCamera
The camera on your Mac should now be enabled, and you can access it using any of the apps on your Mac that utilize the camera.
So, that was how you could completely disable the camera of your Mac.
March 28, 2017 @ 22:39
I think I’m going to disable the camera on my Mac. I guess girls are probably a bit more paranoid about this than boys considering our special parts are higher up in the body. But I was using a cropping tool to edit videos the other week, and I played the edit back and heard my voice! That was the first time I found out that my Mac actually has a mic in it. I read a story not too long ago from WikiLeaks about how the CIA was hacking people’s TV’s that had microphones, and now I’m all paranoid about it. An article explaining how to disable the microphone on a Mac would also be appreciated.