Last Updated on January 12, 2019 by Mat Diekhake
Every time you save something in an app on your Mac, you see the standard Mac save dialog box wherein you can enter the details for the item you are saving. The dialog box that you see is actually the minimized version of the actual bigger save dialog box that ships with the OS of your machine.
The smaller dialog box that you see in the apps on your machine does not have as many saving options as the original one does. You can, however, make the dialog box bigger by clicking on the down arrow icon but doing it every time is not convenient.
So, what can you do instead? Well, you can set the expanded “Save” dialog box as the default on your Mac. That way, the bigger version of the dialog box will appear each time you save something in an app on your Mac.
Here’s how you can go about doing that on your Mac:
Setting the Expanded Save Dialog Box as the Default on a Mac
To do the task, all you need is access to the Terminal app, and you are ready to go. What you will do below is you will fire up Terminal and type in a few commands and execute them to accomplish the task. Easy peasy, isn’t it?
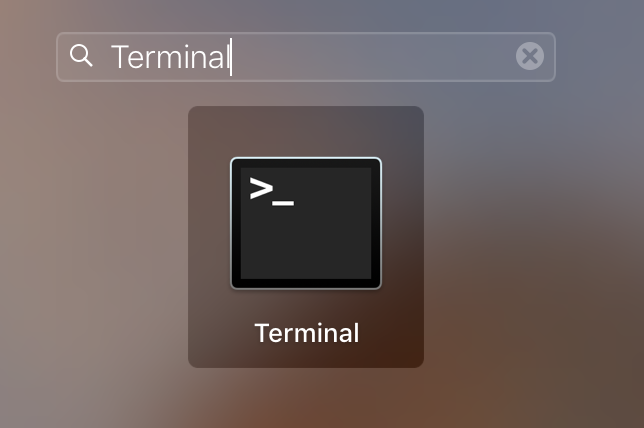
Launch the Terminal app on your Mac using your favorite app launching way. I do that by clicking on Launchpad in the Dock and then searching for and clicking on “Terminal.” That will open the Terminal app on your Mac.
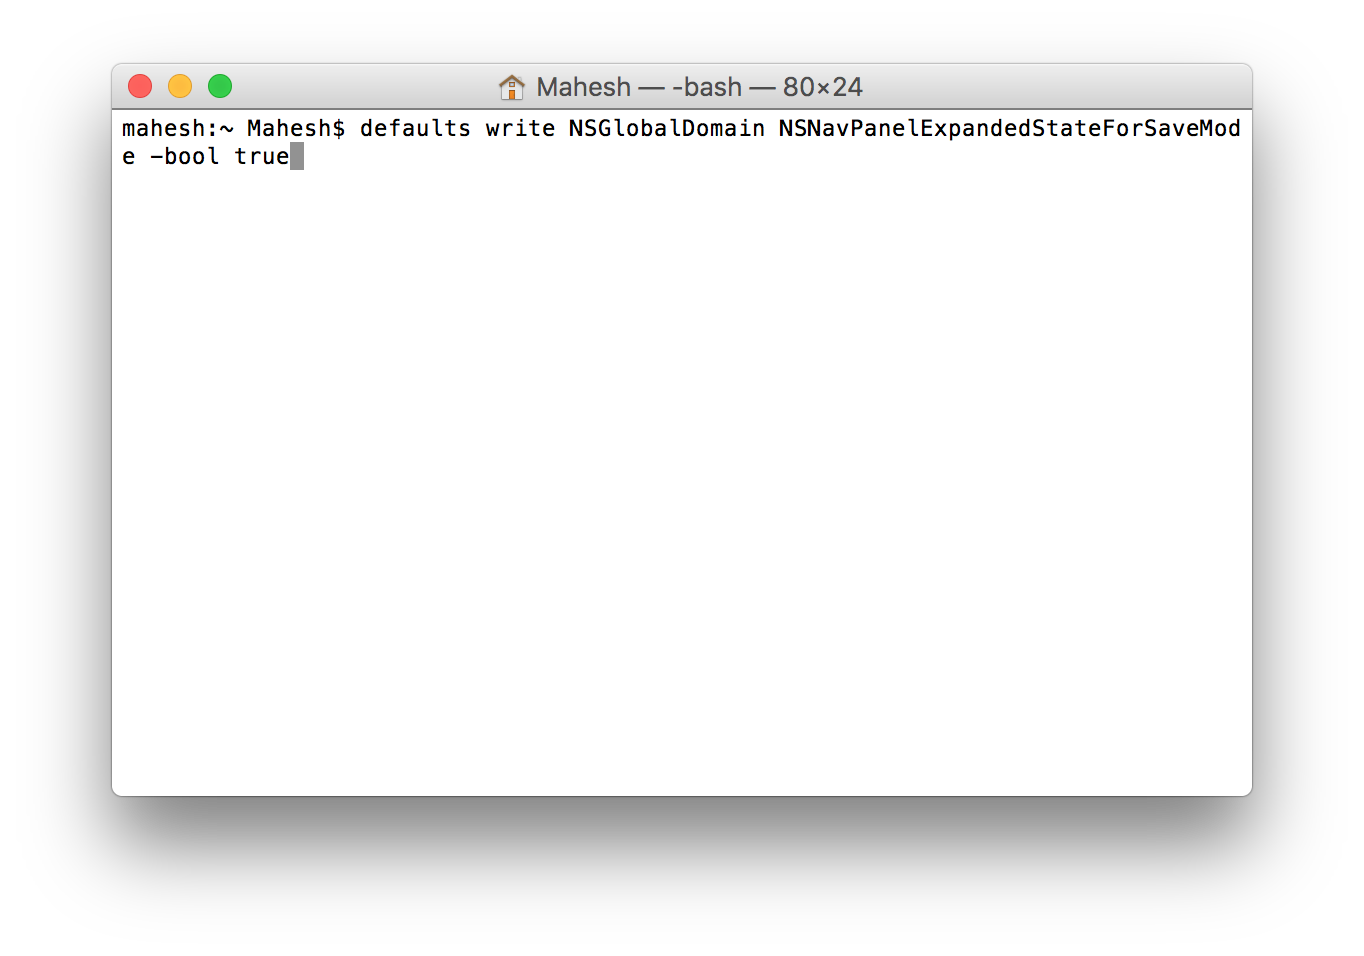
When Terminal launches, type in the following command and hit enter on your keyboard. It is recommended that you copy and paste the command from here to your Terminal window to ensure there are no typing errors.
defaults write NSGlobalDomain NSNavPanelExpandedStateForSaveMode -bool true
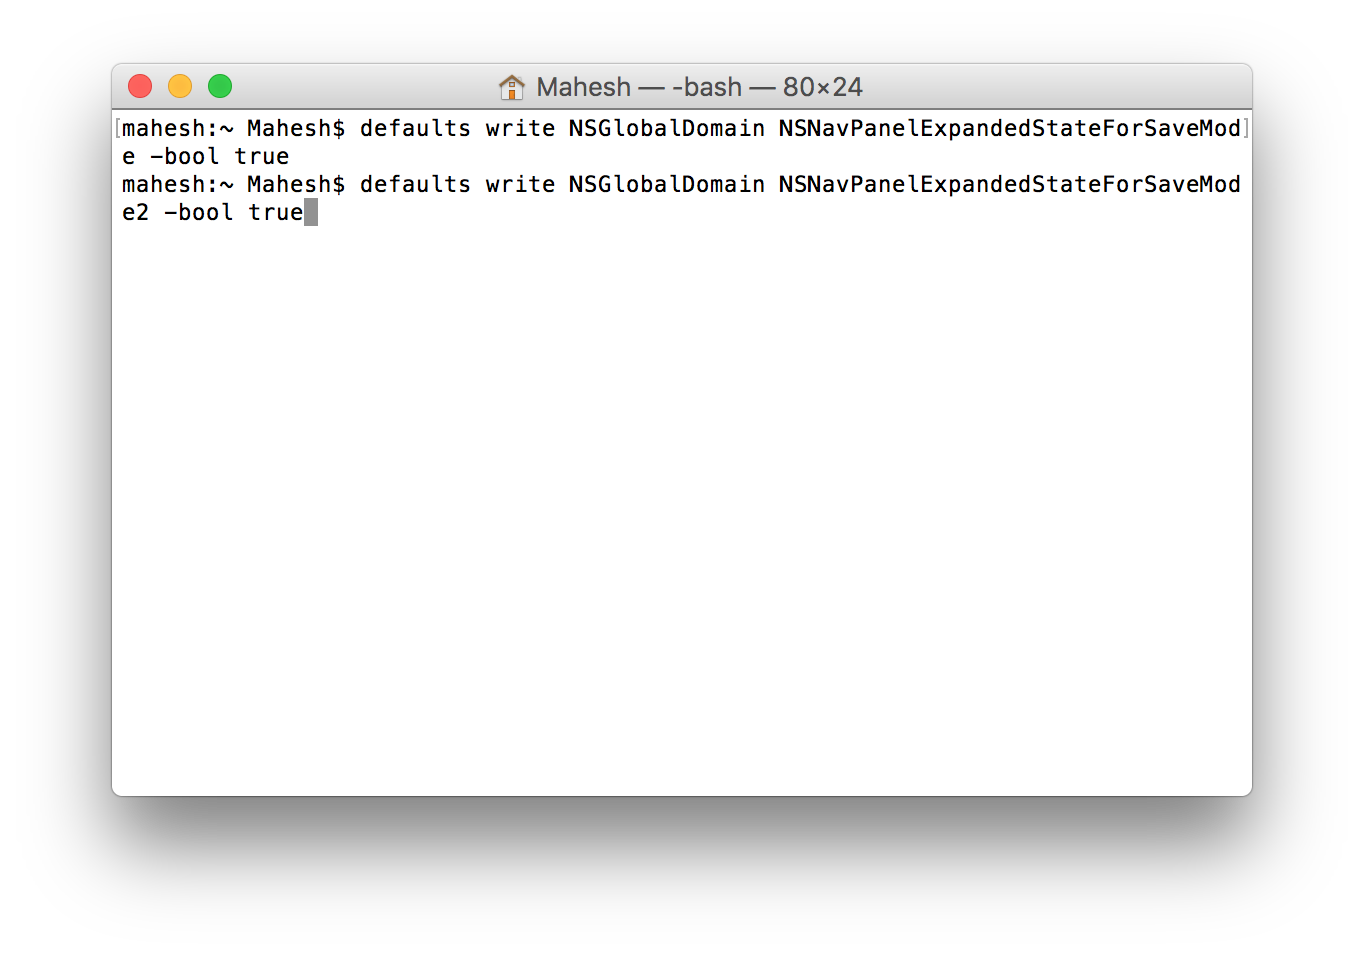
Once the above command has finished executing, type in the following command into the Terminal window and press enter. This command is also required to accomplish the task.
defaults write NSGlobalDomain NSNavPanelExpandedStateForSaveMode2 -bool true
After both of above commands have been executed, run the following two commands using Terminal and ensure you get “1” as a result. That means the command went successful and the expanded “Save” dialog box has been enabled on your Mac.
defaults read NSGlobalDomain NSNavPanelExpandedStateForSaveMode
defaults read NSGlobalDomain NSNavPanelExpandedStateForSaveMode2
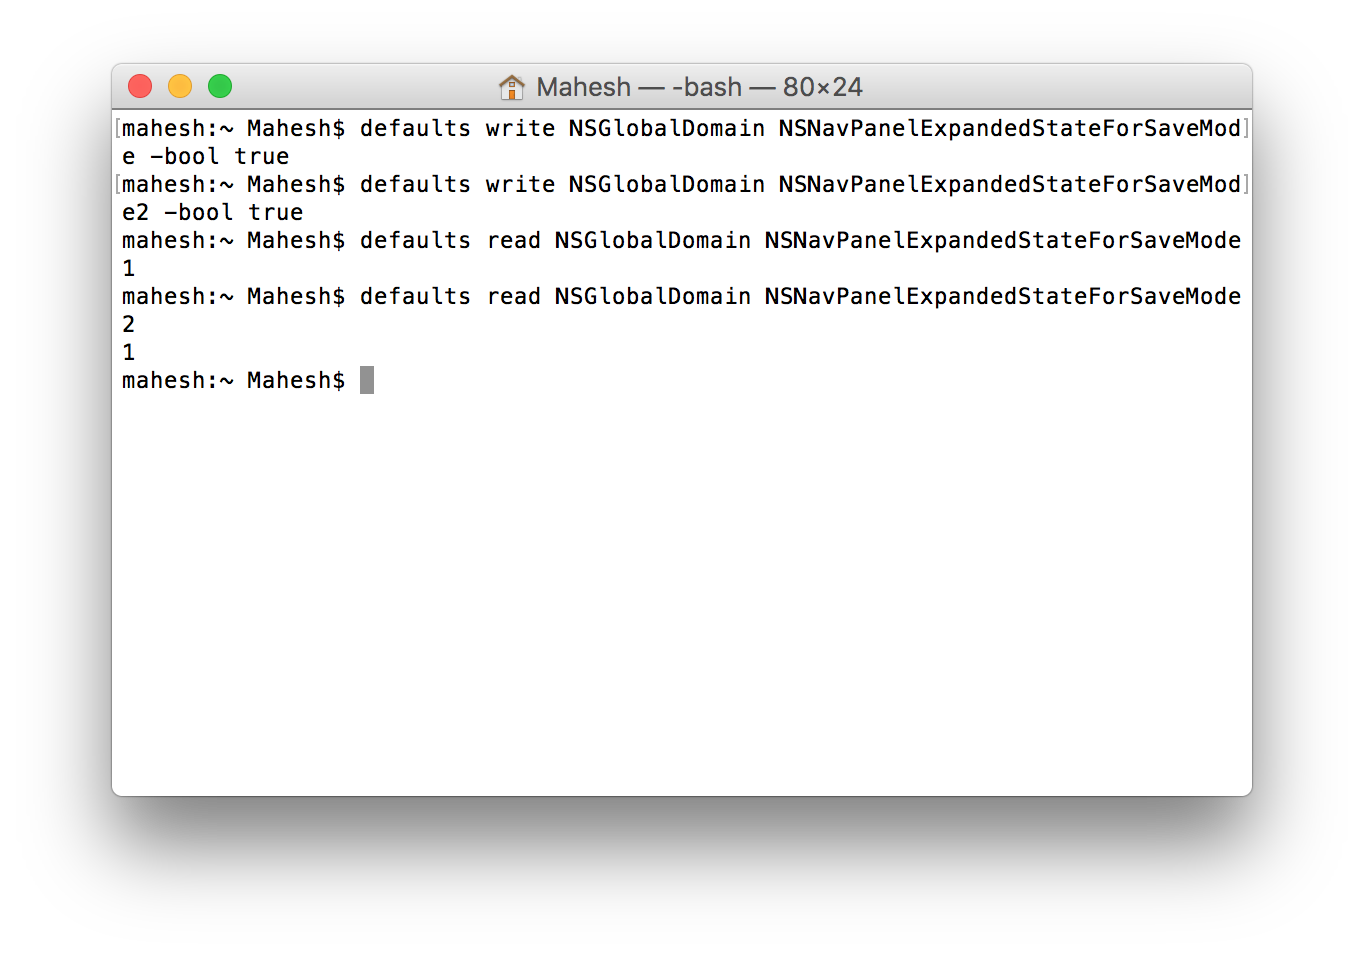
You should see “1” as the result of each of these two commands meaning your first two commands did their job. Now, what you need to do is check if you get the expanded save dialog box in the apps on your Mac.
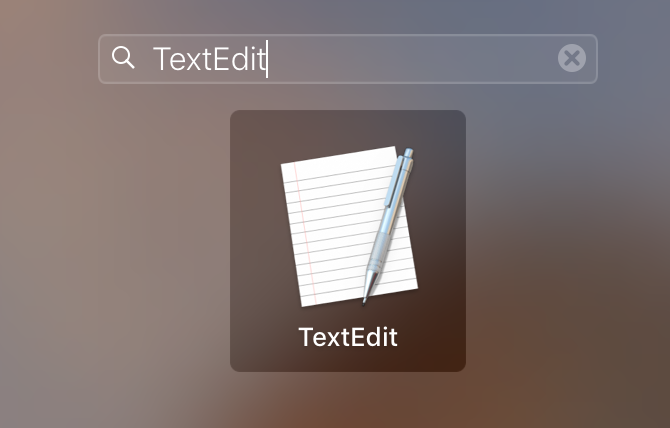
To do that, open any app on your Mac in which you can save something. The app I recommend for testing is TextEdit. Launch the TextEdit app on your Mac by clicking on Launchpad in the Dock and searching for and clicking on “TextEdit.”
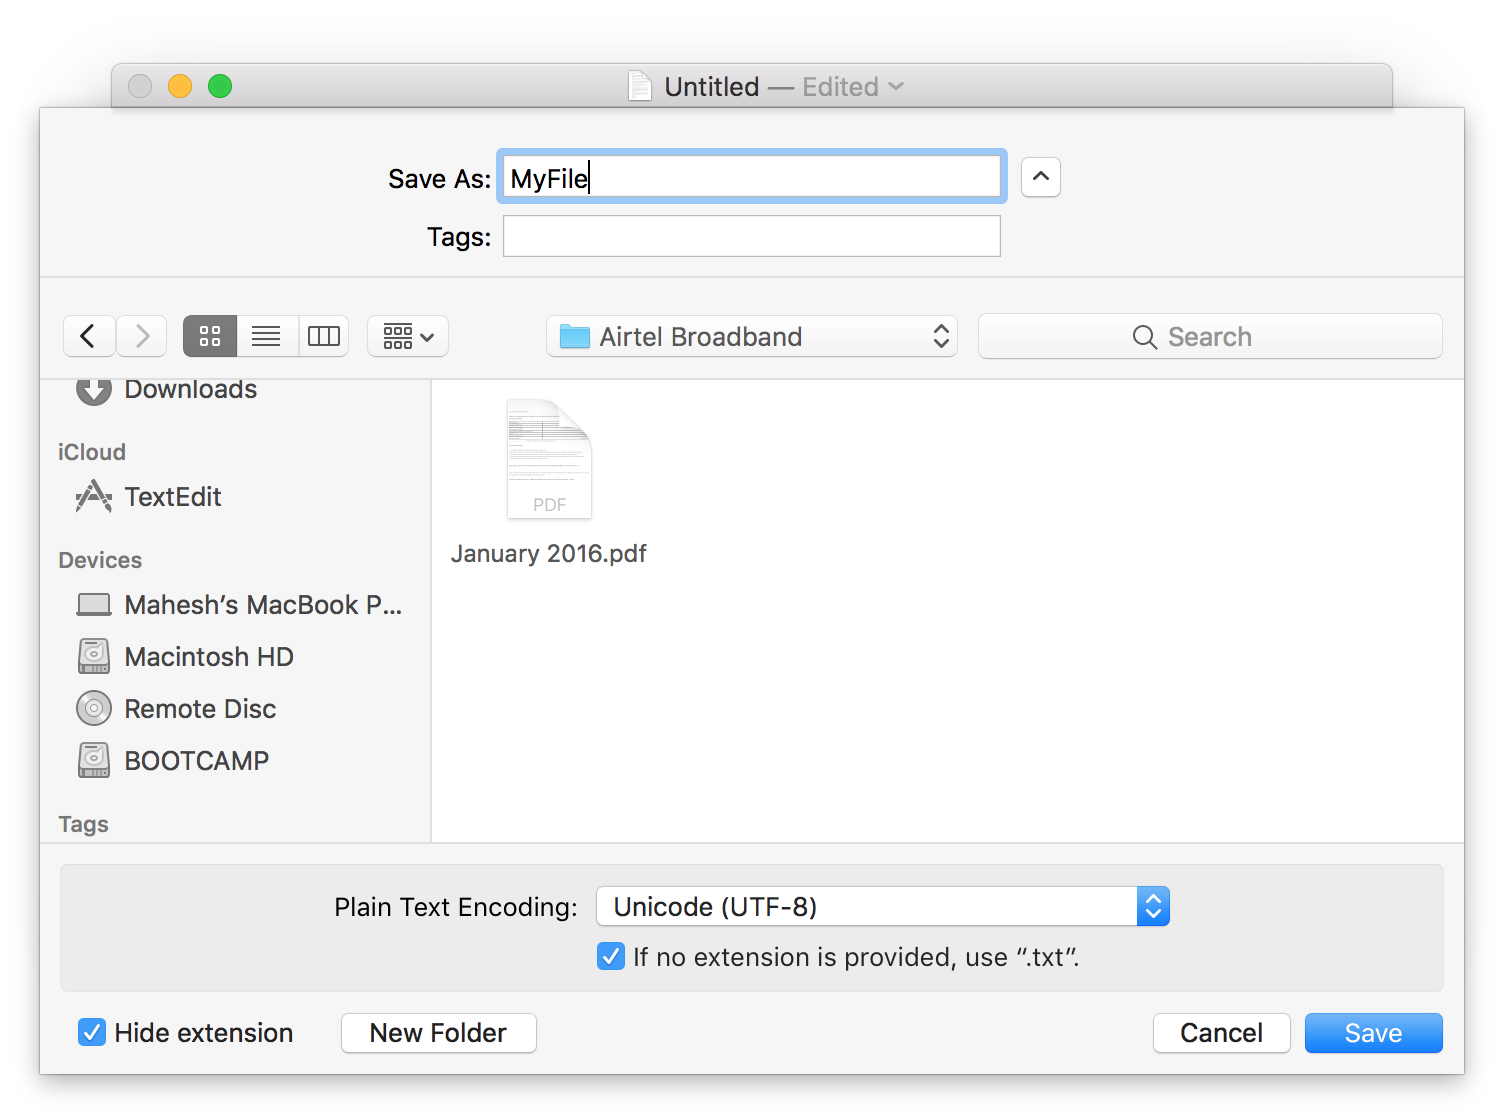
When the app launches, type some text that you can then save. Then, click on the “File” menu at the top and select the option that says “Save.”

When you click on the save option, you will see the save dialog box. Unlike previous times when you saw a small save dialog box with limited options, this time you have the expanded version of the save dialog box that has everything you need to save the item. It has got more choices than the smaller save dialog box.
The expanded save dialog box should now be the default one on your machine. No matter what app you use on your Mac, if it utilizes your system’s save dialog box, it will show the expanded version of it instead of the smaller version.
In case you want to go back to the default settings and wish to restore the smaller dialog box, then you can do so by running the following two commands in the Terminal app on your Mac.
defaults delete NSGlobalDomain NSNavPanelExpandedStateForSaveMode
defaults delete NSGlobalDomain NSNavPanelExpandedStateForSaveMode2
After you have run the above two commands, type in the following commands into Terminal hitting enter after each.
defaults read NSGlobalDomain NSNavPanelExpandedStateForSaveMode
defaults read NSGlobalDomain NSNavPanelExpandedStateForSaveMode2
As a result, ensure you get 0 which means the commands worked and that smaller dialog box is the default on your Mac.
So, that was how you could set the expanded “Save” dialog box as the default on your Mac.