Last Updated on January 12, 2019 by Mat Diekhake
The Photos app that comes preloaded on most modern Macs is one of the great photo management apps I have ever come across. The app lets you manage your photos using various ways, and it does the job perfectly.
Whenever you want to see photos, you can just launch the Photos app, and it will show all of your photos stored in there, and you will also have the option to open your albums to see the photos inside them. If you want to get a photo out of the app, then you can do so using the export feature in the app, and you can then save the photo file anywhere you want on your Mac.
If you are exporting only a single photo, you can use the export feature. However, if you would like to export all the photos, from say a specific year, then you will want to find the Photos files and get the entire folder copied somewhere else.
To do that, you need first to find where the Photos app saves its files. The following guide shows exactly how you can locate the folder where the Photos files are located so you can access and play around with them.
Finding the Photos files on Your Mac
To do the task, all you need is access to Finder on your Mac, and you are good to go. You are not going to do any actions, but rather you are just going to explore the directories where the Photos files are located.
If you would just like to know the directory where the files are saved, then it is the following:
~/Pictures/Photos Library.photoslibrary/Masters/
You may use the Finder’s Go to Folder feature to go directly to that folder and access the files. However, a more simpler approach would be to find the folder using the following steps manually.
Launch a Finder window on your Mac. You can do so by double-clicking on the hard drive of your Mac, and you will see all of your folders, and that’s what a Finder window is. Then, open the folder named “Users” by double-clicking on it. When that opens, find the folder that has your name on it as that is where the content of your user account is located. Double-click on the folder to open it.
When your user folder opens, find the folder named “Pictures” and double-click on it to open it. Inside the Pictures folder, you will find a file called “Photos Library.photoslibrary.” If you have disabled the extension, you will only see the “Photos Library” part of the name, but it does not matter.
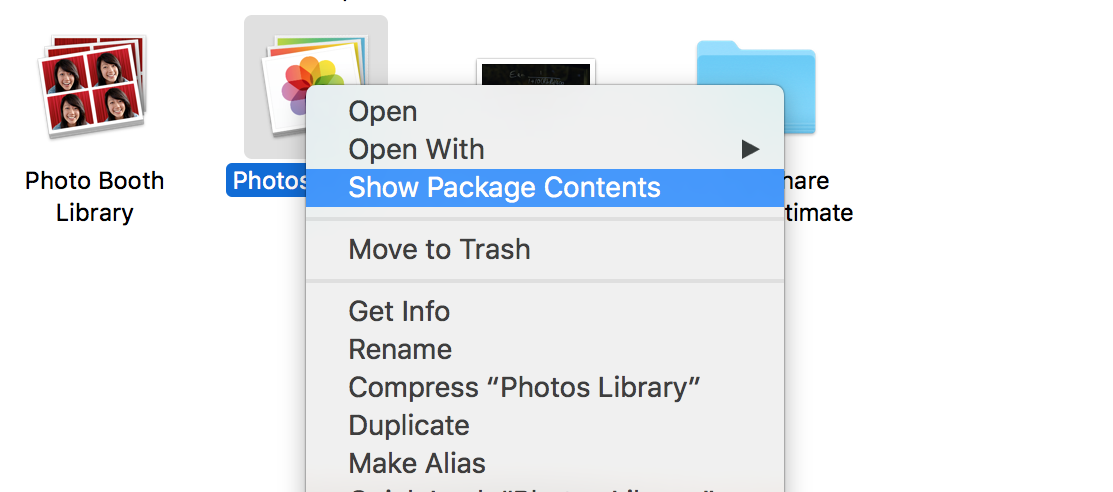
Right-click on that file and select the option that says “Show Package Contents.” What it will do is it will open the contents of the package you have right-clicked on.
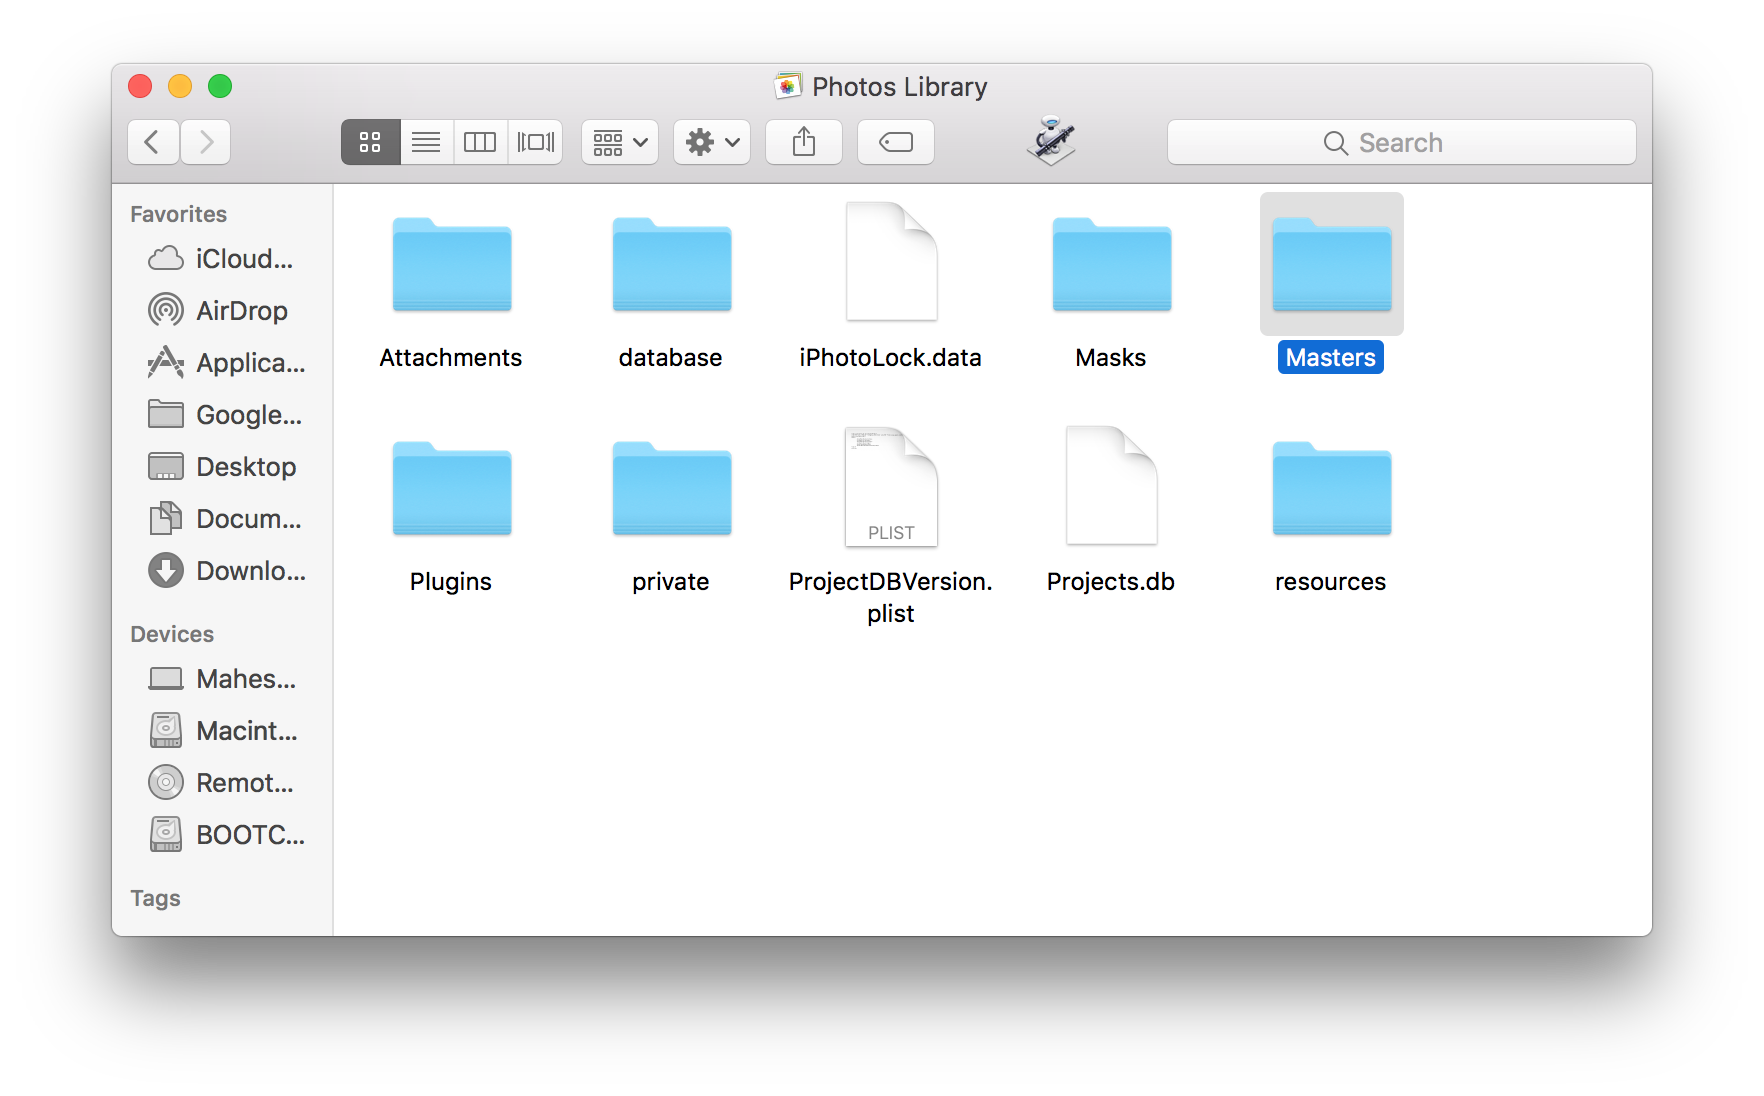
When the contents folder opens, find and double-click on the folder that says “Masters” as that is where the Photos files are located.
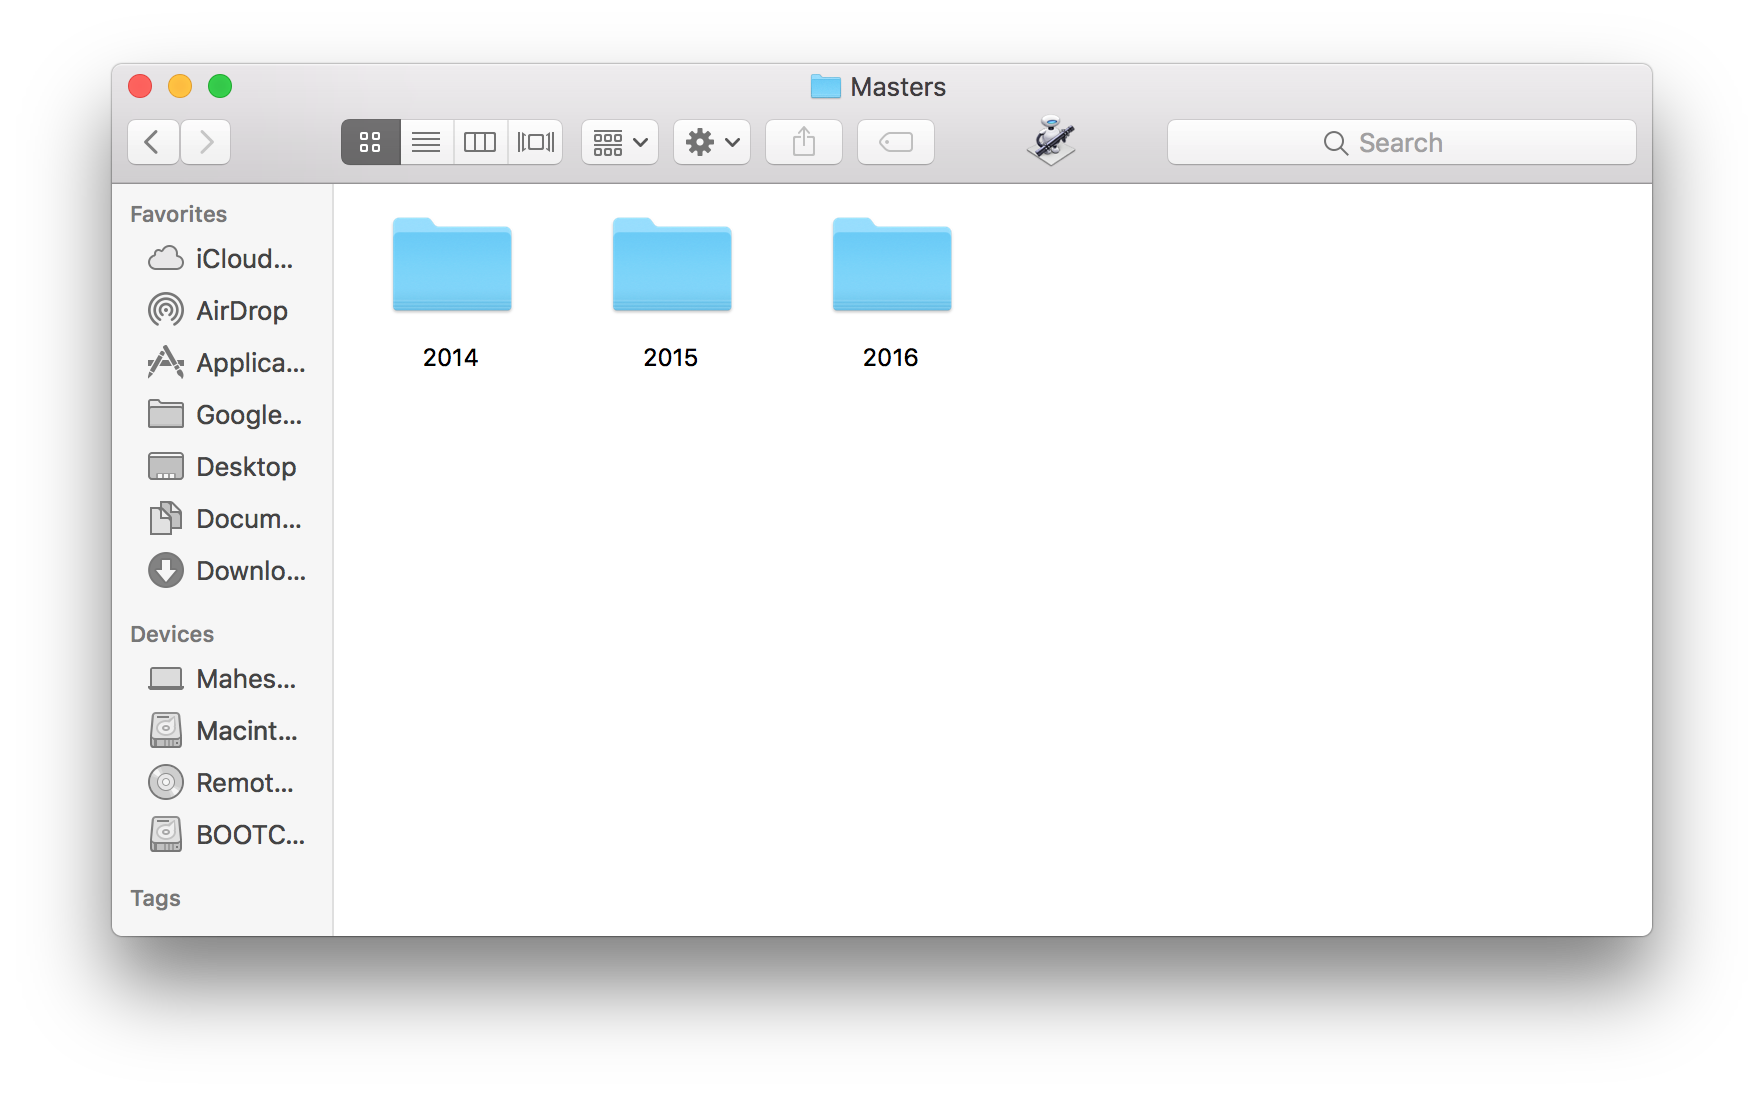
Inside the “Masters” folder, you will find your photo files in year-based folders and you can double-click on them and access their contents. You can also copy these Photos files from these folders over to a different folder on your Mac.
So, that was how you could find the Photos files using Finder on your Mac.