Last Updated on December 26, 2022 by Mathew Diekhake
Every edition and version of Windows 10 needs to be activated before it can run on your computer. Activating makes sure that you are legally installing your copy and that it isn’t exceeding the legal limit of installs per the license agreement.
Depending on how you activate, there might come a time when you need to change the product key so you can get your copy of Windows 10 activated correctly. Other times you just might need to enter it after logging in to Windows 10 because you had skipped the part where you were meant to add it. Either way, you can insert the product key using the guide below.
Note that before you can use the guide below, you’ll need to be connected to the internet so make sure your WiFi or Ethernet connection is set up correctly and working. (Reading this article and being able to click through to other webpages from your web browser is always a pretty good indication of whether you have an internet connection at the moment or not).
The following tutorial demonstrates how to change the product key when you’re using a version of the Windows 10 operating system.
How to Change Product Key Using Settings App
You can change or enter the product key from the Settings application in Windows 10. To find out exactly where, head to the Start > Settings from the Start menu’s left side pane.

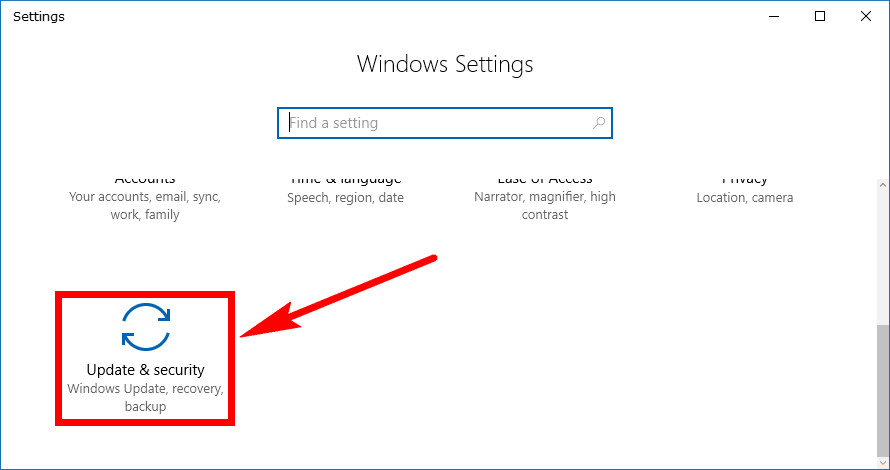
Now click on the Update and security link from the Windows Settings window.
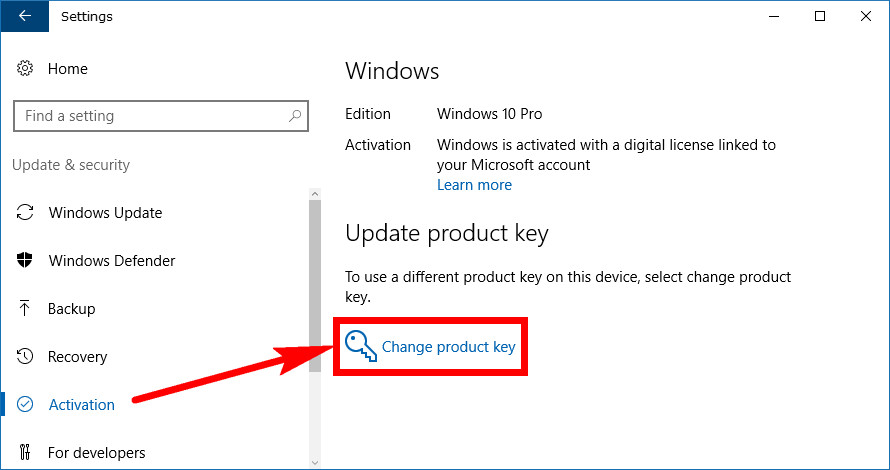
Next, click on the Activation link available in the left side pane so you can get access to all of the settings that are related to your activation.

Under the Update product key heading, look for the key symbol and then click on the Change product key link that is right next to it.
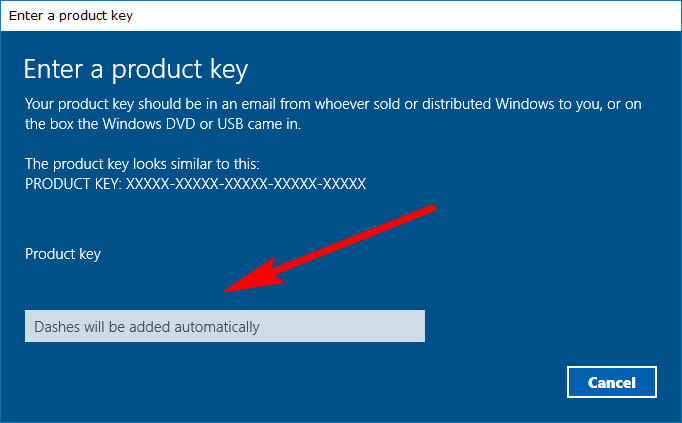
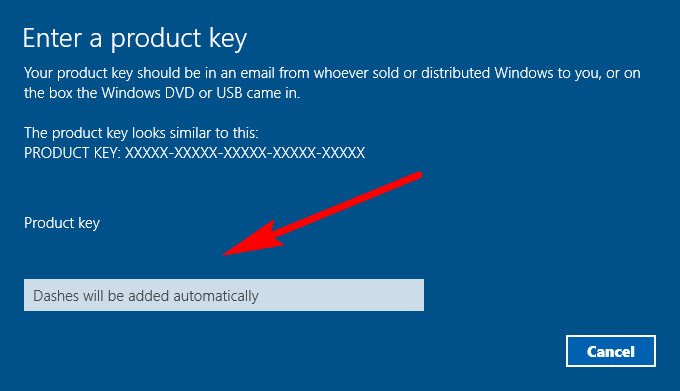
Windows 10 then pops out a Windows for you to enter the product key. You’ll need to know what that product key is and then entering it in the available field. Use the product key example under where it says The product key looks similar to this and similarly enter your digits, having five digits and then separated by a hyphen (or single dash as some other would know it.)
How to Change Product Key Using Control Panel
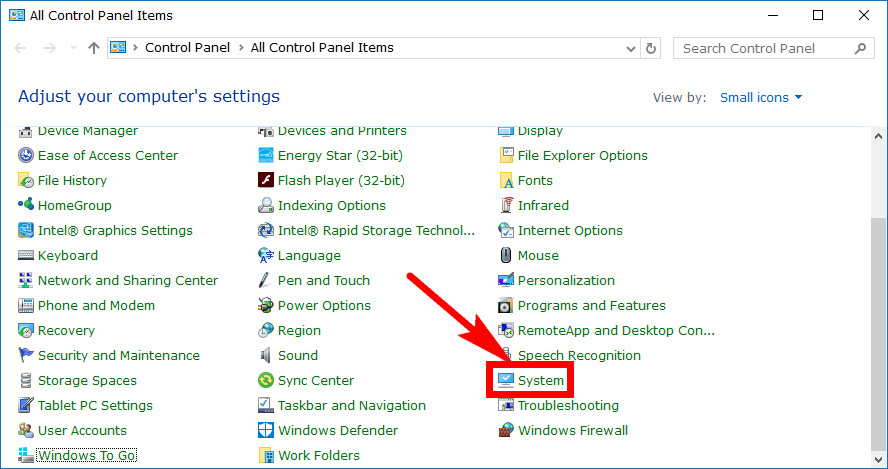
You can also change the product key from the Control Panel in Windows 10. To do it that way instead, open up the Control Panel in its classic view so that it is showing the smaller icons from the list of all Control Panel items and then click on the System link.
Scroll down to the bottom of the System window and then click on the Change product key link that is in the bottom right corner.

You’ll then see the same Enter a product key window that was available from the Settings application. If you didn’t read the Settings app version above, you need to enter your 25 digits product key number in the available field. You’ll need to know what that product key is already as it is not displayed in this area. You can also use the Product key example under where it says The product key looks similar to this so you know the correct way of entering it in—that is by entering five digits at a time and separating each group of five with a hyphen (or a single dash as some others like to call it).
You don’t actually need to have a product key to start using Windows 10 if you were involved in a free upgrade. That’s why some people who have forgotten to enter it during the setup process were able to then enter it by using the guide above. Microsoft will allow you to keep using Windows 10 but just with some restrictions. The chance to download and install Windows 10 free without any product key requirements allows some people who were perhaps a bit skeptical of the whole Windows 10 thing to give it a try before they buy. You can then keep the same Windows 10 currently without a product key installed and then just buy the license from the Settings app when you are ready to make the switch.
Related Tutorials