Last Updated on April 9, 2025 by Mat Diekhake
I want to use Windows 10’s default backup feature called File History. I am coming from Windows 7’s Backup and Restore feature, and I wanted File History because it backs up my files more often, albeit only a few critical folders that I need for my company. I just need to know how to turn File History on and start using it in simple terms, and then I’ll check out more detailed features later. Resolution:
Before Windows 8 was released, the Windows operating system had Backup and Restore (formerly Windows Backup and Restore Center) for taking backups. Microsoft stated that due to its low use, it would be deprecating the way users since Windows Vista had been taking backups via the traditional Backup and Restore; however, those using Windows 7 still could find the Windows 7 File Recovery Control Panel applet which allowed them to take similar backups.
File History is an application, that when turned on, will continually back up the files it finds on your desktop, in your libraries, in your Favorites folder, and your Contacts folder. If you leave File History on its default settings, it will back up these locations every hour, though you can change the amount of time you wish to elapse between backups to be as long as only once per day if you prefer. The backups can only occur for as long as you have the external hard drive or USB thumb drive connected to the computer; File History will not back up to the existing locations on the computer; it perceives them as useless locations to store backups since the point of a backup is in case your existing drives fail. File History will not ever erase files and folders that were previously saved to the drive; everything File History saves is saved to its own unique folder called “FileHistory.”
The following tutorial demonstrates how to turn on and off the File History backups when you are using a version of the Windows 10 operating system.
Method One: How to Turn On/Off File History via Settings App
You can turn on and off File History from the Settings application when you are using a version of the Windows 10 operating system. Follow these guidelines to turn on and off File history from the Settings app:
1. Open the Settings app. This tutorial shows you all the different ways in which you can open the Settings app when you are using a version of the Windows 10 operating system: How to Open Settings in Windows 10 [Tutorial]
2. From the left side of the Update and Security menu, click on Backup, and then under Back up using File History click on the Add a drive link. (Click to enlarge the screenshot below.)
3. Do step 4 and step 5 depending on whether you would like to turn File History on or off.
4. To Turn on File History
a. From the left side of the Update and Security menu, click on Backup, and then under Back up using File History click on the Automatically back up my files toggle to turn it on (blue). (Click to enlarge the screenshot below.)
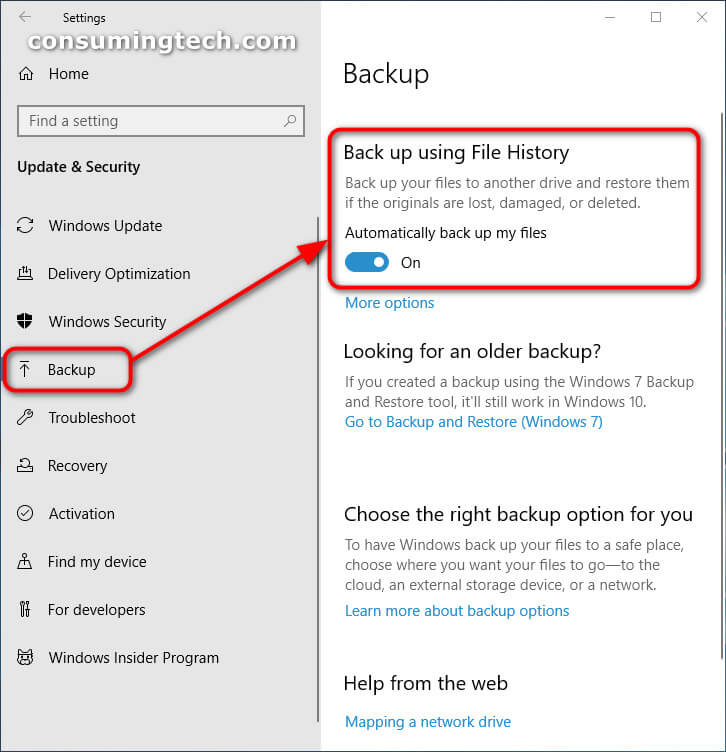
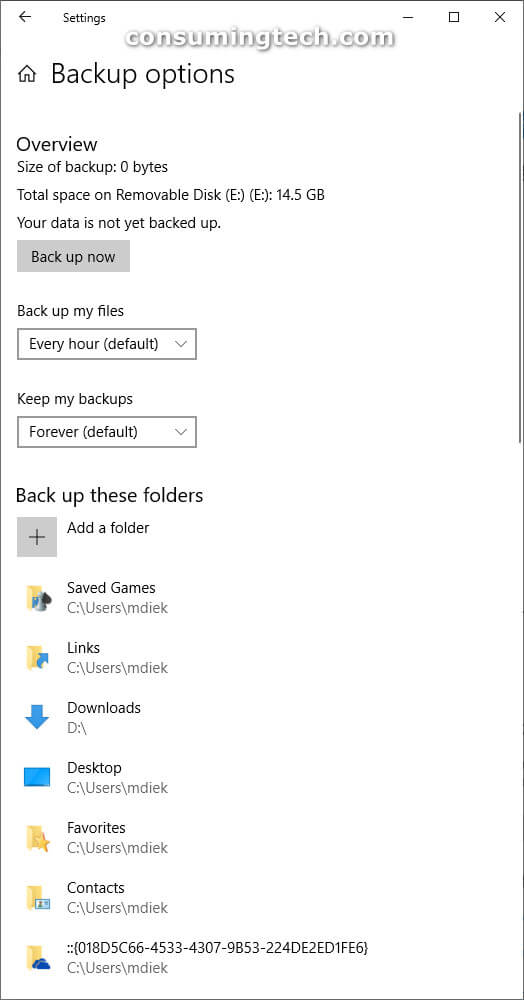
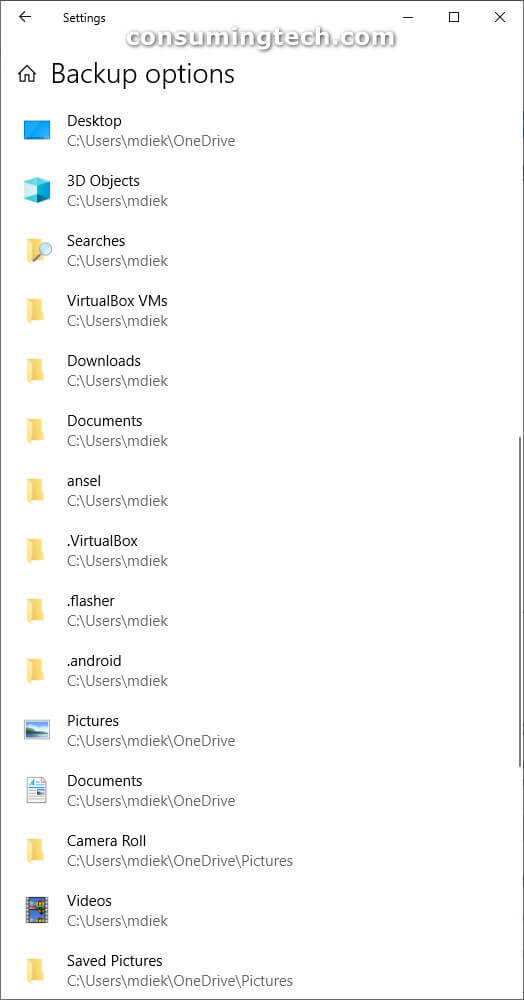
b. File History is now turned on, as signified by the toggle. You can now click on the More options link directly beneath the toggle to get access to more File History backup options, as shown below. (Click to enlarge the screenshots below.)

5. To Turn off File History
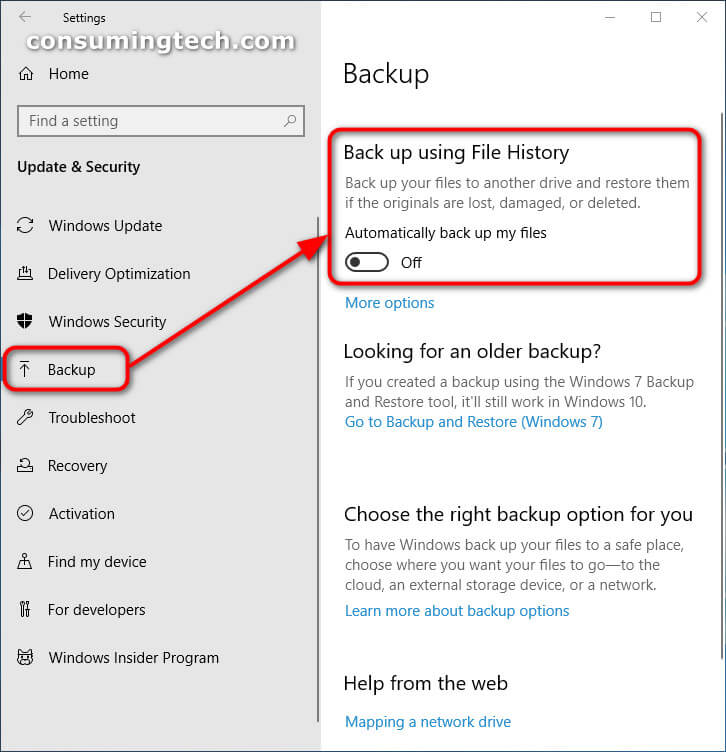
a. From the left side of the Update and Security menu, click on Backup, and then under Back up using File History click on the Automatically back up my files toggle to turn it off (gray). (Click to enlarge the screenshot below.)
You can now close the Settings app and continue using the computer.
Method Two: How to Turn on/off File History via Control Panel
You can turn on and off File History from the Control Panel when you are using a version of the Windows 10 operating system. Follow these guidelines to turn on and off File history from the Control Panel:
1. Open the Control Panel with it in its icons view, and then click on the File history icon.
2. Do step 3 and step 4 depending on whether you would like to turn File History on or off.
3. To Turn on File History
a. Click on the Turn on button, which is located directly beneath the box that lets you know File History is currently turned off. (Click to enlarge the screenshots below.)

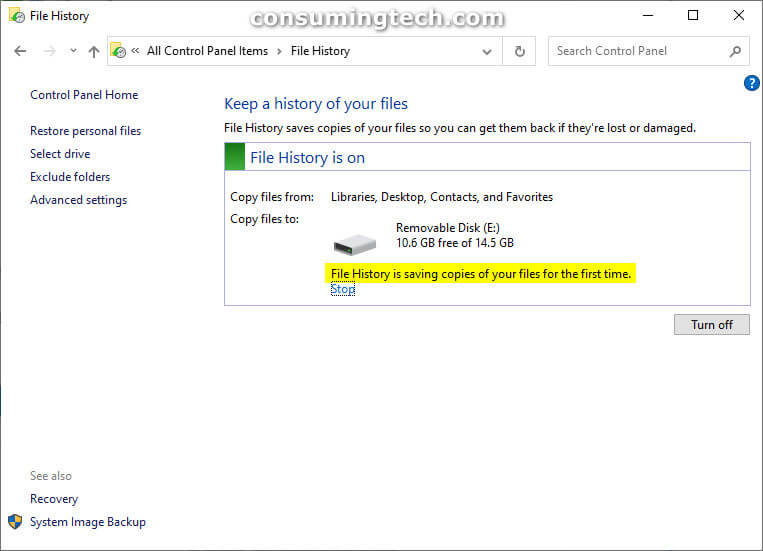
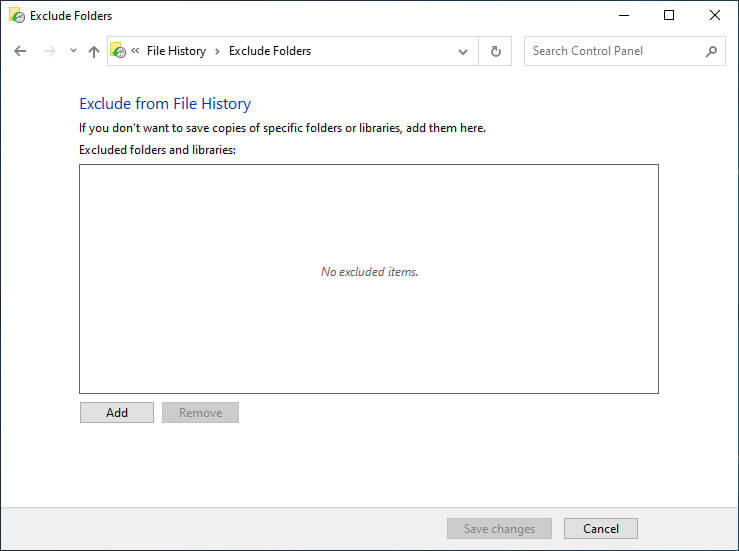
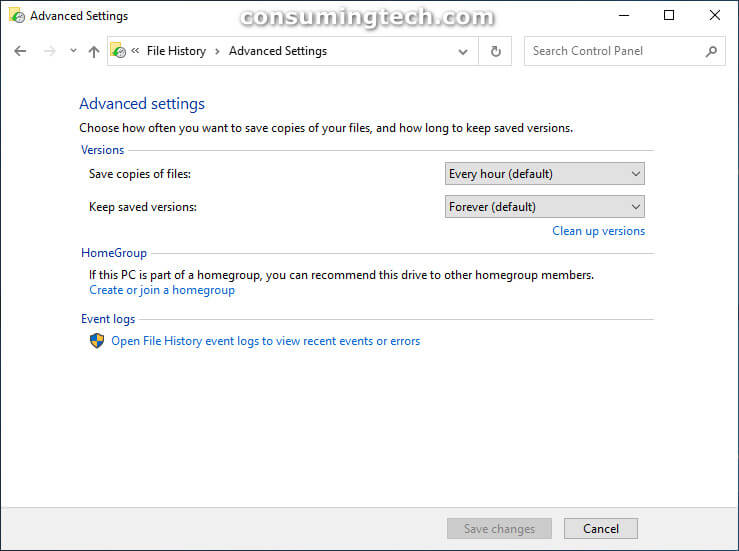
b. File History is now turned on which is signified in the screenshot above where it says File History is saving copies of your files for the first time. If you want to check out more advanced settings, as well as how to exclude certain folders from a backup, you can continue browsing the screenshots below. (Click to enlarge the screenshot below.)
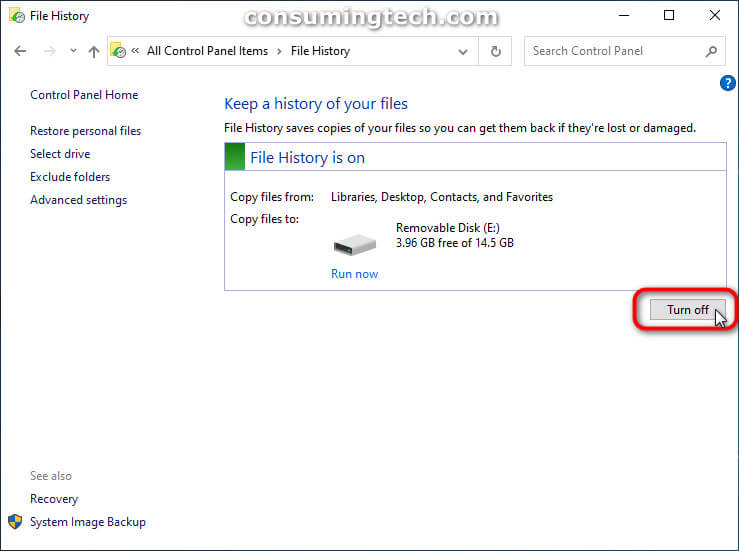
4. To Turn Off File History
a. Click on the Turn off button, which is located directly beneath the box that lets you know File History is currently turned off. (Click to enlarge the screenshot below.)
That’s all.
Related Tutorials
- How to Backup Files/Folders via File History in Windows 10 [Tutorial]
- How to Backup/Restore Sticky Notes App Settings in Windows 10 [Tutorial]
- How to Change How Long File History Stores Backups in Windows 10 [Tutorial]
- How to Backup/Restore Network Shares and Permissions in Windows 10 [Tutorial]
- How to Select Drive for File History in Windows 10 [Tutorial]
- How to Restore Files/Folders from File History in Windows 10 [Tutorial]
- How to See List of All Available System Restore Points in Windows 10 [Tutorial]
- How to Reset Sticky Notes in Windows 10 from System Settings [Tutorial]
- How to Delete Older Versions of File History in Windows 10 [Tutorial]
- How to Use Windows 10 Sticky Notes Online via OneNote Online [Tutorial]
- How to Enable/Disable Recent Items in Search in Windows 10 [Tutorial]
- How to Change How Often to Save File History in Windows 10 [Tutorial]
- How to Backup and Restore with Macrium Reflect [Tutorial]