Last Updated on February 25, 2024 by Mat Diekhake
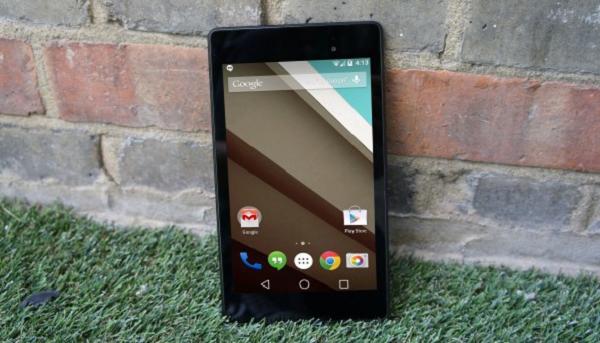
The Google Nexus 7 is one of the most popular choices under the Google-owned and branded Nexus name. We know that the official factory image is available and the OTA’s are rolling out to devices notifications panels. That means a great deal of you are searching for how to root the new software update. We are about to show you how to do that and install a custom recovery. Our choice is ClockworkMod recovery, but the option is there for team Win’s TWRP recovery too if you prefer that method.
The first report told us that the Lollipop OTA for the Nexus 7 was coming November 3rd. That day came and went without any luck. The next report said November 12. The second report was bang on the money as the Mountain View company did release Lollipop for the 2013 Nexus 7 and 2013 Nexus over the air. Many people were witnessing the software update by the 13th of November.
The following steps work fine for models from both of the years that Google released them. They both came with the same OTA build number, therefore, there’s no reason we can’t use the guide for both variants. However, before we delve into the nitty-gritty, we must run through many bare essentials before starting.
Some reports suggest the new Lollipop official software is slow and lags for the older generation device from 2012. You may want to test yours out before you decide to unlock the system internals and follow through with gaining root access. We know that when bugs happen so do future updates and that means revoking the root access and having to search for another guide to unchain the OS on the new firmware version.
Details of Note
- The main point is making a note to back up the device. We do wipe the tablet data by following the steps. You must backup the tablet contacts, SMS messages, videos, market apps, pictures and all other data. Anything that you added to the tablet after the date of purchase is official vulnerable at this stage. Countless people prefer making copies of the Data using the native Google Drive service. That’s a great way to go. However, you should understand that there are many other ways to go about it too. Using applications from the Google Play Store such as Helium for Android, G Cloud backup, Holo and SMS Backup+ just to name a few. Take the initiative and go ahead with your own personal favorite method. It’s great practice for backing up on other occasions when you ;leave here. You should always get into good habits for storing the data so you aren’t left without essential information you can’t afford to lose.
- You must stopover at the Developer Options menu and enable USB Debugging Mode. The Developer Options menu is found from the original Settings menu after turning the device on and browsing the apps. The Developer options menu is hidden in earlier version of Android software such as 4.2 Jelly Bean. Nevertheless, we know that’s not an issue here today since you must be running the latest candy variant before using the guide. If you are not on Lollipop this is not the guide for you today. You risk soft-bricking the tablet if you don’t follow my advice. You can check the software version by turning the tablet on and navigating to the settings application followed by checking the About Device option.
- Check the device’s battery charge level exceeds 50%. We know these comes with USB charging as a stock and default feature. However, sometimes the feature doesn’t work and we can’t risk shutting down before the operation is complete. If you know the USB charging feature isn’t working it’s imperative to charge the battery before starting the steps.
- If you want to lock the bootloader once again after finishing with the steps, you must boot the device in Fastboot, open the command line from a computer and type “fastboot oem lock”. Confirm the command and reboot. Similarly, if you get stuck in a boot loop since the installment didn’t go as planned, you want to boot it in recovery mode and wipe the cache options.
- Only use the guide if you have experience with Android SDK. We don’t teach you how to set up and install SDK. You must search for an advanced Android users to help you with starting up the guide if you don’t have enough experience yourself.
- Some of our favorite apps you can use after finishing the steps include Full!screen, Children tracker, BBQ Screen remote control, FPS meter, Experience pro and Unicon.
How To root The Nexus 7 running Android 5.0 Lollipop LRX21P
1. Download the Android SDK here.
2. Download Fastboot for your computer:
3. Download the ClockworkMod recovery here.
– copy the file to the it in the android-sdk-windows\platform-tools directory.
4. Download SuperSU 2.16 here.
5. Turn the nexus 7 on and copy the SuperSu over to the devices SD card.
6. Power off the tablet once again.
7. Boot the nexus 7 in Fastboot and Bootloader mode by holding the Power + Volume Down.
8. Go to the directory where you placed the CWM and press Shift + Right-click.
9. Wait for the command prompt to open. Now we are typing a commend. Insert:
fastboot flash recovery recovery-clockwork-touch-6.0.4.3-grouper.img and press Enter to confirm the command.
10. Pick the recovery option from the Fastboot menu.
11. Pick the flash zip from SD card” option.
12. Pick the “choose zip from sdcard” option.
13. Choose the UPDATE-SuperSU-v2.16.zip file from the SD card.
14. Go back to the main recovery screen and select “reboot system now”.
15. Wait for the tablet to reboot itself.
That’s all.