Last Updated on December 26, 2022 by Mat Diekhake
Directly after Windows 10 had been around for a year, the Windows developers pushed out an Anniversary Update that comes with some designing of existing features, additional features, and fixes that make the Windows 10 operating system better for most people.
The most notable improvements in this Windows 10 Anniversary Update are the new features. The Start menu is redesigned to reduce the amount of clicking and scrolling that is required; the Start screen gets a new design; the Action Center is more worthwhile, the taskbar sees several changes, including the Action Center available from the mouse or touchpad so you can adjust screen brightness without scrolling; Cortana is now smart enough to assist you with your needs before logging in; Microsoft Edge is given extension support, plug Edge is officially the most battery efficient browser to use on computers with Windows 10 after the Anniversary Update; a new Windows Ink update designed to enhance the stylus chances with some devices such as the Surfbook Book and Surface Pro units, and still loads more.
While those features sound good, none of them are of any use to you if you haven’t got the update installed, so here is how to do that:
Installing the Windows 10 Anniversary Update on your computer
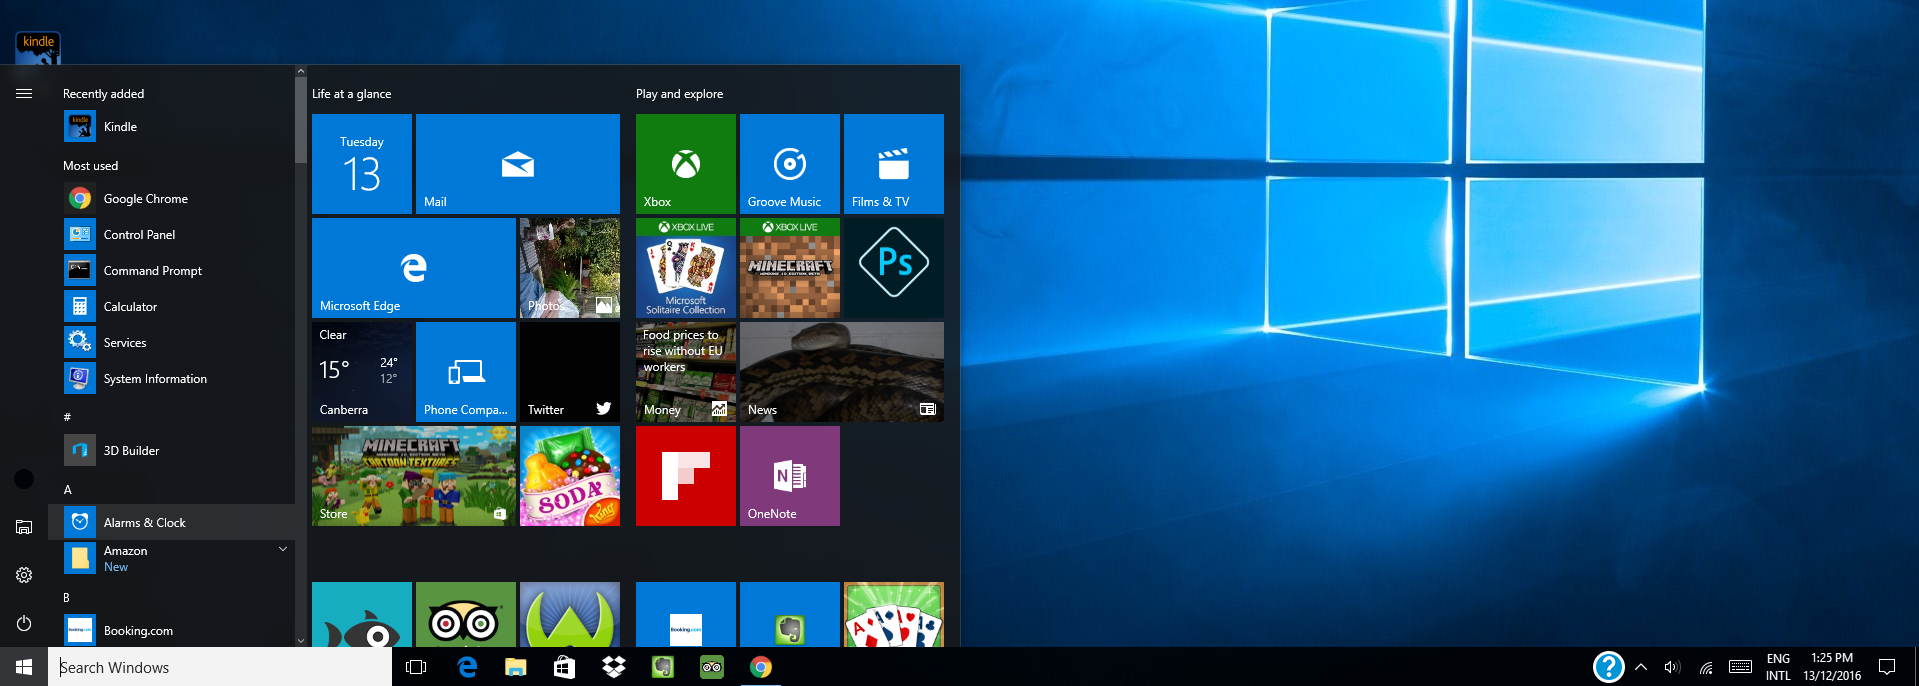
Click on the “Start” menu > “Settings” gear icon that is available from the left-hand side pane.

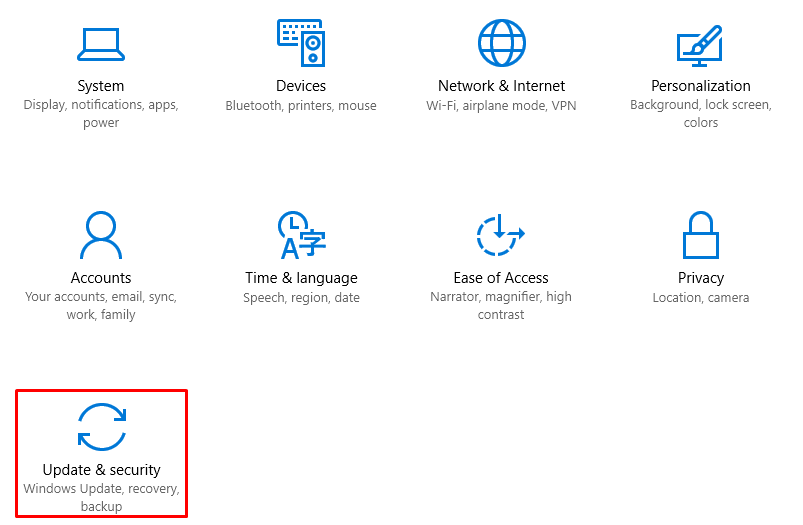
Click on the “Update & Security” button from the “Windows Settings” (you might need to scroll down the list until you see it.
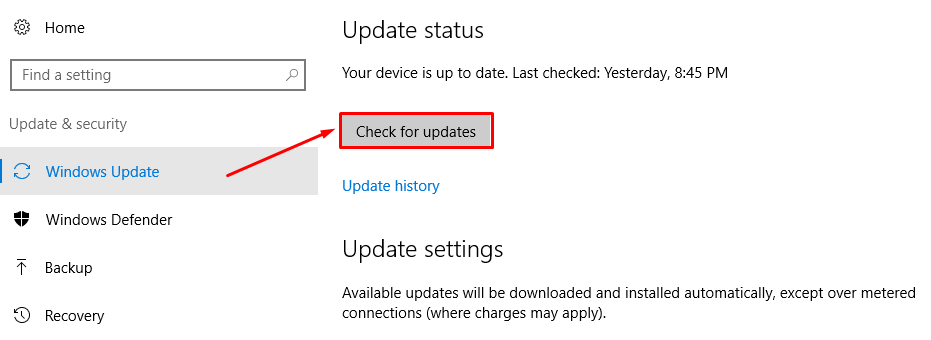
Click on the “Windows Update” option from the left-hand side pane.

Look over to the right-hand side of the screen now and then click on the “Check for updates” button.
If the Windows Anniversary Update is not yet installed on the computer, it will be there waiting after you click on the button that checks for the updates. All you need to do then is click on the option for installing it now. That part can be a bit confusing sometimes because there is not an obvious button to press. However, if it asks you to restart the computer for it top update then just restart the computer and then the update will begin to install when it’s booting back up.
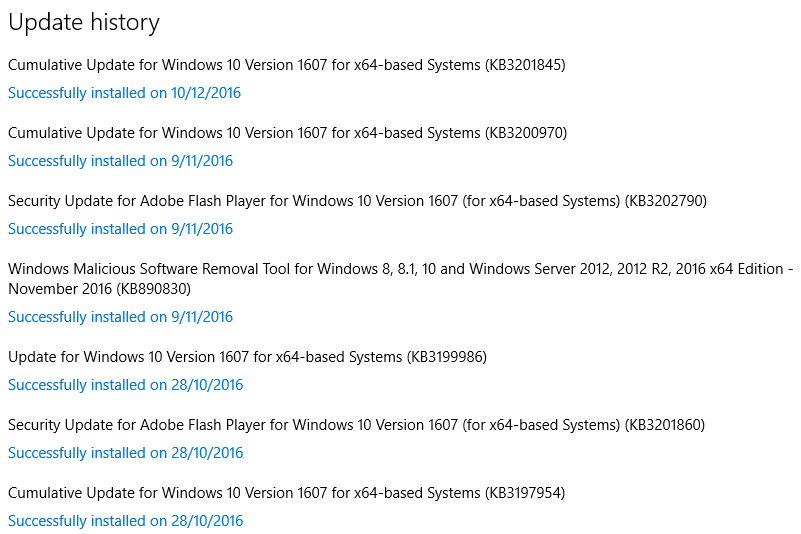
Once you have installed the Windows Anniversary update—or any other Windows 10 updates for that matter—you can check that it has been installed by clicking on the “Update history” button that is available directly beneath the “Check for updates” button from the Update status.
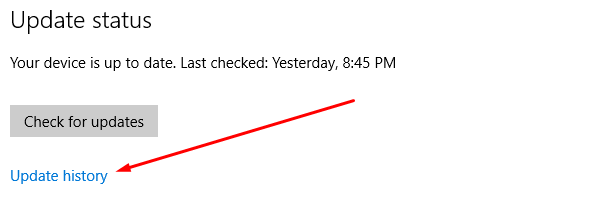
When you go inside the Update history section, you won’t see any update that says “Windows Anniversary update” or anything similar to let you know that you have installed the Anniversary update, so don’t be alarmed by that when you don’t see it. My computer does have the Anniversary Update installed already, but it is one of those updates features in the screenshot. There’s no way to identify it by “Anniversary Update.” That’s the name that Window have just called it for it to be branded to the masses of people who hear about it instead of calling it something like “update build 1607”. It wouldn’t have the same effect.
That is all you need to have installed the Windows 10 Anniversary Update on your computer that is running on a version of the Windows 10 operating system pre-Anniversary Update. It doesn’t matter what version you are running, as long as you keep clicking that button that checks for the updates, it will install them for you.
You might also be interested in:
- How to Erase the Data on Microsoft Surface Tablets Without Booting into the Operating System
- How to Change the Desktop Wallpaper in Windows 10
- How to Set a Web Page as a Desktop Background in Windows 10
- How to Create a WiFi Hotspot with a Device on Windows 10
- How to Change the Default Web Browser and Apps in Windows 10
Have something to say? You can contribute to this tech article by leaving a comment below.