Last Updated on November 14, 2019 by Mat Diekhake
If you’re anything like me with regards to devices, you will have gotten lots of enjoyment out of the Microsoft Surface range of devices.
One of my friends was heavily into wanting to be an owner of the original Microsoft Surface, and I researched it with her, and she ended up buying the Microsoft Surface Pro. I then later bought the original Microsoft Surface RT followed by the Microsoft Surface Pro and now also own the Microsoft Surface Book after finding out they exist about a year after they were released.
If we have software in common also, then you will have struggled to find a way to wipe your old computers when they had finally seen one too many days on this earth and worried about your data being stolen or privacy breached. In fairness, the original Microsoft Surface RT that I later handed over to my brother after buying the Surface Pro was easy to wipe the data from thanks to the OS that comes with it, but if I had to do it again it would probably take quite a lot of research before I could get it done.
The potential problem that people face with applying a factory reset on the Surface devices is that you need to have booted the device into the Windows operating system that is running before you can then follow the right steps to apply the factory reset. That becomes an issue if you want to send your device away under warranty or for a service because something has gone wrong and you don’t know how to boot it into the operating system at the moment. For all those times, Microsoft has created the Surface data eraser tool that you can use instead. Moreover, the Surface data eraser tool is also handy if you just want to quickly erase data from any of the Microsoft Surface range of devices, including the Surface Book, Surface Pro 4, Surface Pro 3, Surface Pro 2, Surface 3 and the Surface 3 LTE.
Erasing the data on your Microsoft Surface device without booting into the OS
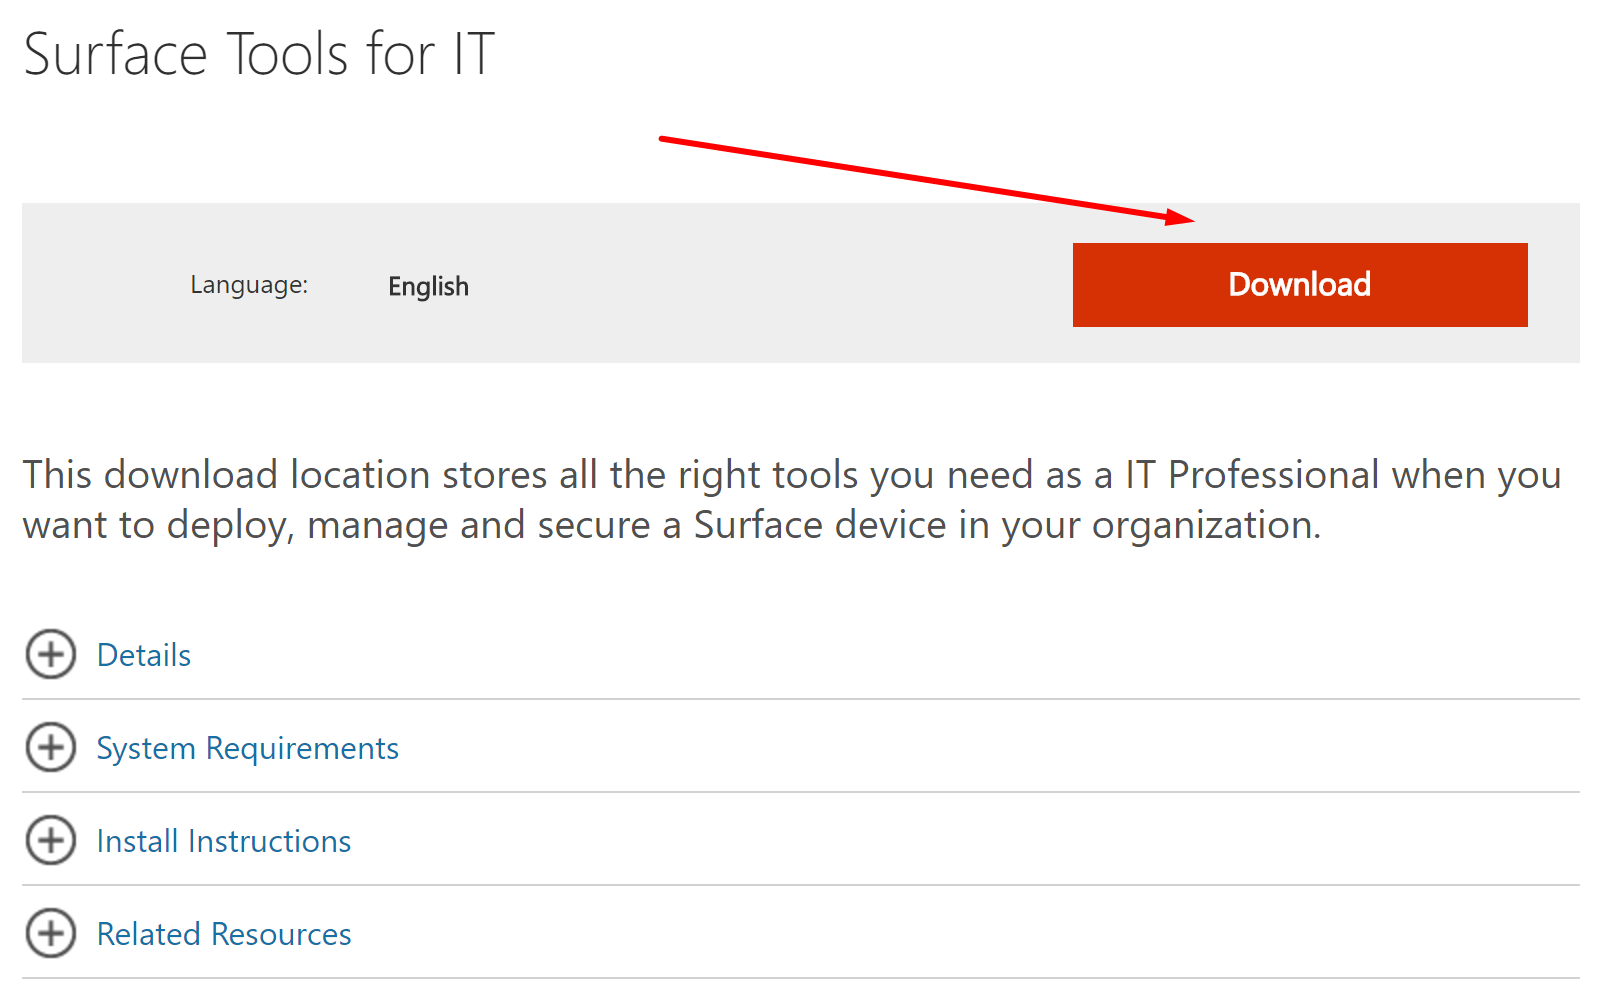
Visit the Surface Data Eraser installer web page and click on the orange “Download” link that is available from the page.
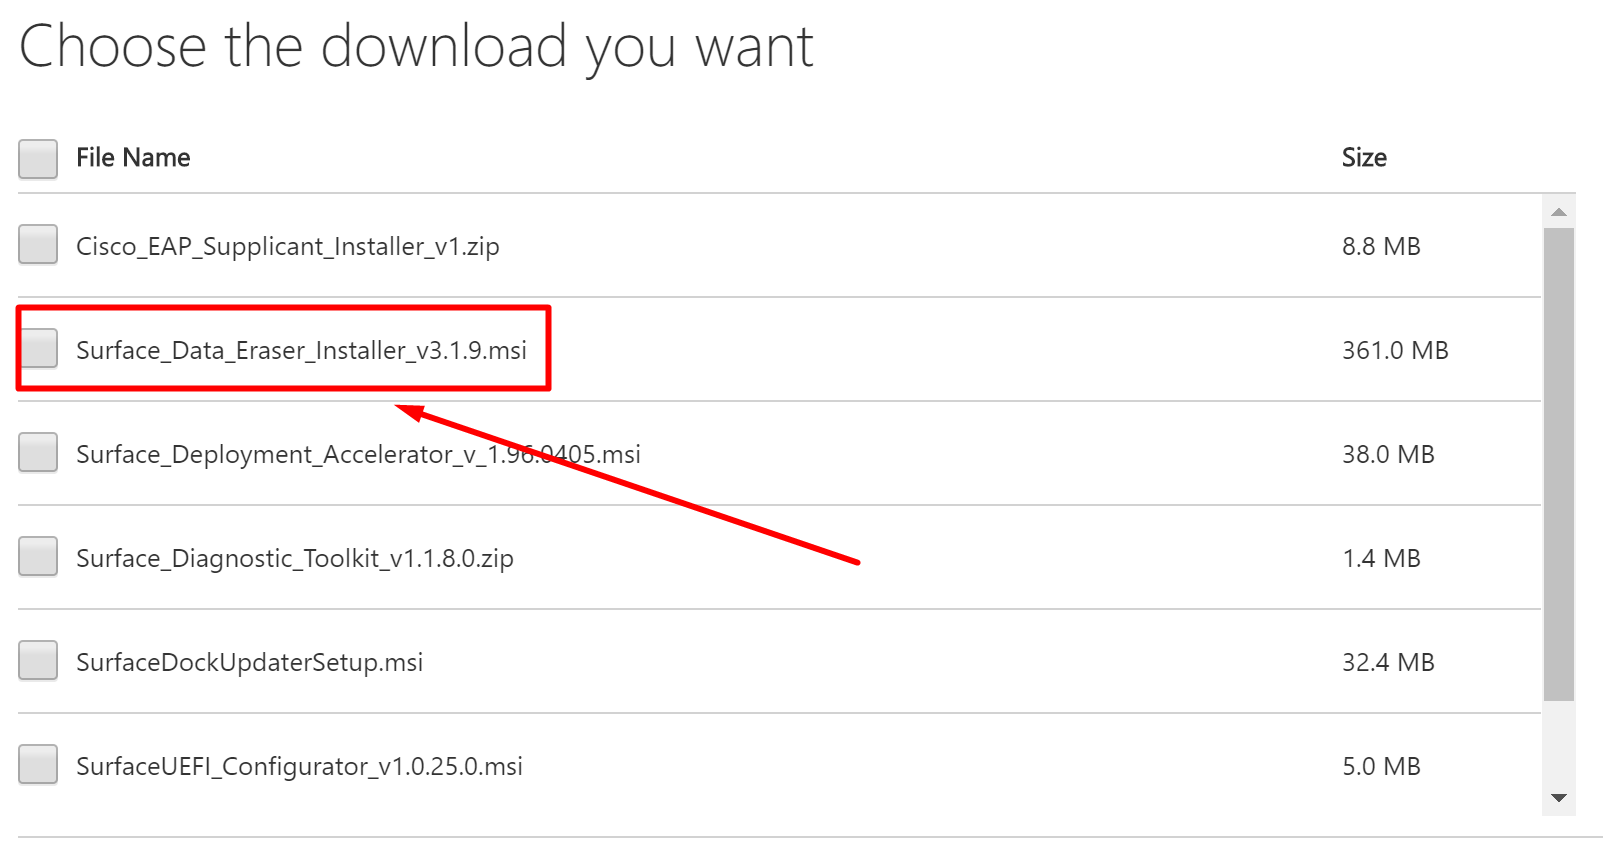
Under the “Choose the download you want” section, click on the “Surface_Data-Eraser_Installer_v3.1.9.msi” file.
Look on the right side of the screen and then click on the “Next” button that is available at the bottom.

The Surface Data Eraser Tool that begins to download to the computer and you can see it directly above the taskbar. Wait for the download to complete and then click on it where it shows the file name to open up the setup wizard for the tool.

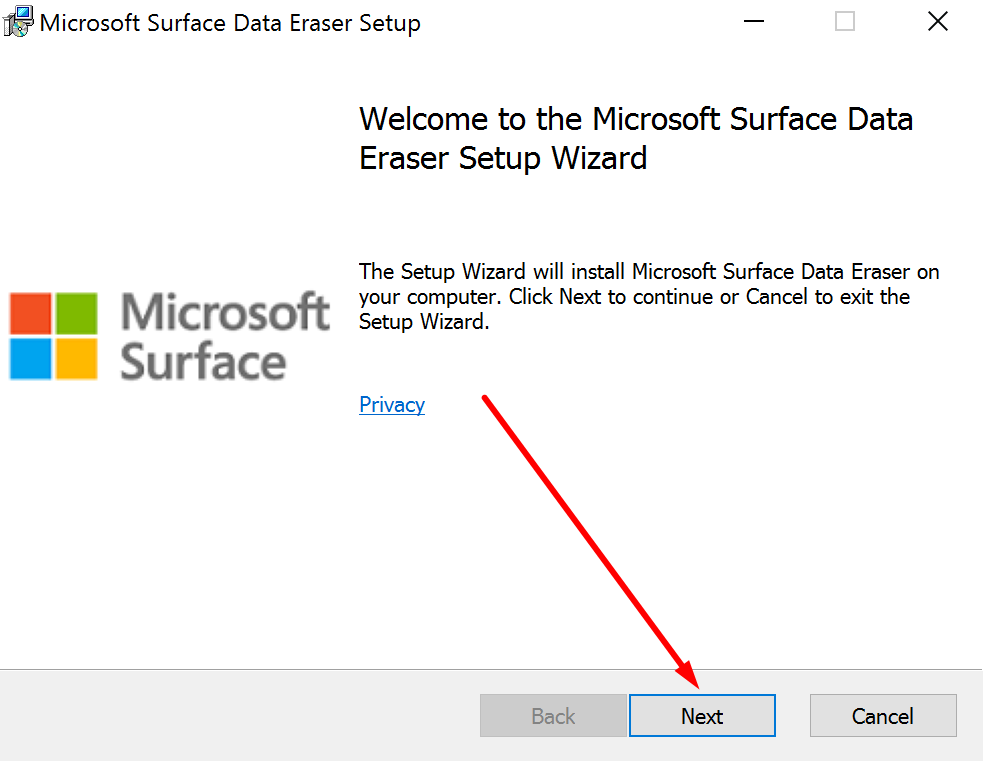
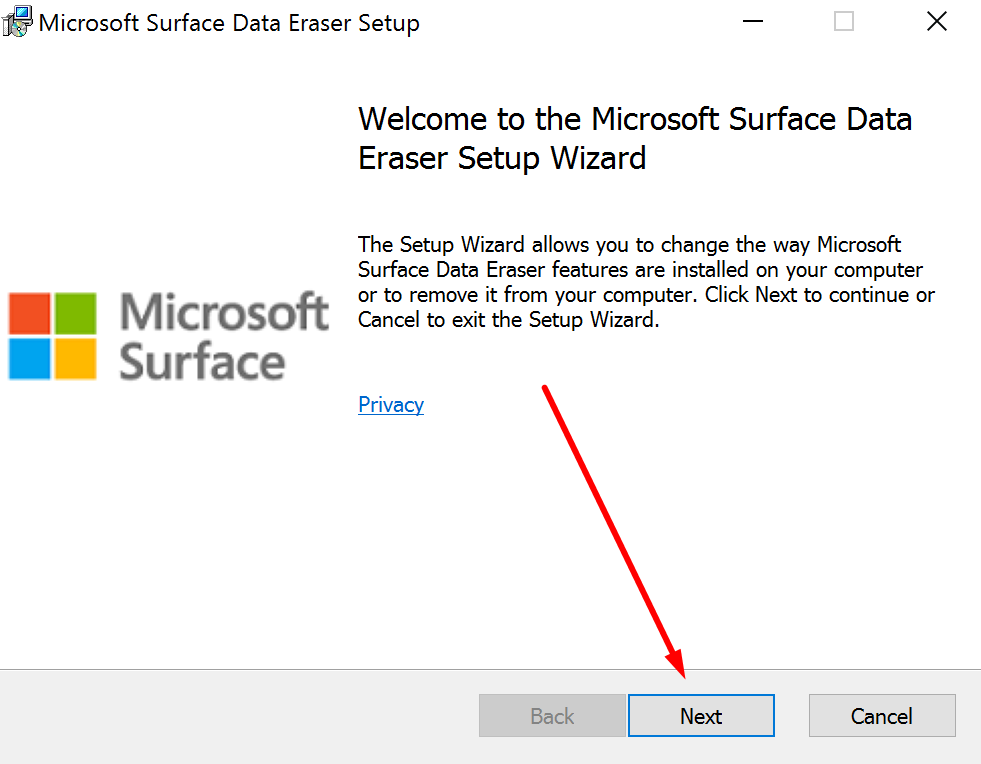
Click on the “Next” button from the Microsoft Surface Data Eraser Setup Wizard page.
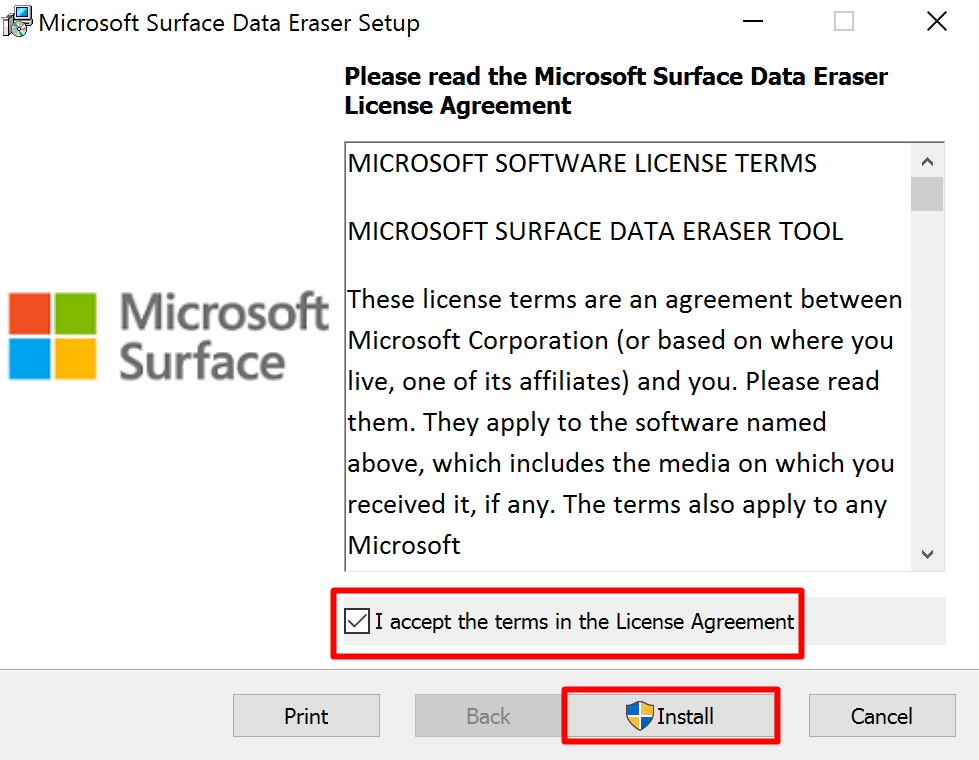
Check the box that is available under the terms and conditions, so you accept the license agreement.
Click on the “Install” button available at the bottom once that is done.
Wait for the installation process of the Microsoft Surface Data Eraser tool to complete.

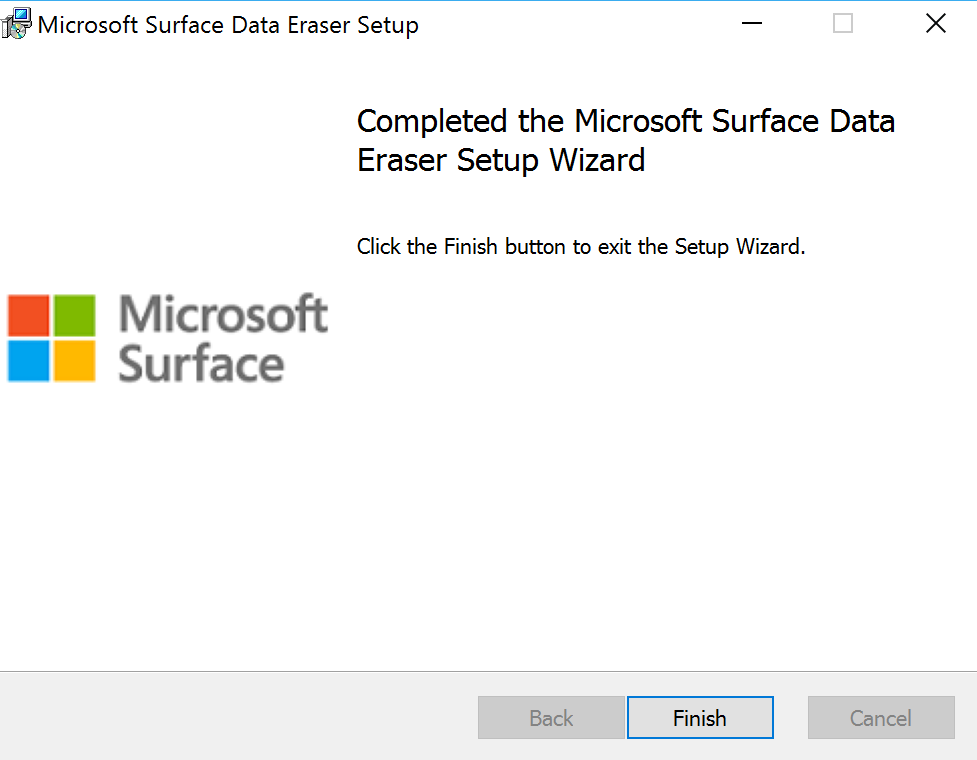
You know the installation is complete when you get the “Finish” button to click down the bottom of the screen that says “Click the Finish button to exit the setup wizard.”
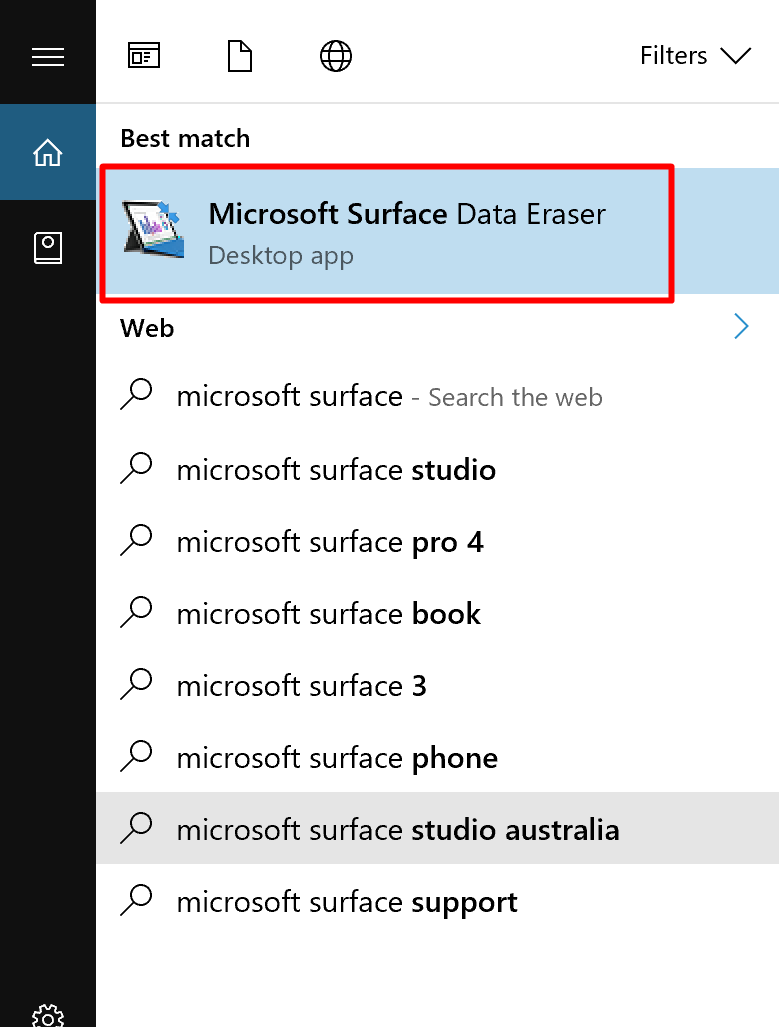
To run the program that you just installed, click on the Search dialog box from the taskbar and start typing on the “Microsoft Surface Data Eraser” name and then click on the application when it appears at the top.
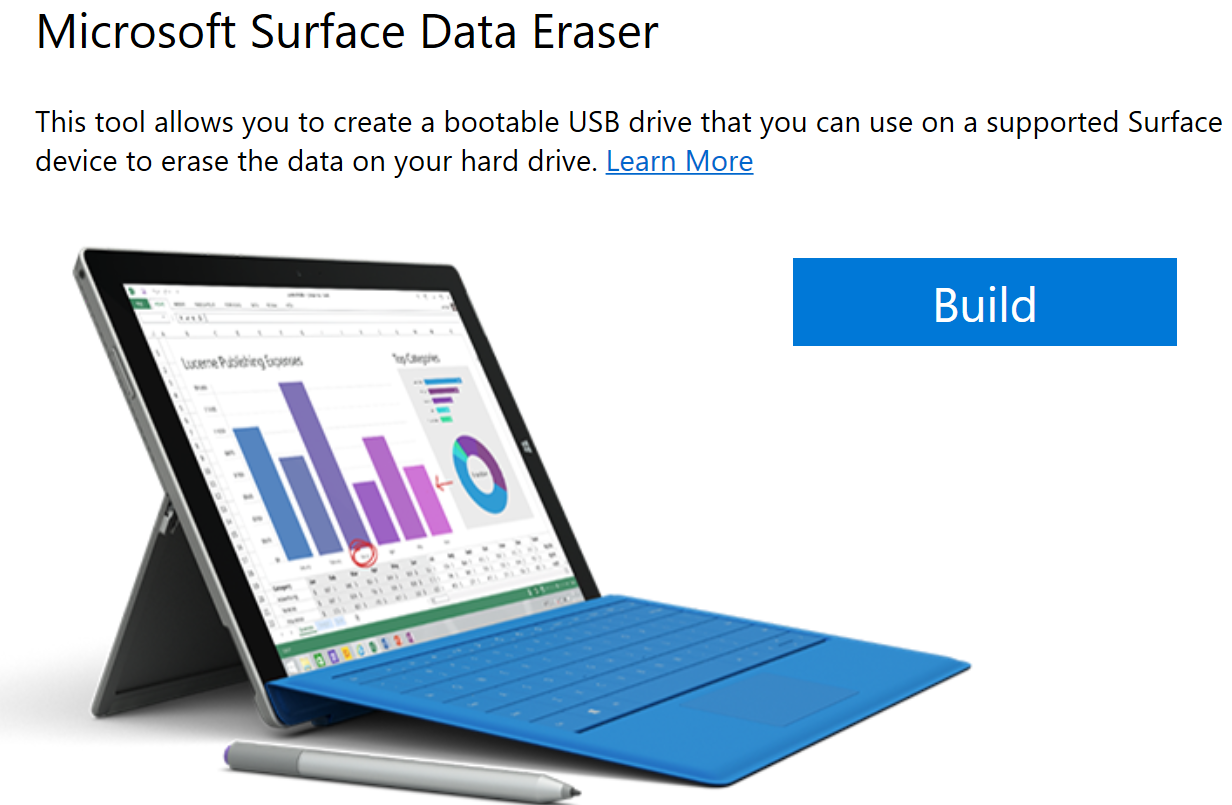
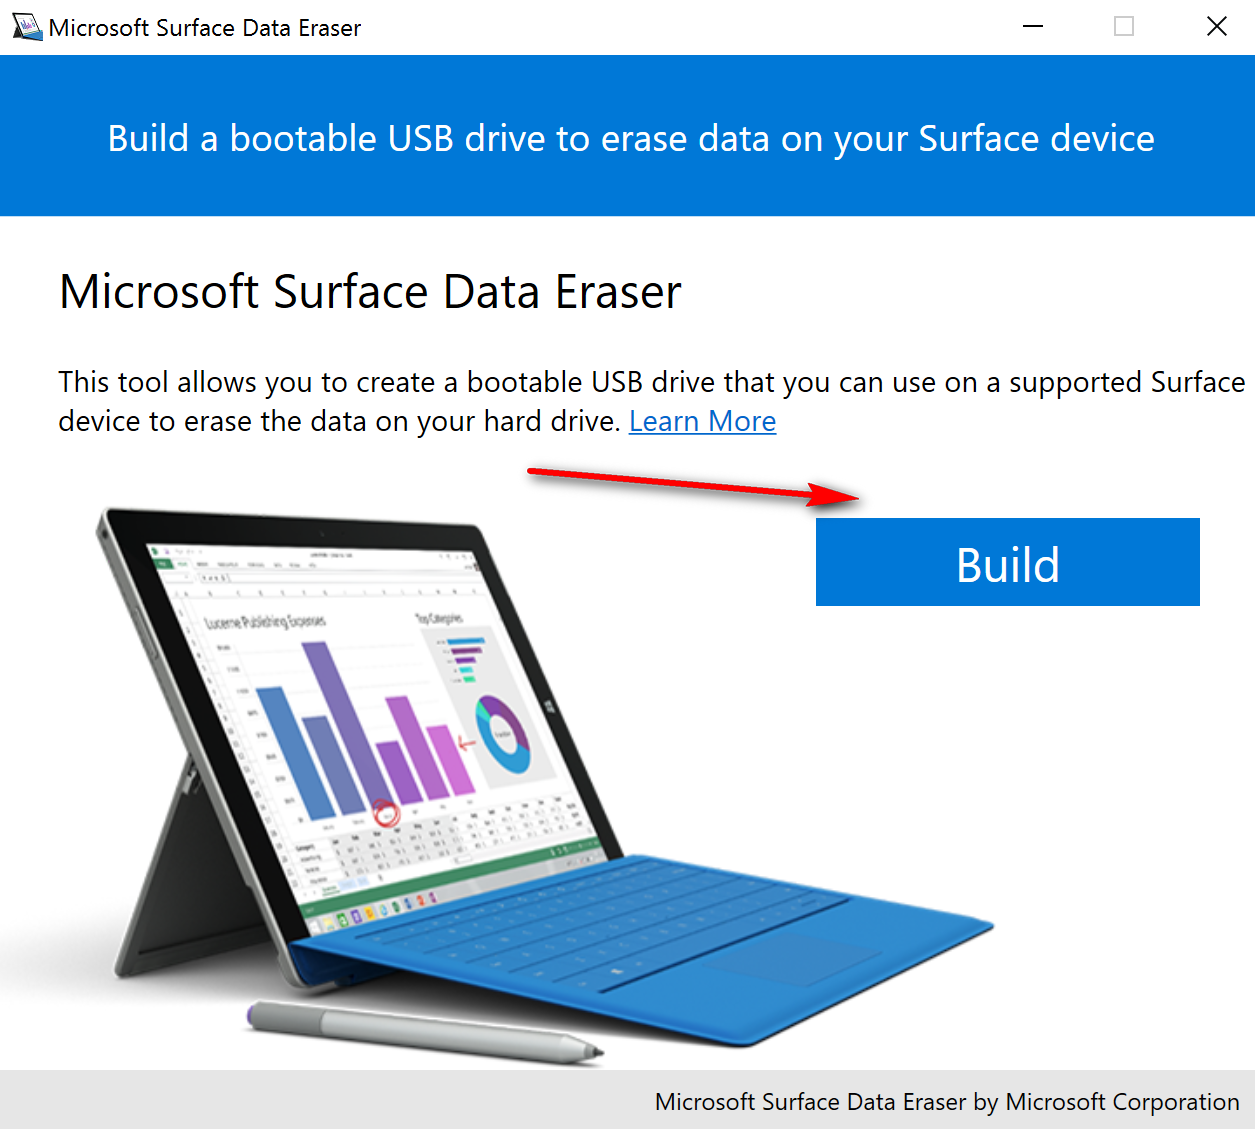
The Microsoft Surface Data Eraser then opens. Click on the button that says “Build” to proceed.
Click on the “Start” button where it says guidance.
Note: you should also read the part where it says that they recommend for you to use the USB 3.0 thumb drive when you do this task, and for USB stick to have at least 4 GB’s worth of space. That space is just a guideline.

That is everything you need to erase your Surface device. The point of the thumb drive is to make a backup copy of the data that is on the device already so you can restore the data again later. You don’t need to do that if you do not want to restore the data in the future.
Removing the Microsoft Surface Data Eraser tool from the computer
Now you need to open the Downloads folder on the computer by navigating to the Start menu > File Explorer > Downloads and then find the program that you just installed.
Click on the executable file once you have found it from the Downloads folder and you should see another page that looks like the beginning of the setup wizard again, only it is different this time.
Click on the “Next” button that is available from the button to proceed.
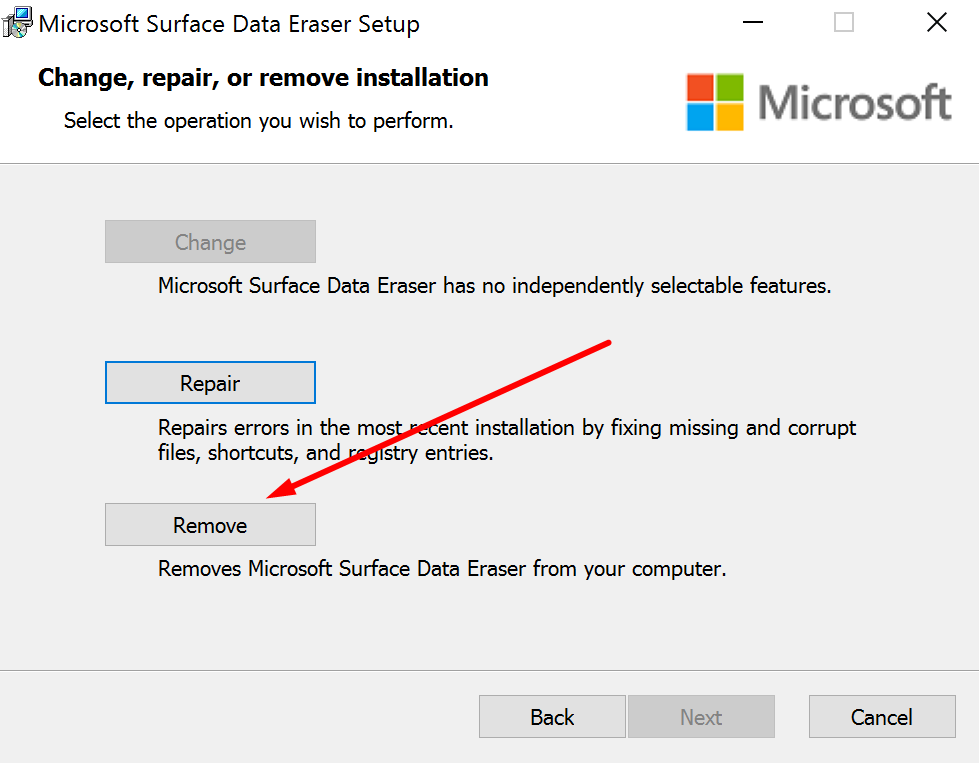
Click on the “Remove” button that is available from the “Change, repair, or remove installation” page.
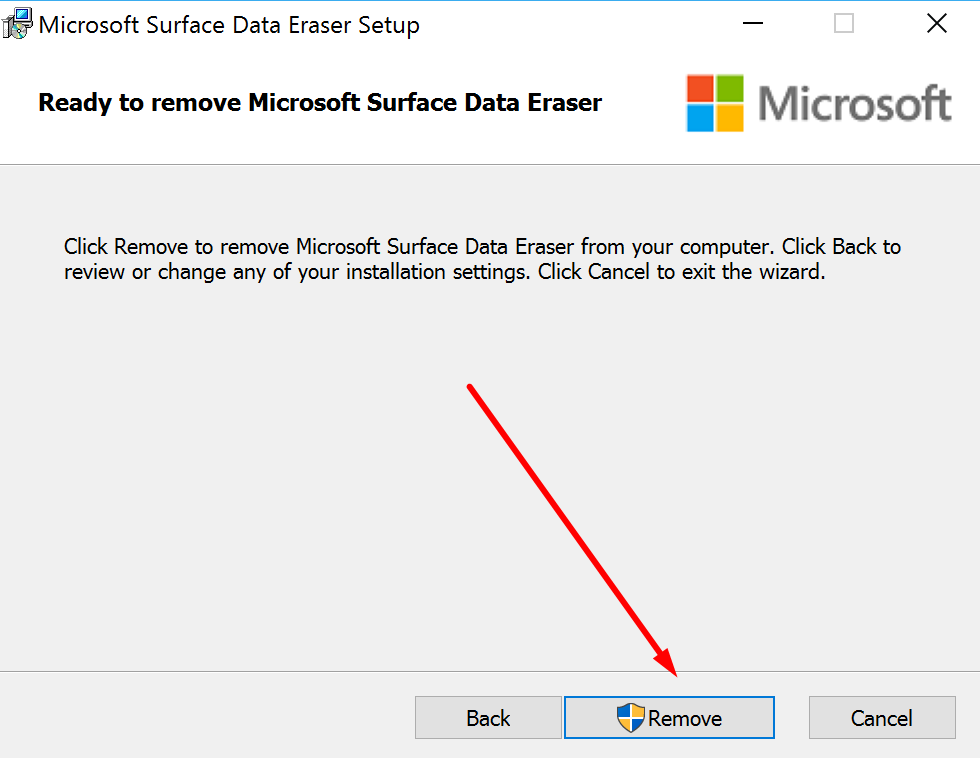
Click on the “Remove” button when you get to the “Ready to remove Microsoft Surface Data Eraser.”
That’s everything you need to remove the Microsoft Surface Data Eraser tool from the computer for whenever you no longer want it to be on the device. You should remove it when you are no longer want to use it because the tool itself uses up about 350 megabytes worth of space just as an installation file.
You might also be interested in:
- How to Change the Taskbar Design in Windows 10
- How to Install the Line App on Computers Running Windows 10
- How to Find Out the WiFi Password in Windows 10
- How to Create a Local User Account in Windows 10
- How to Install the Mac Mouse Cursor for Windows 10 (From Mac EI Capitan)
Have something to say? You can contribute to this tech article by leaving a comment below.