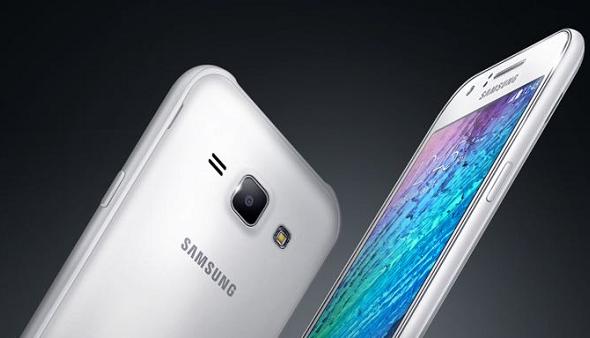
The following post illustrates how to unroot the Samsung Galaxy J7 smartphone. Unbricking and unrooting the Samsung Galaxy J7 are two different things, but not always. That’s especially true for using Samsung devices where often the way to fix any problems you might be having with boot loops is the same as unrooting. Today I’ll show you everything you need to do to unbick the J7.
Note that you can only follow this guide for the Samsung Galaxy J7 smartphone. We are recommending you install a firmware build during this guide. Installing the same firmware on a different device won’t work as they each need a unique firmware build. Hopefully I have covered the other guides already on this site so you can learn how to unbrick your other device from a unique guide.

The guide only works for the J700F device. Check your model number from the About Device menu.
The files you need:
- Download the Odin 3.04, 3.07 or 3.09 from our page. If given you a few different options you can use if one of the links isn’t working.
- Download the official firmware from this link.
Unbricking the Samsung Galaxy J7
- Unzip the Odin and firmware zip files on the desktop. You must have a Windows PC for this guide to work.
- On your Sammy smartphone J7, navigate to Settings > Developer Options > Check the box for USB Debugging.
- Hold the power key on the J7 for a long time until the device is off.
- Reboot holding the Volume Down + Power + Home keys.
- Connect the Sammy J7 to the same Windows PC where you have the files.
- Wait for Odin to pick up your device by showing you a color for the ID: COM port.
- Click the AP or PDA button in Odin depending on what version you downloaded earlier.
- Upload the firmware file, making sure you already unzipped the file on the desktop.
- Do not adjust any of the default Settings Odin shows you. If you are using an older version of Odin you already had on your computer and have forgotten the default Settings, just make sure the re-partition box is left empty.
- Click the Start button and Odin will now flash your J7 with the official firmware build from Samsung. This is called flashing firmware files manually, or software updates manually. The technical name for it is firmware, although many people just refer to it as software.
- Now your device will be unbricked after Odin finishes and reboots the device.
Those who do not want to go to the effort of flashing firmware can try a few other tricks first. The first trick you should try is entering the recovery mode on your device. You can do that from either a custom recovery or a stock recovery using the same buttons. Press the Volume Up + Power + Home buttons together and release them after the display on your Sammy smartphone changes. Select and enter the recovery mode. Now that you are in the recovery mode, navigate to the wipe data/factory reset option. make sure you backup the smartphone before applying this reset. The reset is effectively the equivalent of hard resetting your device. These resets do wipe all data and return your device back to its factory state. You can restore the data if you back it up. Furthermore, the internal SD card works for storing the data, you do not need to buy an external card for this.