Last Updated on May 30, 2021 by Mat Diekhake
The world is becoming digital, and if you still happen to use papers for your documents, then you are considered to be obsoleted. I understand there are many places where you must use papers for your documents, but everything is slowly adapting the digital document type, and you will soon have to convert all of your old-age papers into digital papers.
One of the ways to turn a physical paper document into a digital document is to scan it using a scanner attached to your computer. It will scan the document and save its digital copy on your computer for you to use it digitally. As you can see, it requires you to have a scanner and a computer to do the task.
If you are at an office or home and you have access to a scanner, that is fine. But, if you are one the go and you really want to turn something into a digital document, well, you can’t do, unless, you follow what I say below.
Fortunately, you now have a way to scan and save documents using an Android device easily. Yes, there’s no need to of a scanner or a computer to be able to scan a document and turn it into a digital one. All that can be done using an Android phone that has a camera.
The camera on the device will be used to scan the document, and then you will use an app that will convert it into the digital format, and it will also save it online for you to access it from anywhere and from any of your devices including your computers.
If that sounds good to you, here’s how to do that:
Scanning and Saving Documents Using an Android Device
To do the task, you are going to use an Android phone with a camera and the Google’s Drive app. The Drive app is usually used for uploading and downloading files from Google Drive, but it is more than that. It also lets you scan documents and turn them into digital formats and here we show you how to do just that.
Head over to the Google Play Store and download and install the Drive app on your device if you have not already.
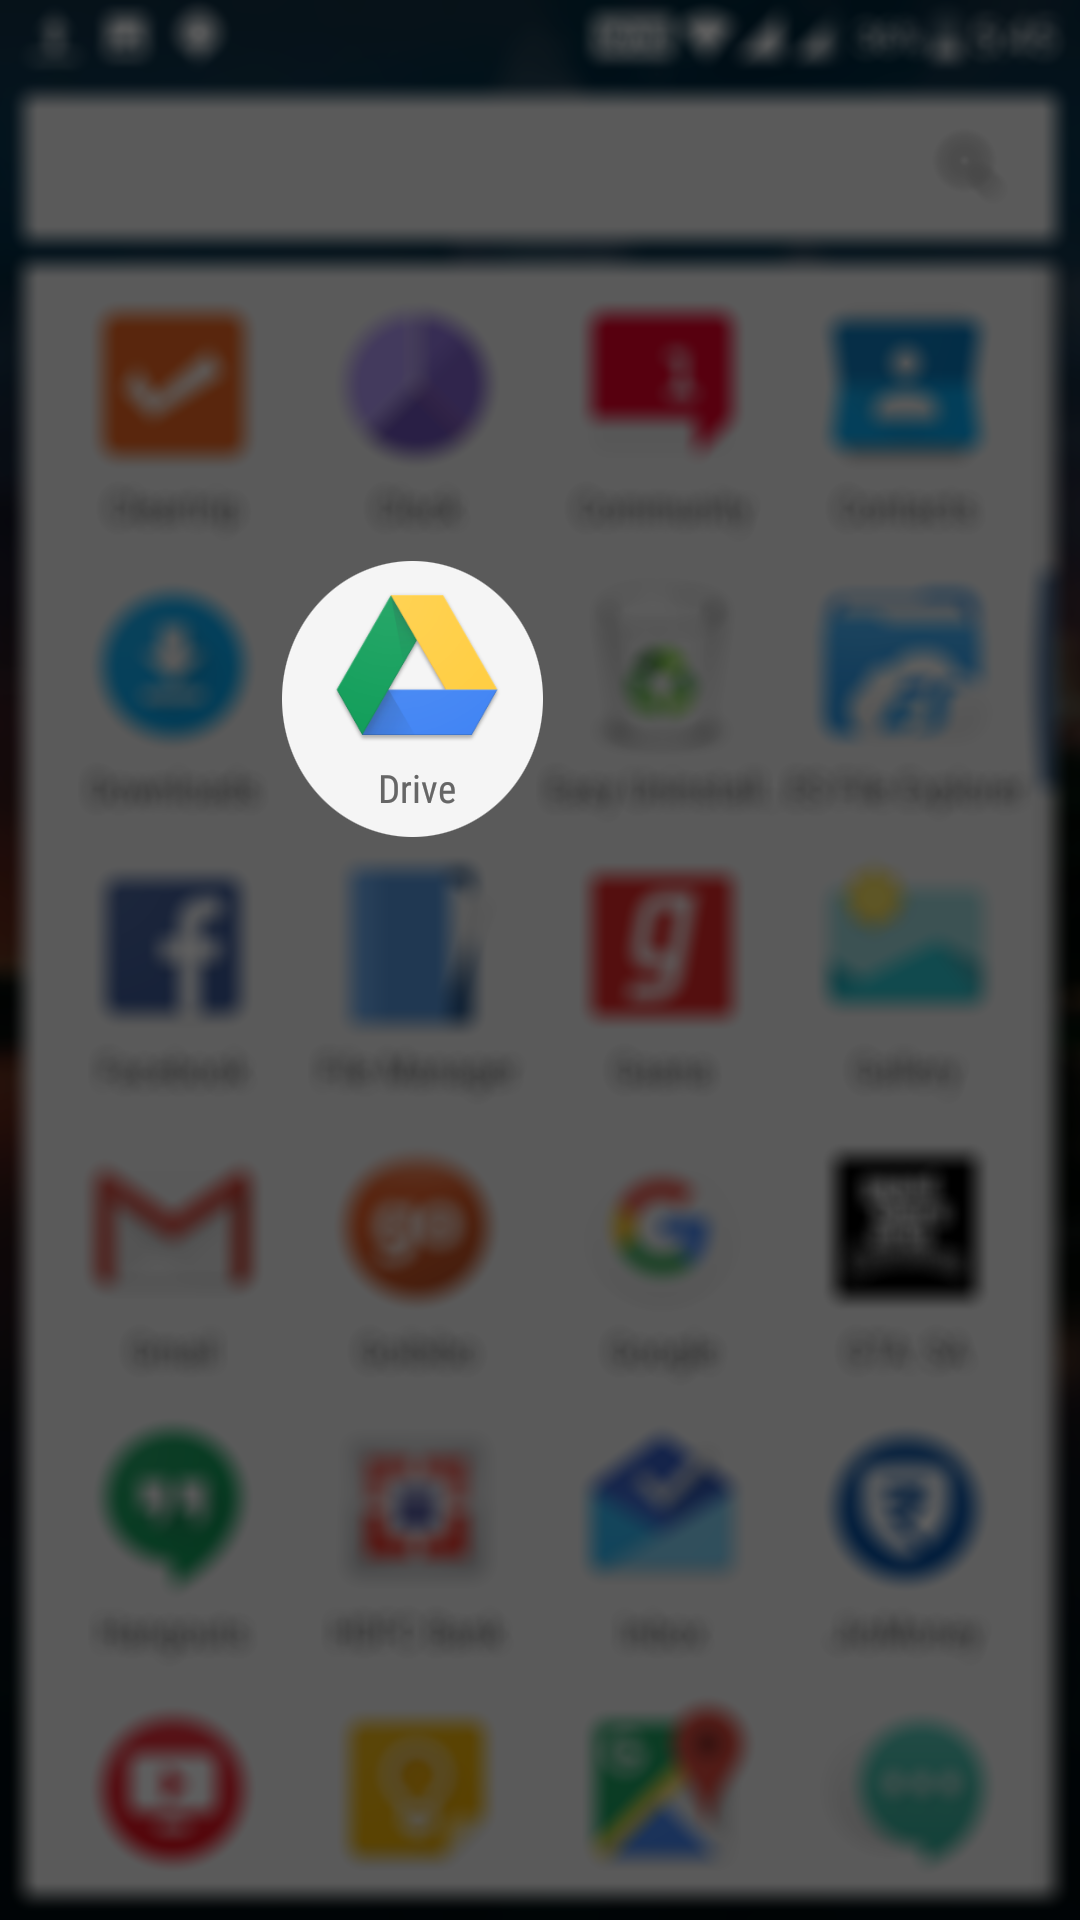
When the app has been installed, open the App Drawer and tap on the “Drive” icon to launch the app.
When the Drive app opens, you should be able to see all of your files that you have stored on Google Drive.
Now, what you need to do here is create a new folder where your scanned documents will be saved. Although you can do the scanning without creating a new folder, you have to search all those documents on the homescreen of the app to find your newly scanned document. So, it’s better you create a folder and save all of your scans in there.
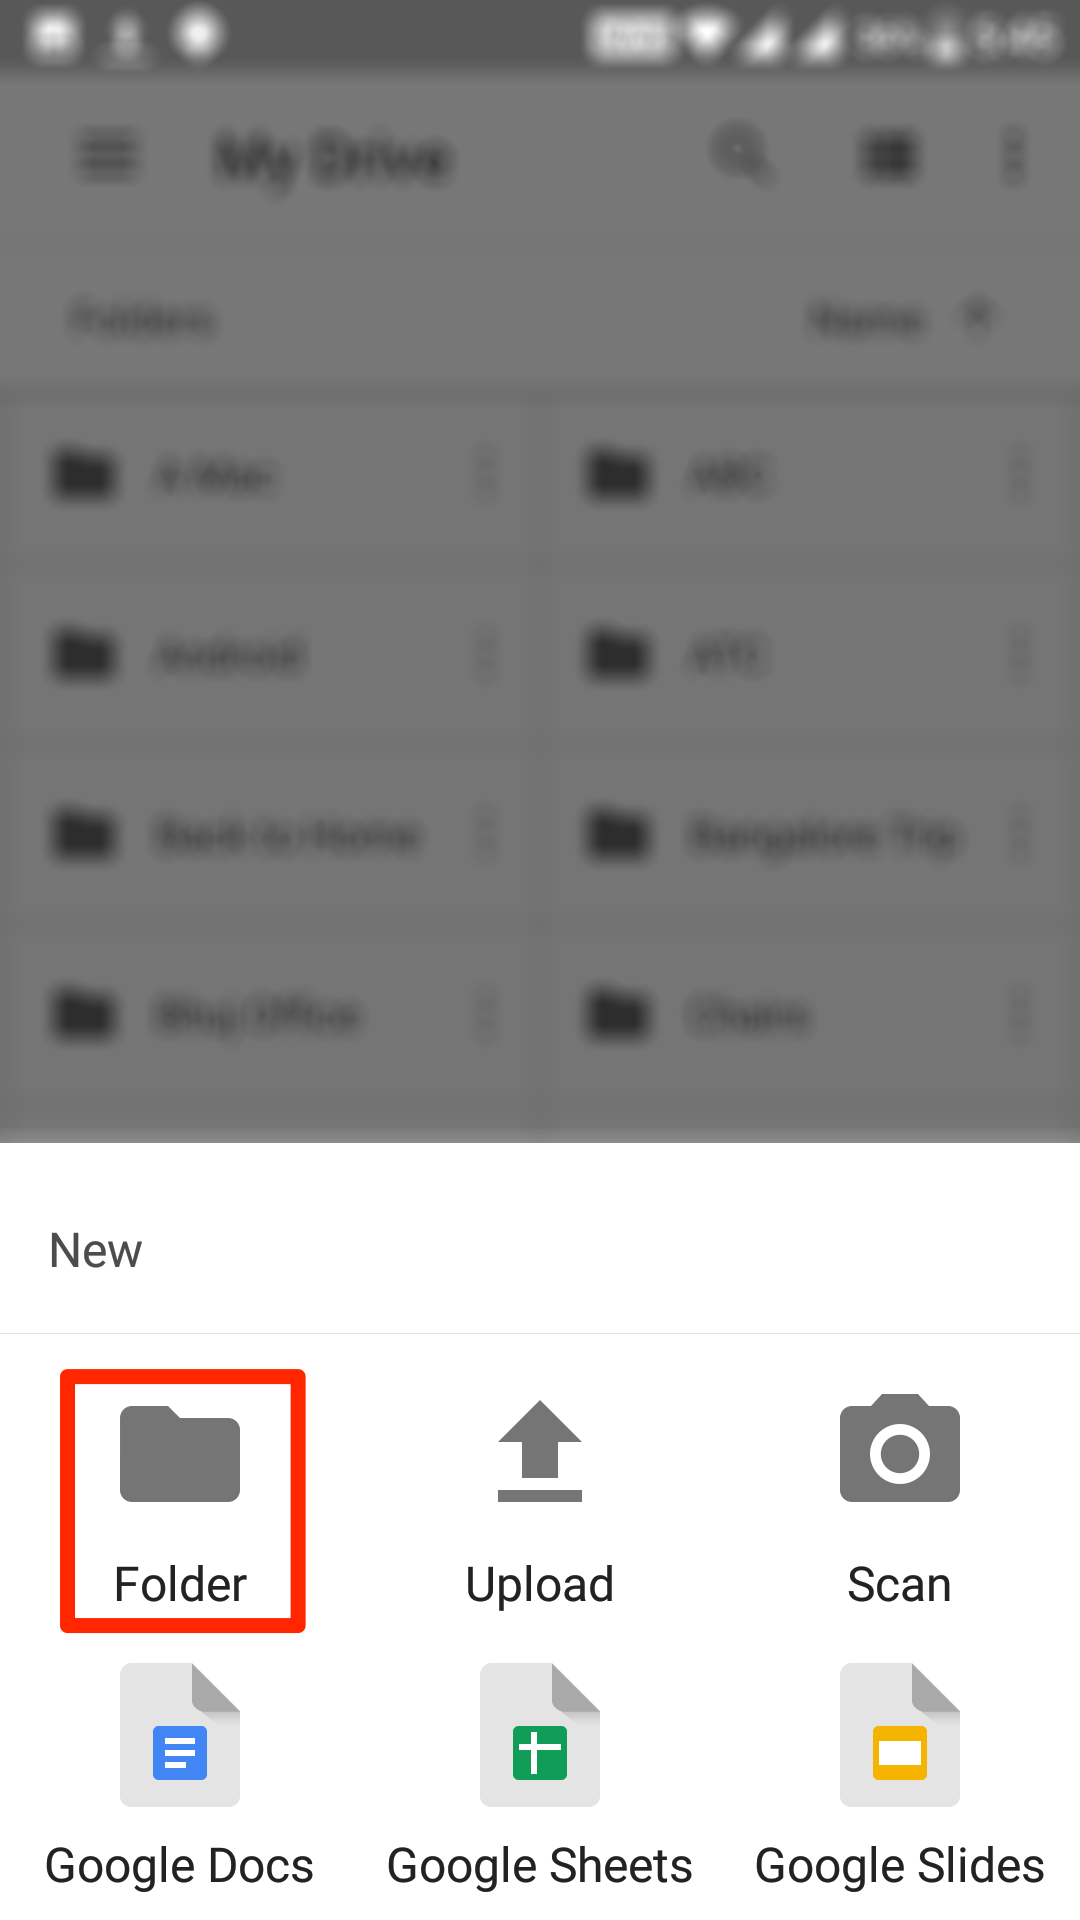
To create a new folder, tap on the big blue icon with a plus sign in the bottom-right corner and then select “Folder” to create a new folder in your Google Drive account.
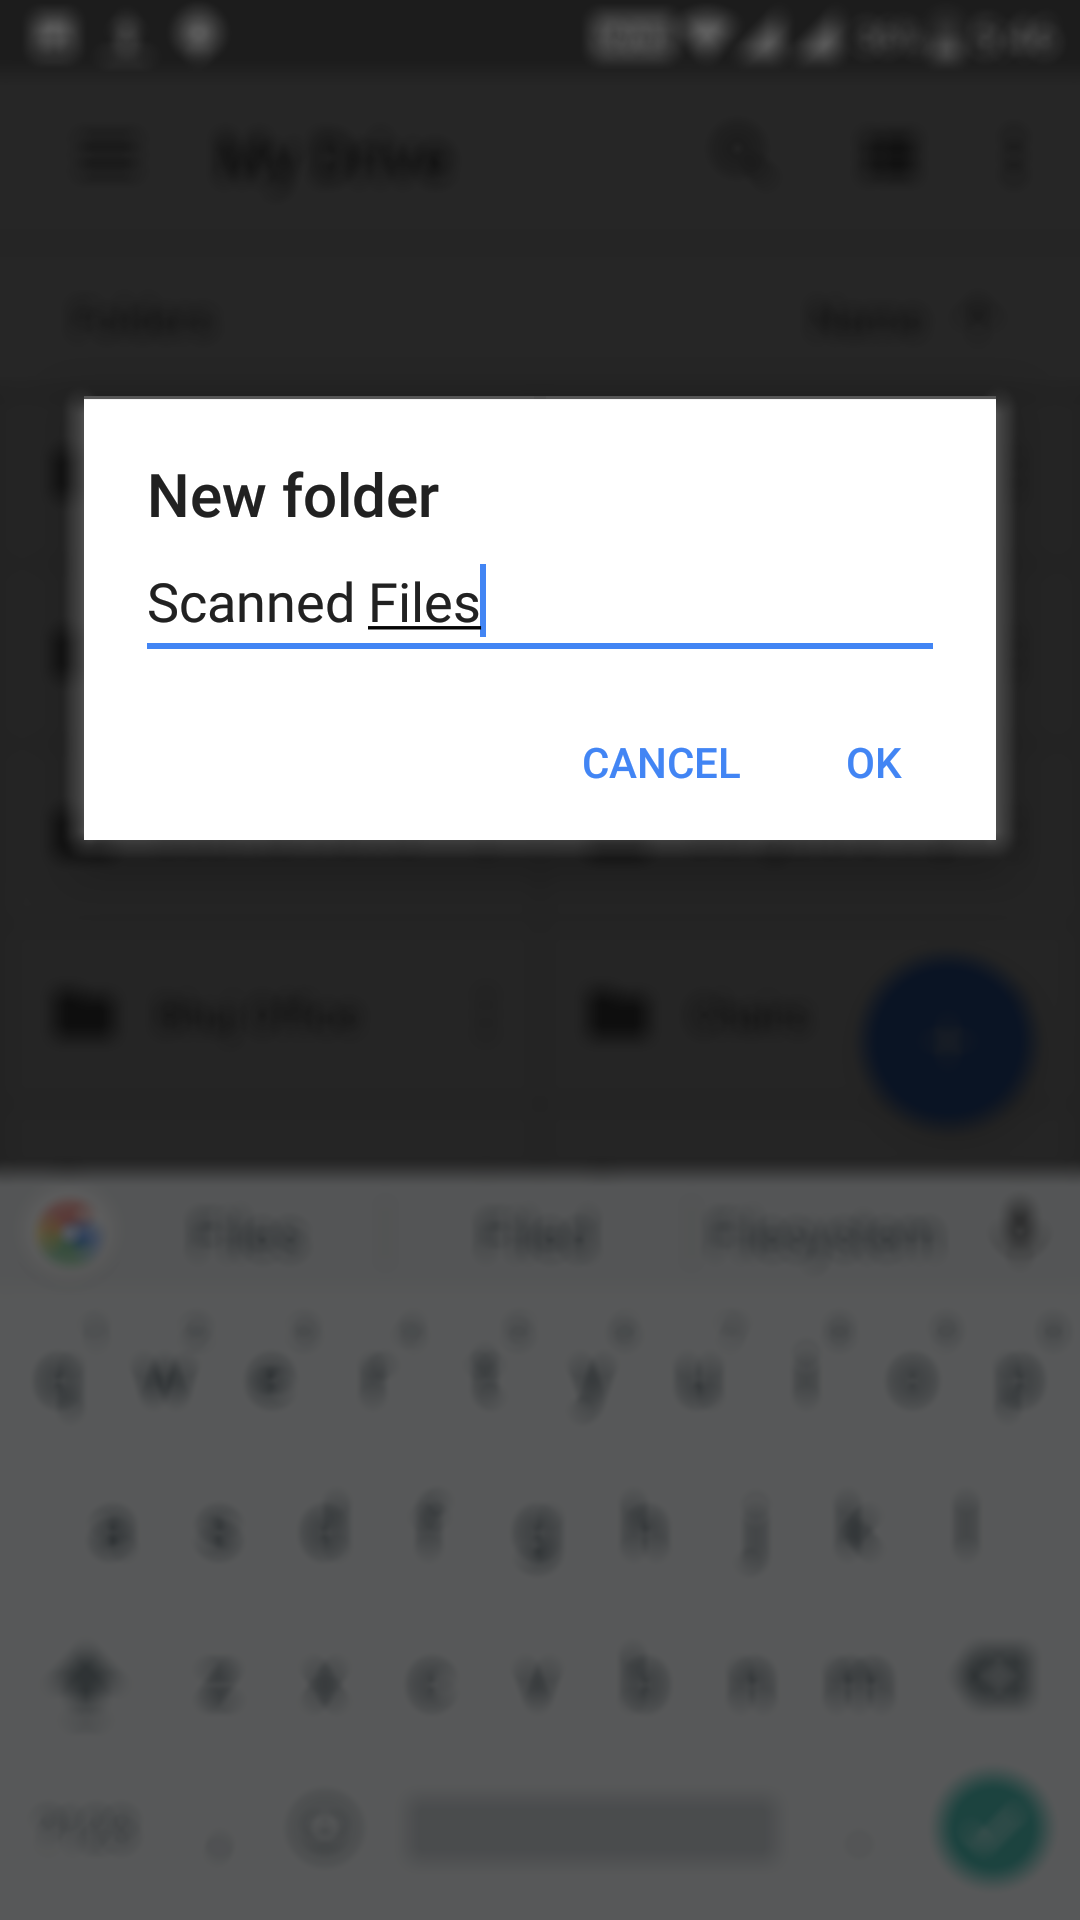
On the following screen, you will be asked to enter a name for the folder. Enter a meaningful name that you can easily recognize later on.
I am going to use the “Scanned Files” name as it is self-explanatory.
After entering the name, tap on “OK” and a folder with the given name will be created in your Drive account.
When you see the new folder in the app, tap on it to open it. Now that you are inside the folder, tap on the big blue button with a plus sign in the bottom-right corner to do the scanning. Choose “Scan” on the next screen as what you are going to do is scan a document using the app.

If the Drive app has not been given the permission to access your phone’s camera, you will be asked to provide it that permission.
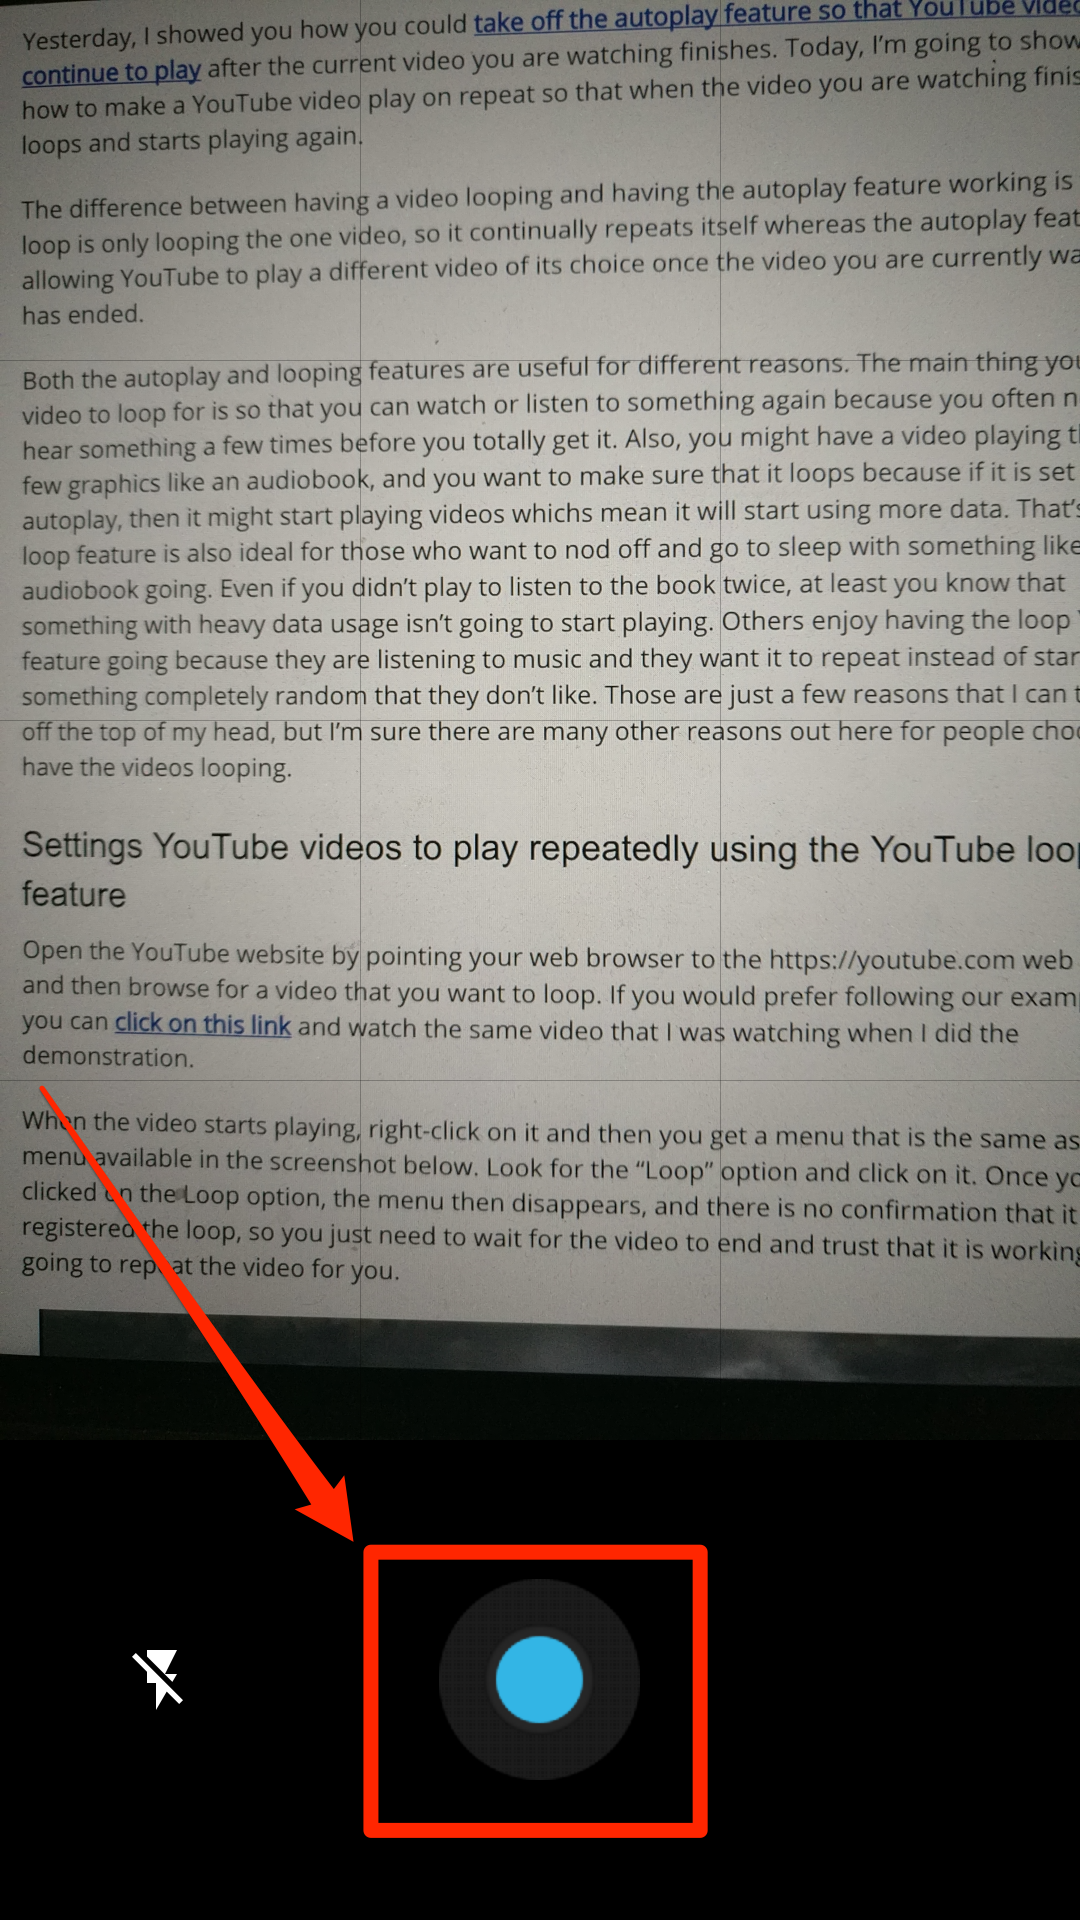
When the camera opens, hold it on the document you want to scan. Make sure you use good lightings for better scans.
Tap on the button in the bottom-middle to capture the document.
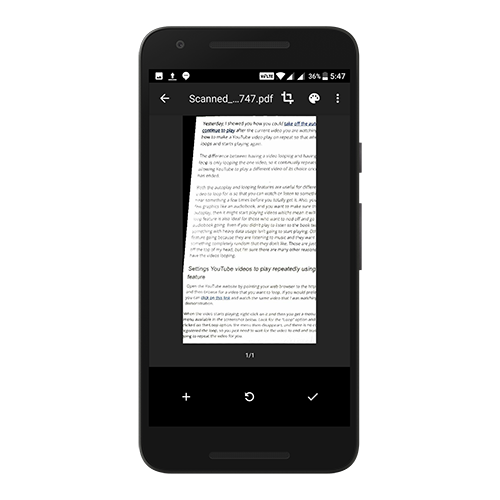
On the following screen, you should be able to see the preview of the scanned file. Not only does it show preview, but it also shows a number of options that help you modify the scanned document.
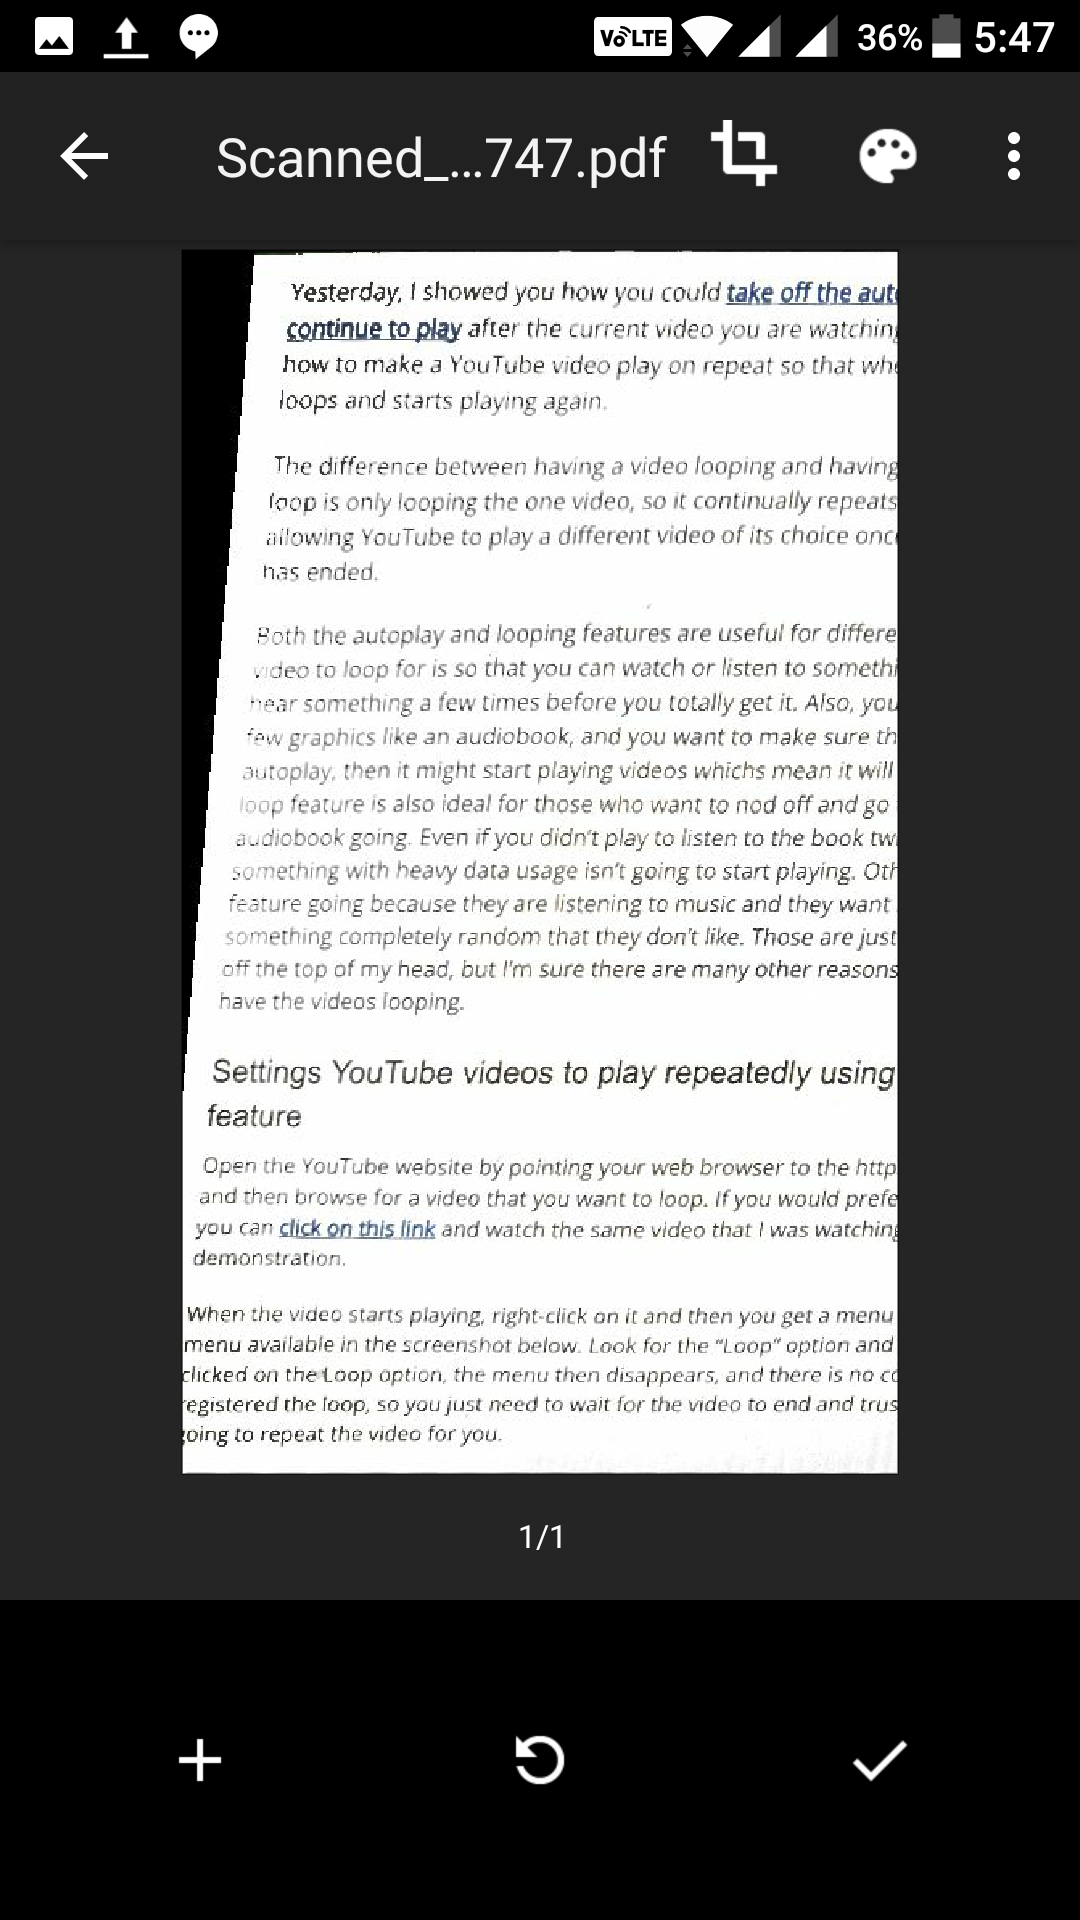
Crop: the crop icon is the first in the icons list at the top using which you can crop the document if you think too much of the document was covered in the scan.
Color Palette: the color palette lets you select what color the document was in. Choose the appropriate option from the list.
Menu: the third option expands a menu where you have options like delete page, rename scan, rotate page, and so on.
In the bottom of the screen, you have three options:
+ (plus) sign: the document that you scanned are saved as a PDF file. The plus sign lets you add a new page to the same PDF file that is going to be created using the scanned pages.
Retake: the middle icon is for retaking the scan if it did not go well in the first attempt.
Checkmark: the checkmark icon lets you save the document in a digital form.
If you think everything is good, tap on the checkmark to save the document as a PDF file in your Drive account.
The app should begin uploading the document to your chosen folder.
Your paper document has just been converted to digital and you can now view it in its digital, form using any of your devices that have access to the Google Drive.
You might also be interested in:
- How To Turn Off Video Autoplay In Facebook For Android
- How To Create A Shortcut For Custom Text On Your Android Device
- How To Change The Launcher To The Default On Your Android
- How To Edit Your Android Device In The Google Play Store
Have something to say? You can contribute to this tech article by leaving a comment below.