Last Updated on July 19, 2022 by Mat Diekhake
Rooting the ZTE Geek 2 smartphone isn’t for everybody. There are many pros and cons to rooting the Android operating system and an individual needs to decide what is best for them. Google locks down the Android operating system so that it is more secure. The main way you can get malware on your device is from downloading apps and giving that malware access to your device. Without root access that malware is isolated and trapped because the internal file system it locked. However, when we give our devices root access these apps can read each other and spread. That means if you do download malware it can potentially move from one app and read a different apps data. They wouldn’t happen automatically, but it is made easier.
On the other hand, a device without root access is a device that can only install basic apps from the Google Play Store. Many of the best apps out there require having that access to the root file system and without it they don’t work.
The Files You Need
- Download the KingRoot universal one click rooting package from the XDA Developers page here.
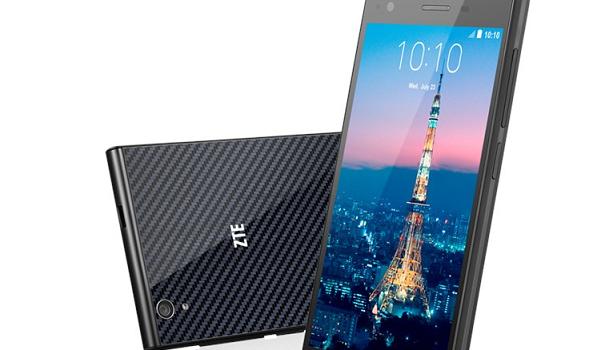
Rooting the ZTE Geek 2
- Download the KingRoot tool directly to the desktop of your computer.
- Enable the Unknown Sources on your ZTE smartphone by pointing to the Menu > Settings > Security > Unknown Sources.
- Connect the ZTE Geek 2 to the computer with the USB cable.
- Transfer the KingRoot tool over to the root of the internal storage SD card.
- Unplug your smartphone from the computer.
- Install the KingRoot APK on your device and check out the best file managers for Android if you want to use a file manager for the job.
- Tap and open the KingRoot app once it’s on your device.
- Click the Get Root or Try To Root button you can see on the apps main page.
- Wait for the progress bar to reach 100% and the app will tell you it was a success.
- Reboot the device and it will have the root access. You can double-check that is the case by installing the root checker app from the Google Play Store.