Last Updated on January 5, 2023 by Mathew Diekhake
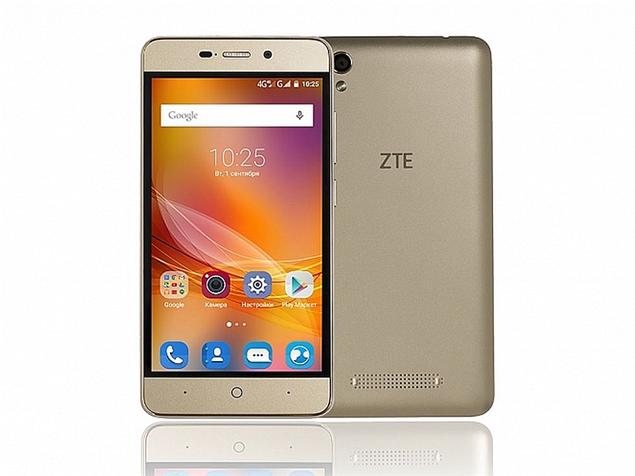
These are the steps to root the new ZTE Blade X3 smartphone using the KingRoot one-click universal rooting application that is available for many devices.
When people think about rooting a device, they are usually thinking about installing more applications from sources like the Google Play Store online. The KingRoot app is known as more of a soft root, but it will allow you to install all the apps you have waited for on your device.

Furthermore, the KingRoot application doesn’t hinder any custom recovery installations you might want to do later. It just doesn’t come with a custom recovery. You should have no problems installing a custom recovery like TWRP recovery, CWM recovery, Philz touch recovery or even the Carliv recovery if any of those become available for your device.
Files You Need
- Download the KingRoot app from the XDA Developers website for your Blade X3 from this page.
- You are voiding the warranty agreements you had with the ZTE brand when you root the Blade X3 using the guide below. You can unroot the device using the same app and get the warranty working again. Moreover, the KingRoot app is virtually impossible to brick your device, so you do not have anything to worry about. Most problems you might have with your X3 device are not likely to come from rooting with this method.
Rooting the ZTE Blade X3
- Download the KingRoot app from the link above and have it on the desktop of your computer.
- Connect your ZTE Blade X3 smartphone to the computer with the USB cable that you would normally use for charging the battery.
- Copy the KingRoot one click rooting software over to the root of the X3’s internal storage SD card.
- Unplug your X3 from the computer once you know you have the app on your SD card.
- Open a File Manager and agree to install the KingRoot software on your device — it will turn into an app that is available from your app drawer.
- Navigate to the app drawer where you normally find new apps and tap over the KingRoot icon.
- Tap the large button that is available from within the app that says ‘Get Root’.
- Wait until the software progress bar reaches 100% on the display and it gives you a success message on the screen.
- Close the KingRoot application on your device and then reboot the smartphone as you normally would by tapping the Power key and then choosing to restart the device.
- Open the Google Play Store and choose to install the basic root checker app. It’s by far the most popular app out there to use when it comes to checking if the rooting method worked on your device.
- Tap over the root checker app icon from your app drawer and agree to update any binary or grant the Superuser permissions if prompted on the screen.
Once the app tells you that your device is rooted, you can start installing your root-requiring apps from the Google Play Store. You’ll find some other apps available from smaller app repositories like App Brain. Just make sure you are downloading the names of apps you already know if you are using smaller app locations, as the security is not as great from smaller sites. The safest place will always be the Google Play Store because it has Google monitoring the apps.
