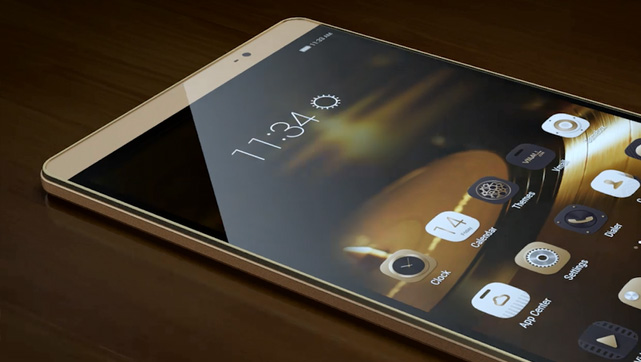
Gaining root access on the Huawei MediaPad M2 is as easy as flashing SuperSU provided that a custom recovery is already running on your tablet.
The SuperSU is a flashable zip file that is flashed from the custom recovery image, and then you can begin installing any of the root applications that you might want to try.
If you have that, here’s how to root your MediaPad M2 using SuperSU:
Files You Need
- The bootloader on your tablet must be unlocked before you can do this tutorial.
- You must have a custom recovery installed on your tablet before you can root your tablet. If you have not flashed a recovery yet, follow our how to install a custom recovery on the Huawei MediaPad M2 tutorial and flash one on your tablet.
- This should flash SuperSU to achieve root access on your tablet.
- Download SuperSU to your computer. Do NOT extract it, leave it as is.
Rooting the Huawei MediaPad M2
- Plug in your tablet to your computer using a compatible USB cable.
- Copy SuperSU .zip from your computer over to the internal SD card storage on your tablet.
- When SuperSU is copied, unplug your tablet from your computer.
- Turn off your tablet completely.
- Turn your tablet back on in TWRP Recovery mode. To do that, hold down Volume UP and Power buttons together while your tablet is turned off and you should reboot into the custom recovery mode.
- Inside the recovery is an option that says Install. Tap on it.
- Navigate to your internal SD card storage and located and choose SuperSU .zip to be installed on your tablet.
- Confirm the prompt by tapping Swipe to Confirm Flash.
- TWRP should begin flashing SuperSU on your tablet. Wait for it to do that.
- When TWRP’s done flashing SuperSU, reboot your tablet by selecting Reboot followed by System.
- Your tablet should normally reboot.
- You are all done!
Your Huawei MediaPad M2 was successfully rooted and you can confirm it for yourself by downloading and installing the Root Checker app on your tablet. It should say you do have access to the root on your tablet.
You now have both – a custom recovery and root access and that’s exactly what you need to install root-only apps as well as flash custom files on your tablet. While root apps let you do many things that you can’t normally do with an ordinary app, custom files let you change the entire appearance and system of your tablet by putting in custom developments such as custom kernels and the popular custom ROMs.
If you are not sure what to do with your newly rooted tablet, you can head to our guide here that advises what things you can do when you are rooted. That should give you some ideas as to what you can do on your rooted tablet.
Once you have done the minor root tasks on your tablet, you may want to move onto the advanced ones and those are flashing a custom kernel and flashing a custom ROM. While both of these requires precautions, if you do them well, they can bring up the best goodies for you on your tablet. A custom ROM just wholly changes everything on your tablet and makes you feel like you do not have your own tablet in your hands but just a new one.
Let us know how the procedure worked for you and what things you did after rooting your tablet in the comments below!
You might also be interested in:
- How To Install A Custom Recovery On The Huawei MediaPad M2
- How To Install A Custom Recovery On The Acer Iconia Tab 8
- How To Install A Custom Recovery On The European LG G5 (H850)
- How To Root The Acer Iconia Tab 8
- How To Unroot The Acer Iconia Tab 8
Have something to say? You can contribute to this tech article by leaving a comment below.
