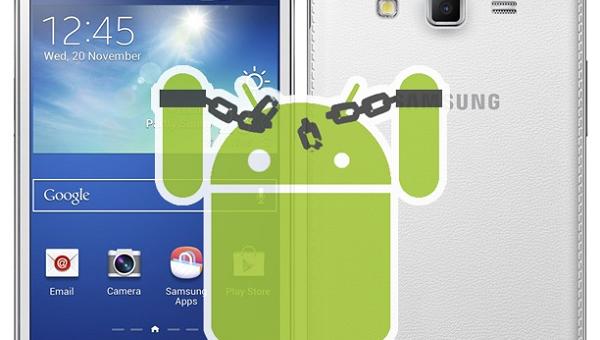
The Samsung Galaxy Grand 2 was first announced by the South Korean smartphone company from Seoul and has come with Android 4.3 Jelly Bean since it came out of the box from stores.
It did get updated to a newer version of the same 4.3 in late March namely XXUANC3. If you have updated or not as long as you are running a 4.3 you will have no problems using this guide.

Details of Note
- This smartphone is great because it comes with 1536 MB RAM, but that was accompanied by only 8 GB of built-in storage. For most of us and especially the girls, that is not enough space and subsequently I am not expecting people to have enough room on the internal memory to be able to back up. The good news is that Sammy made an external storage option for microSD, microSDHC, microSDXC expansion that caters for an extra 64 GB of space. If you need to use this space to backup your device you can go to online retailers like Amazon or eBay. The other idea is the local electronic store. Once you are happy with the chosen method backup the EFS, call logs, market applications, contacts and any other personal data. You can sync the contacts to the Gmail account or to Samsung Kies. Just remember to disable Kies before starting the steps because it can interfere with the proceedings.
- Make sure you have the appropriate Samsung USB drivers and that they are up to date. It is the main reasons for Odin not picking up the device if that happens to you. Also required is ADB and fast boot drivers.
- This guide is extremely easy to follow and as long as you have a basic understanding of how to use Odin there should be no problems being successful in under 10 minutes. This tutorial is 100% working and will give no hassles. In fact, it is so good that there is no better tool to be using in my opinion and many others.
- Enable USB Debugging mode. Achieve it by turning the phone on, going to Menu > Settings > Applications > Development. In here, you will find the USB Debugging option you need.
- This method is applicable on these model numbers: G7102XXUAND1, G7102XXUANA1, G7102XXUANA5, G7102XXUANB2, G7102XXUANC3, G7102ZTUANC1.
- Turn off security programs such as malware blocking programs, firewalls and security. It will stop any warning messages being displayed on the Windows-based computer. Sometimes people can lose track of what they were doing when the messages show and that is annoying. Furthermore, we know this program does not harm anything even though Windows will not recognize it. Odin is made by professional Samsung developers and there is nothing to worry about.
- Blogs recommend storing at least 65% battery power before starting. In my opinion, After looking up its connectivity options it is not necessary to do this. It has USB charging on the list and that means it can charge when plugged into computers via USB cable. During the installation guide, it will gain power and not lose it.
- Now that I have run you through everything that needed to be addressed before starting we can move down to the start of the steps. Please note that we nor the original developers are responsible for anything that goes wrong to the device when you follow this guide. The key word I used is “you’ in that sentence because ultimately it is you that makes the choice to follow it. We do our best to give accurate and the best information as possible, plus go to the effort of putting it in Laymen’s terms for people to understand it. However, that does not mean we force you to follow it.
- Lastly, I have started up a new comment section that I have not used for nearly a year and that is why there i no recent comments in there. Please leave some comments and tell me how you went during this task and if I gave good information. That will help reassure other readers that everything is OK.
How To Root Samsung Galaxy Grand 2 On Android 4.3 Jelly Bean Firmware
1. Download the CF-Auto-Root-ms013g-ms013gxx-smg7102.zip.
2. Download Odin 3.09 to the C: Drive.
3. Click Start > Search > Type in Odin and double-click the zip file to unzip and then open.
4. Put the Galaxy Grand 2 in Download Mode by pressing and holding Power + Home + Volume Down at the same time.
5. Use the USB cable used every day to charge the device and this time connect it to the computer system unit and the handset.
6. Look in Odin for an “added” information and ID: COM port changing color. Now we know it has picked it up and we can continue. If it does not happen double-check the USB drivers.
7. Click the AP button and upload the CF-Auto-Root-ms013g-ms013gxx-smg7102.tar.md5 file.
8. Leave all Odin settings as default. It means Auto reboot and f Reset Time boxes marked as “on” already. Have Nothing else marked.
9. Click the start button to begin rooting.
10. Do not touch any settings in Odin, on the computer or on the smartphone until it is completely finished. You will know it is done by observing a “pass” information on the screen.
11. Click the red “x” to close the application.
12. Move the mouse cursor to the taskbar and right-click the safely remove hardware box. Click stop on the USB Mass storage device. Disconnect the device when it says it is OK. That is it!
I try to make help guides that are the easiest to follow by putting them in a way you can understand. If you agree give me a “like” or leave a comment. Also tell me if you did not find it easy or something was wrong. That way I can only get better!