Last Updated on January 5, 2023 by Mat Diekhake
These are the guidelines to root most Android devices using the Root Genius application and a Windows computer.
Files You Need
- Download the Root Genius app from this page.
- You must have a computer that is running Windows operating systems to use this guide. The Root Genius application is not known to work for Mac OS X or Linux distributions.
Rooting most Android devices with the Root Genius application
- Start by enabling the USB Debugging Mode on the Android device you want to root by pointing to the Menu > Settings > Developer Options > USB Debugging Mode. Now you can connect your device with the USB cable to the computer and get Rot Genius to communicate with your device.
- Anyone who needs to unlock the hidden Developer Options menu on their Android device can do so by pointing to the Menu > Settings > About Device > Tap the Build Number at least 7 times. Now it will say you are using the device as a developer. That means you now have the Developer Options menu available.
- Download the Root Genius app from the files section above and extract it to the desktop of the Windows computer.
- Double-click and launch the Root Genius application so it’s open on the desktop.
- Connect the Android device of your choice to the computer with the USB cable.
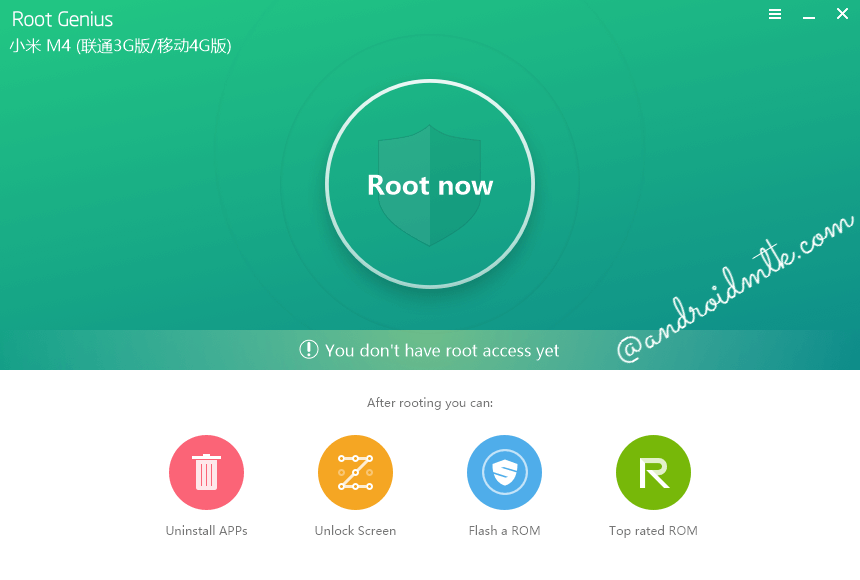
- Wait for the Root Genius application to detect your device and then click the ‘Root Now’ button.
- Wait until the Root Genius app roots your device before unplugging it from the computer.
- Reboot the Android device and navigate to your app drawer to see a new KingUser app icon. The KingUser is the equivalent of the SuperSU by Chainfire and will protect and grant root access to apps.
In conclusion, that’s how to root Android smartphones and tablets using the Root Genius application. There is not an official list made for which devices can and cannot get rooted using this one-click rooting application. The advantage you have is there is no harm in trying using this method because it will not brick your device.