Last Updated on December 18, 2024 by Mat Diekhake
The Local Security Policy is a group of security settings that are found in the Local Group Policy Editor.
Note: You’ll need to be using a Windows 10 Pro, Education or Enterprise edition of Windows 10 for this guide to work. You can’t make policy changes in the Local Security Policy Editor using the Windows 10 Home. You can upgrade from Windows 10 Home to Windows 10 Pro by heading to the Settings application if you want to be able to make changes to group policies.
How to Open Local Security Policy Editor From Run Dialog Box
To use the Run method, you’ll need to be logged in to the computer using an account that has the administrative permissions. Additionally, you’ll need to have a Windows 10 edition that is either the Professional, Enterprise or Education. Older versions of Windows, such as Windows 7, can also use the Local Security Policy Editor in the Ultimate edition.
You can open the Local Security Policy Editor directly from its file path on the computer. To make that happen, you can either do it from the Run Dialog box or the Control Panel. To get started using the Run method, open the Run dialog box by pressing the Windows logo + R keys on your keyboard and then type “secpol.msc” and hit the Enter key on your keyboards.

You might be prompted by the UAC (User Account Control) before you can proceed. If that happens, make sure you click on the “Yes” button to continue.
Everything you see on the computer’s screen from the Local Security Policy window is to do with the Local Security Policy Editor. You can now navigate to and make the changes that you wish. Once you make changes to the security policy, the changes cannot be undone unless you undo them manually from the Local Security Policy again.

How to Open Local Security Policy Editor From Control Panel
You need to be signed in using an account that has the administrative permissions assigned to it to use the Control Panel method as well. Also, you’ll need to have a version of Windows 10 professional, Enterprise, Education, or one of the Ultimate editions such as Windows 7 Ultimate.
To open the Local Security Policy Editor using the Control Panel, you just open the Control Panel with the classic view so you can see the smaller icons and then click on the “Administrative Tools” link from the main Control Panel menu.
If you get prompted by UAC (User Account Control), you’ll need to click on the “Yes” button to proceed.

What you see now is the beginning of your Local Security Policy Editor. From here you can expand most things in the left side pane to get the full experience.

How to Open Local Security Policy Editor From Local Group Policy Editor
You’ll need to be logged in as an administrator before you can make changes to local group policies. Furthermore, you can only use the Local Group Policy Editor if you have an edition of Windows that supports it, such as Windows 10 Professional, Enterprise, Education, or Ultimate. If you have one of those, you can start by learning how to open the Local Group Policy Editor. Once you have the Local Group Policy Editor open, you can then choose between finding the Security Settings from the Computer Configuration or the User Configuration—depending on what you are doing.
Computer Configuration:
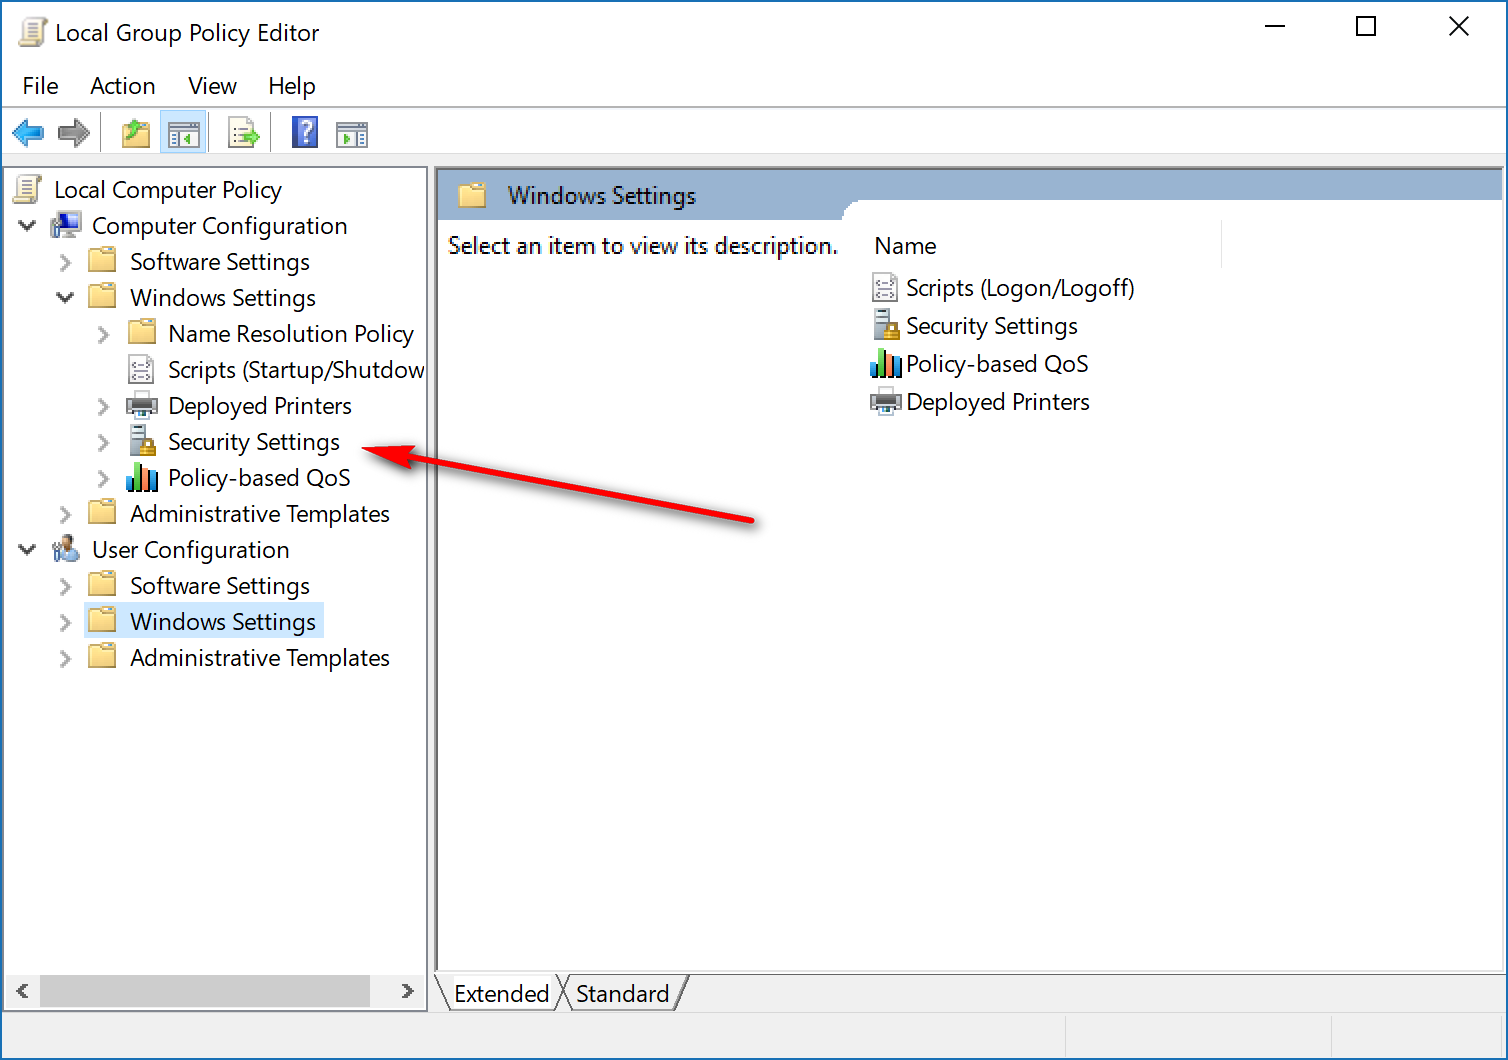
Navigate to the Computer Configuration > Windows Settings > Security Settings.
User Configuration:
Navigate to the User Configuration > Windows Settings > Security Settings.

With certain Windows editions, there are Local Group Policies and Group Policies. A Group Policy has advanced settings designed for use by network administrators. The Local Group Policy, however, can only be used to change settings on a single computer. If you were to change settings on a single computer and that computer is still assigned to a network or domain, then the domain Group Policy will override any settings that were adjusted using the Local Group Policy. In short, the Local Group Policy is not as strong as a Group Policy when a computer is connected to a Group Policy. Apply that same kind of thinking again when it comes to the Local Security Policy and the fact that it is a “local” one. In other words, if the computer is connected to a domain, then changes you make using the Local Group Policy can be altered by the network administrator who is in charge of the domain.
You might also be interested in:
- What Is Windows Hello and How Do I Use it?
- What Is Microsoft Edge and Why Would I Choose It Over Google Chrome and Other Web Browsers?
- What Could Microsoft Edge Do to Get More Market Share Over Google Chrome?
- How to Change Password of Account in Windows 10
You can subscribe to our RSS, follow us on Twitter or like our Facebook page to keep on consuming more tech.