Windows operating systems might not be on par with other computer operating systems regarding brute performance, but they were designed to be easy to use, and part of what makes them so darn easy is additional code that presents things to us like in button form instead of the raw code. Each thing you design on an operating system makes it slower just like with websites (which is why we keep ours so bland).
One of the ways Windows is made easy is by coming up with its idea if having USB Drivers which act as the program that detects your mobile device and knows that it is connected to the computer which then allows for the transferring of data or the use of applications. Without the correct USB Drivers operating on the computer for your device when you connect it to the computer it won’t be detected, and then you can’t do anything with it.
Windows is programmed to take as much of the burden of having to install the USB drivers away from you as possible, and it actually attempts to identify what your device is and then install them for you which is why you sometimes get messages in the system tray stating that it recognizes your device. However, for the occasions that it doesn’t happen or you need to use apps and programs on the computer you need to install the drivers manually instead by following the guide below.
Installing the Motorola Moto X Force USB Drivers on Windows PC
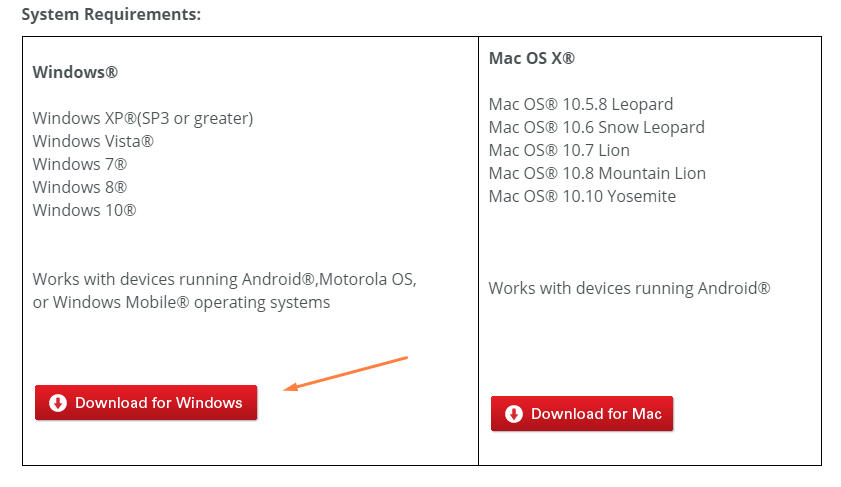
Click the Motorola custom help page link and then navigate to the red button that is available toward the bottom of the page that says “Download for Windows.”
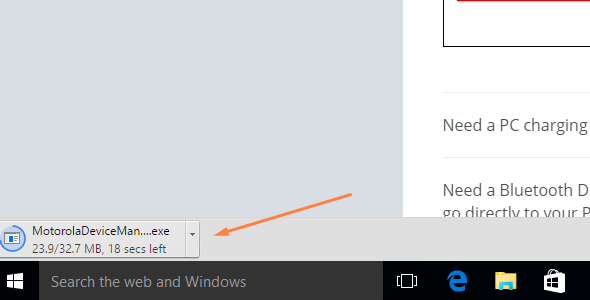
 The Motorola Device Manager file is now downloading on the computer. Wait until it completes before clicking anything.
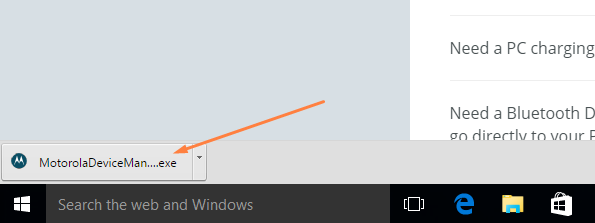
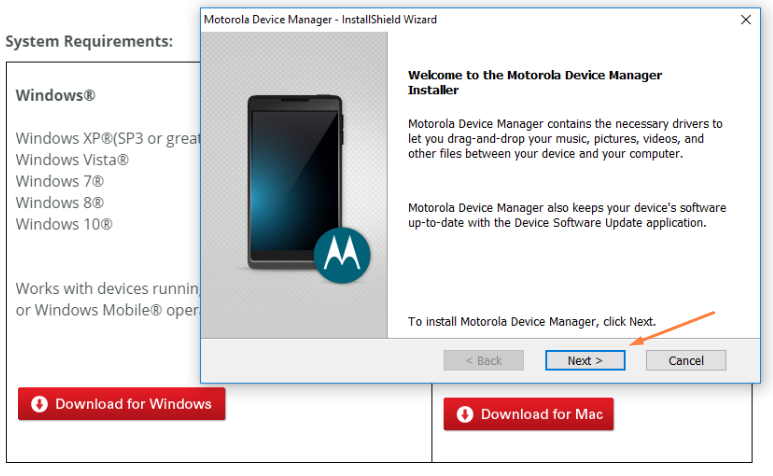
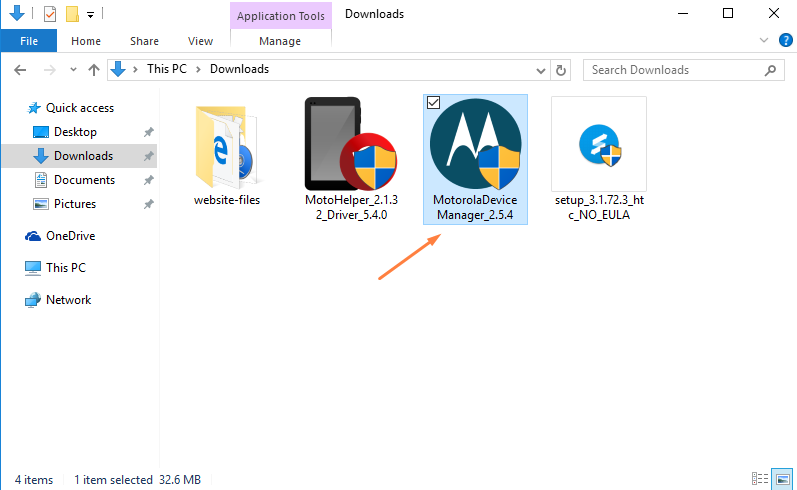
Now click on the file where it shows the Motorola Device Manager executable file name and the setup wizard for that opens up on the display.
Have a read of what it says it is going to install, including the drivers for your device and then click on the Next button available at the bottom.
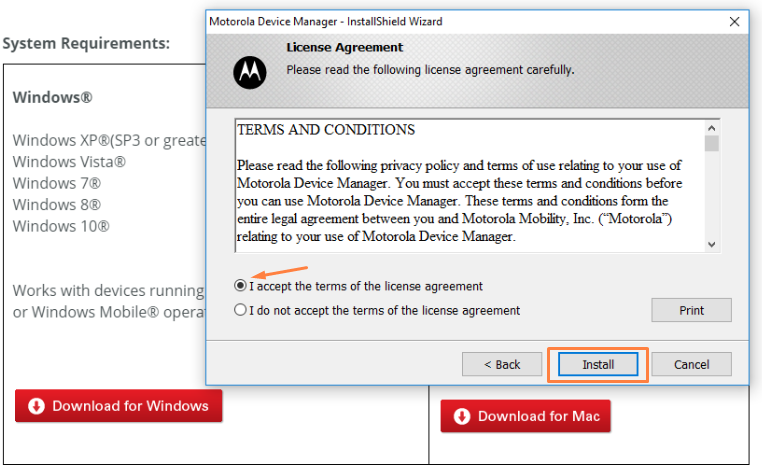
Click on the button for accepting the terms and conditions and then click on the Install button at the bottom.
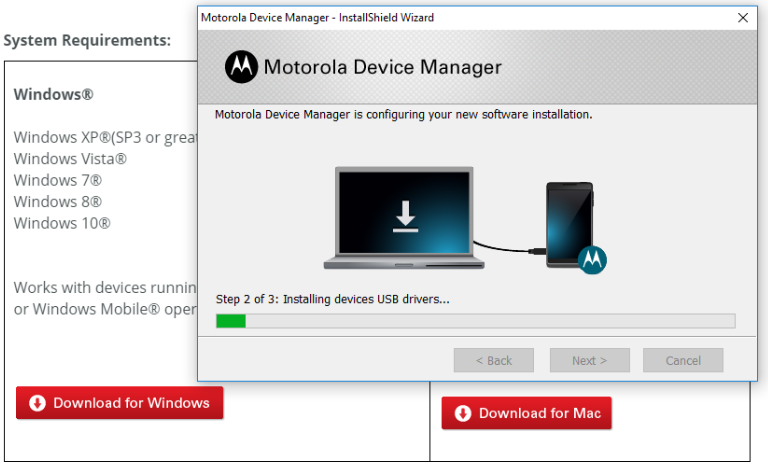
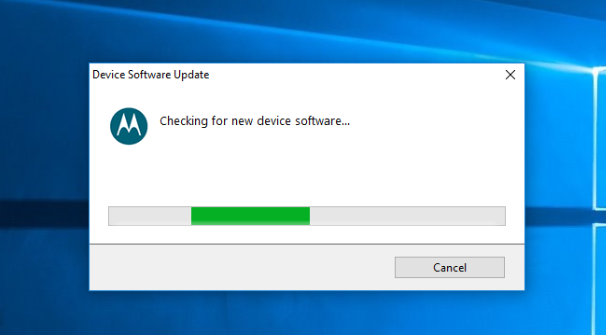
The Motorola Device Manager is now configuring the new software for the computer. Don’t touch anything until the green progress bar makes its way all the way across to the other side of the screen and the download completes.
Click on the Close button once you get the congratulations message that is there to let you know that the installation of the Device manager was successful, and it is now installed on the PC ready for you to use.

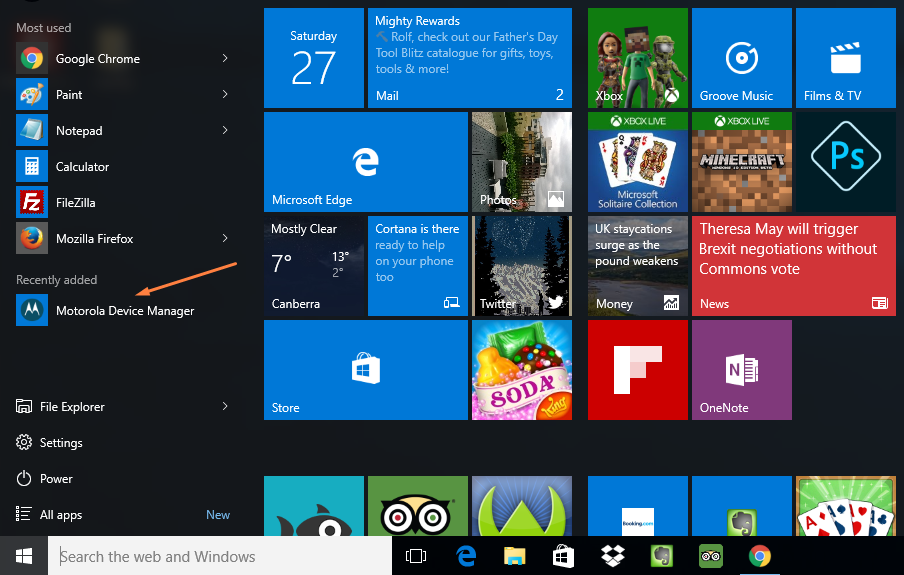
Check the recently added menu in Windows 10 for the new Motorola Device Manager app and click to open it.
Everyone else should open the Downloads folder and find the Motorola Device Manager app available there. (Note that people who have manually changed the default download location in Windows need to open up the folder that they have selected to be the new default download location. By default that is the Downloads folder in Windows).
 After you open the app, connect the Motorola Moto X Force smartphone to the computer with the USB cable and the USB driver installation will complete.
In conclusion, that is how to install the Motorola Moto X Force USB Drivers on a computer that is running the Windows operating system by installing the Motorola Device Manager.