Each desktop operating system has its pros and cons. We love Windows for a multitude of reasons ranging from how easy to is to use generally and navigate as well as it being one of the cheaper operating systems to use (unless you are thinking open source stuff that is up for grabs for free).
All operating systems have their annoyances though and installing the USB drivers on a Windows computer is often people’s least favorite thing to do because it can be confusing. Be confused no longer.
Windows have chosen to create what they called USB Drivers which act as the bridge between your device and the computer and are the things that need to be running on the computer before the two can communicate. When we say communicate, we are talking about the times you want t connect to the computer and run apps or programs that are for your mobile device or when you just want to transfer data like using the external SD card.
The confusing part is that there is not one universal USB Driver that works for all device so having the drivers installed for your LG G5 smartphone is not going to work if you want to connect the Motorola Moto G4 Play smartphone to the computer for example. Over time manufacturers and device OEMS have made it easier for you, though, and you can generally use the same file across each device that is from the same manufacturers, i.e., the Motorola USB Drivers found in this guide can work for a great many Motorola devices.
Installing the Motorola Moto G4 Play USB Drivers on Windows PC
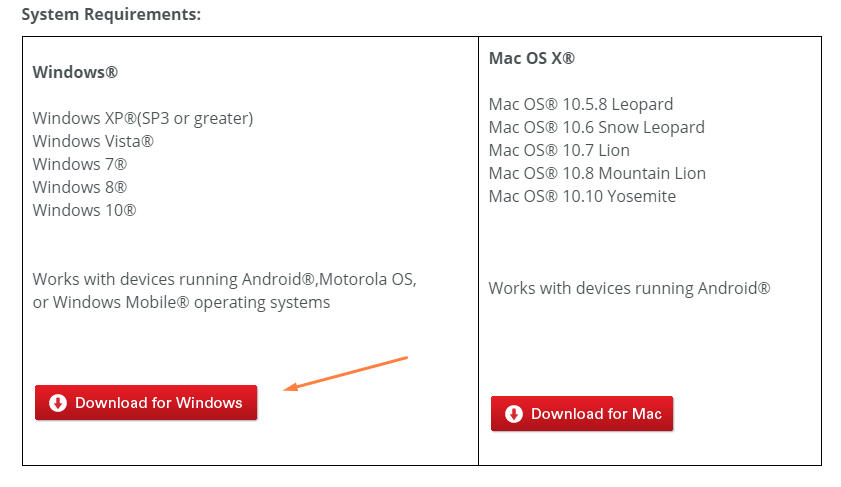
Click on Motorola custom help page link and scroll down to the bottom of the page where it offers a download link for both Windows and Mac. Make sure you click on the one that says “download for Windows” and the Motorola Device Manager will download onto the computer.
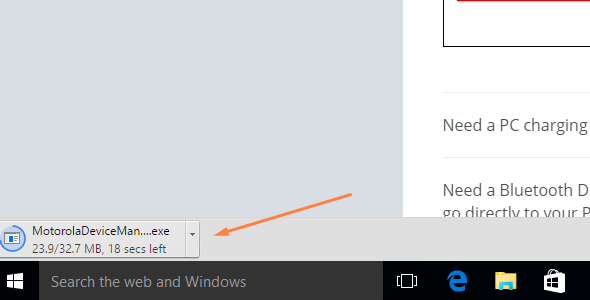
 The file is now downloading above the taskbar. Wait for it to complete.
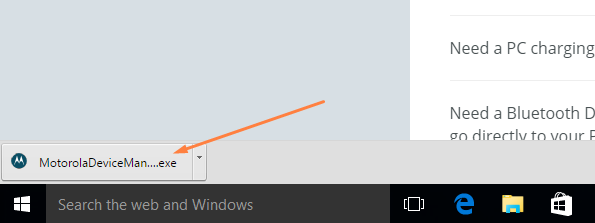
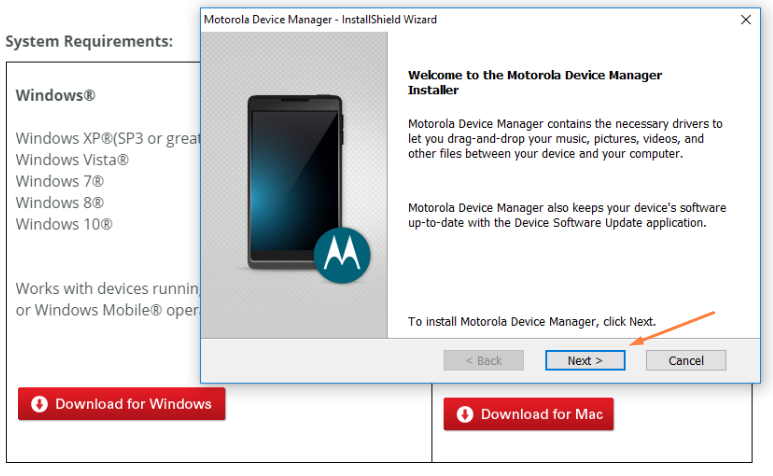
Click on the Motorola Device Manager executable file once the download stops and the setup wizard opens up on the screen.
Click on the Next button after reading the description of the Device Manger if you want to learn more about what it does, including the addition of the USB drivers available for your device.
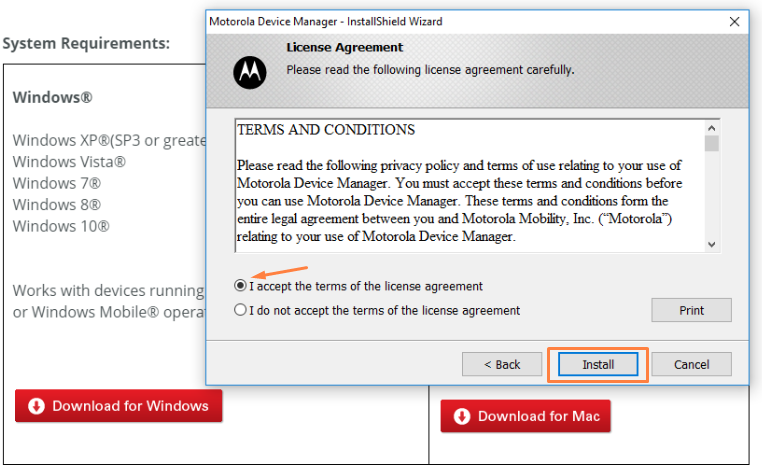
Agree to accept the terms and conditions so the installation can begin and then click on the Install button.
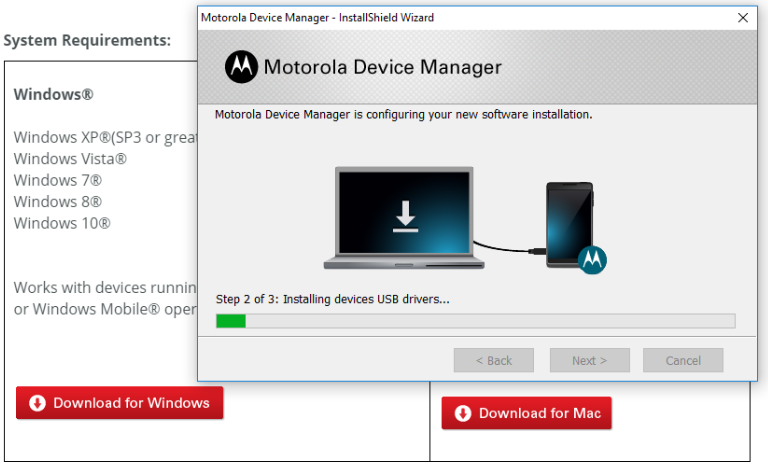
 Wait for the installation of the Motorola Device Manager to complete on the screen—you know it is done when you see the green progress bar reach the other side.
Click on the Close button from the congratulations screen when it is complete and then it’s time to open your new app and get the USB drivers installed.

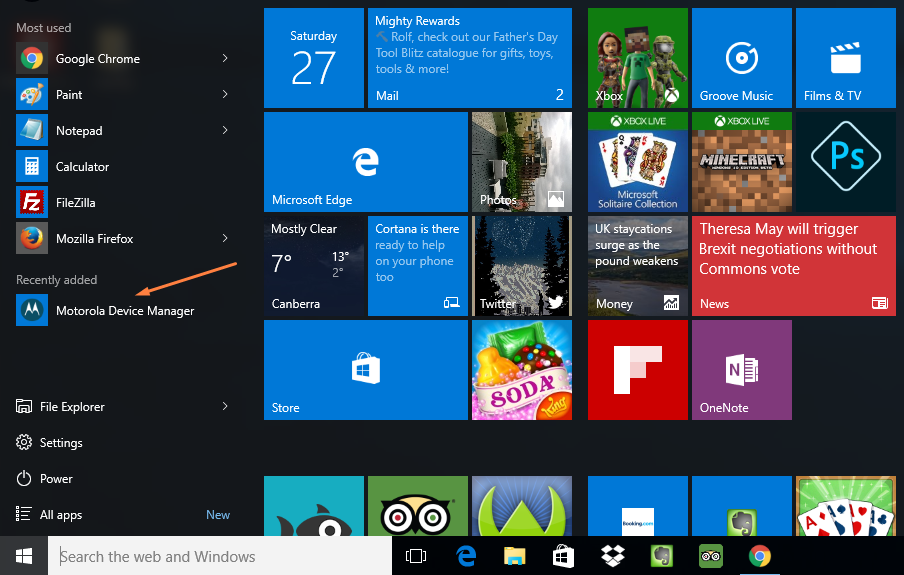
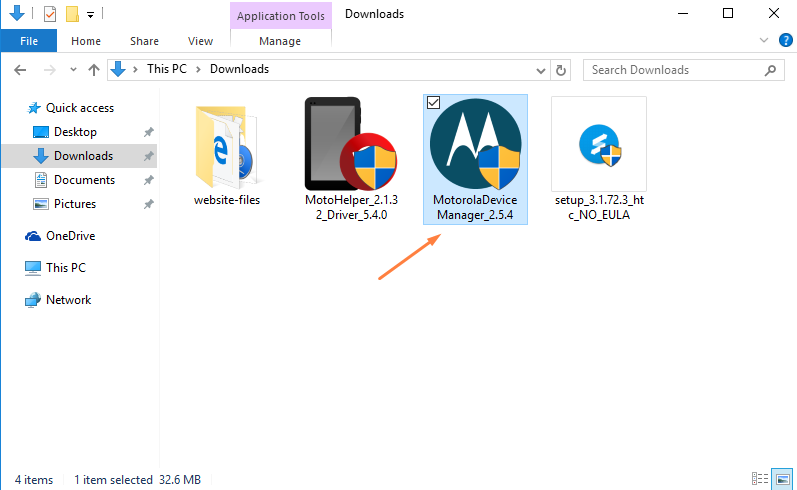
Click on the Start menu and then look under the recently added menu for Windows 10 users to open the Motorola Device Manager app.
Everyone else needs to open up the Downloads folder (the default downloads folder for Windows operating systems) and find the Motorola Device Manager app inside. (Windows operating systems gives administrators the chance to choose the default download location if they want something different other than the Downloads folder. Those who have changed what the default download location is on Windows need to open up the folder they choose to be the default download location instead).
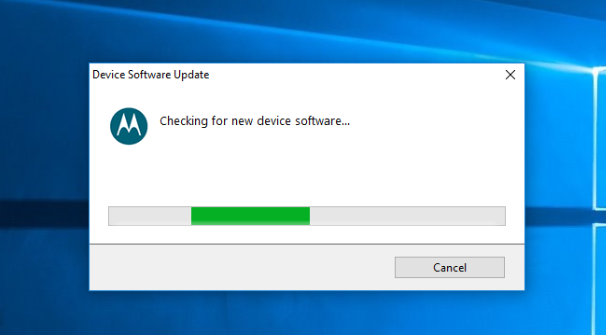
 Connect the Motorola Moto G4 Play smartphone to the computer with the USB cable and then wait for the Device manager app to complete its checking of the new device software. The USB drivers are installed when it is done.
In conclusion, that is how to install the Motorola Moto G4 Play USB drivers on a computer that runs on the Windows operating system. The guide makes use of the Motorola Device Manager.