If it weren’t for the USB technology, we would be in all sorts of trouble.Sure Bluetooth is perfect for connecting a set of headphones and listing to music, but when it comes down to it, Bluetooth technology isn’t available for many of the things that we want to do between a computer and mobile device. If you want to access the external storage or data from the phone on the computer, then it needs to be done via the USB.
There are two things that we need to make this happen. One is the USB cable which is then connected to the phone and the computer. And the other is the USB Drivers to help put that USB cable to good use. The great news is that Windows usually does that automatically (tries to find the Drivers for your device, so you don’t have to). You know that because a message comes up in the Windows system tray letting you know that the device is connected. If you don’t see a message, or you are trying to do something a little bit more sinister, and it isn’t working then you need to install the USB Drivers manually. Developers are people who nearly always need pt install the drivers manually because the flashing tool isn’t able to detect the smartphone by itself.

The good news is that installing the USB Drivers is a lot easier these days that it used to be. It is mostly just the same file that works for all devices mode by the one OEM or manufacturer. That means we can install the USB Drivers for Motorola on any version of Windows operating system, and the drivers will work for the Motorola Moto G Turbo Edition smartphone.
Installing the Motorola Moto G Turbo USB Drivers on Windows PC
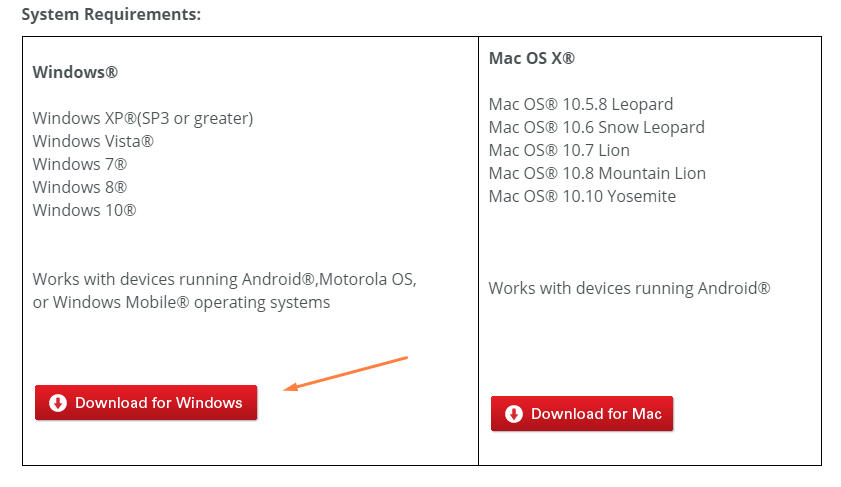
Click on the Motorola custom help page link that directs you through to the official Motorola website and then looks for a red button toward the bottom of the page that says “Download for Windows” and click on that same button.
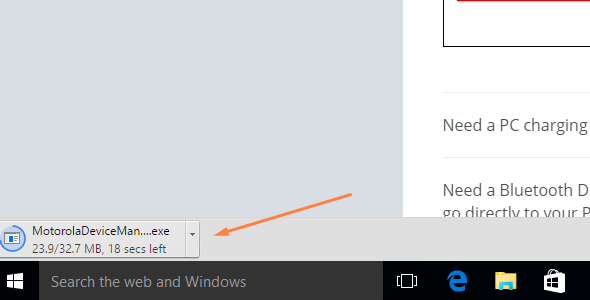
 After you do click on the button the Motorola Device Manager file starts downloading and you can pick it up by looking toward the taskbar near the Start menu of your Windows operating system.
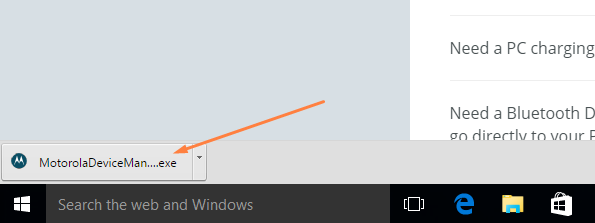
Wait until the file completely finishes downloading and then click on it where it shows you the Motorola Device Manager file name.
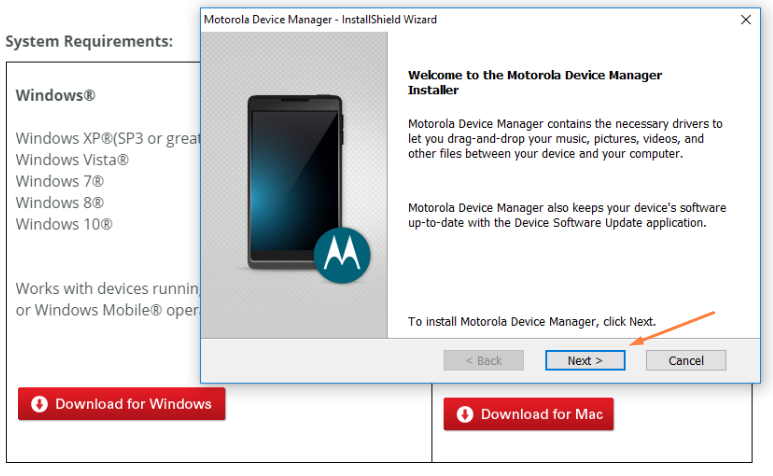
As soon as you do click it the beginning of the setup wizard presents itself on the display. Have a quick glance at the text on the screen showing you what it is going to install and then click on the Next button when it is done.
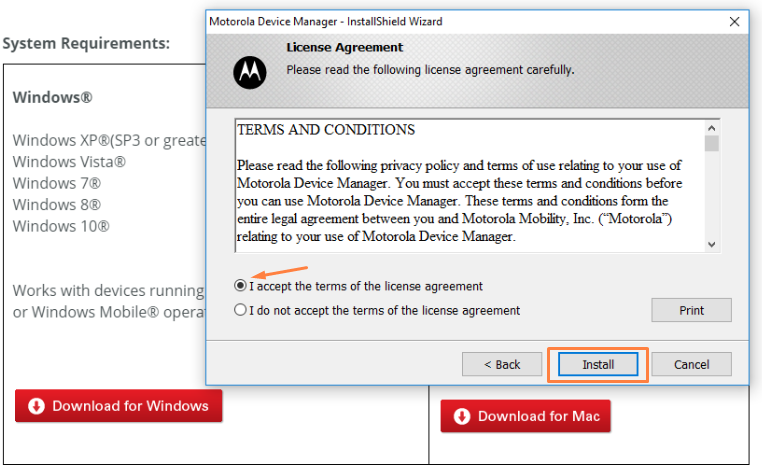
 You need to click the box next to agreeing to the terms and conditions before the Motorola Device Manager will install and then move onto the next step by clicking the Install button.
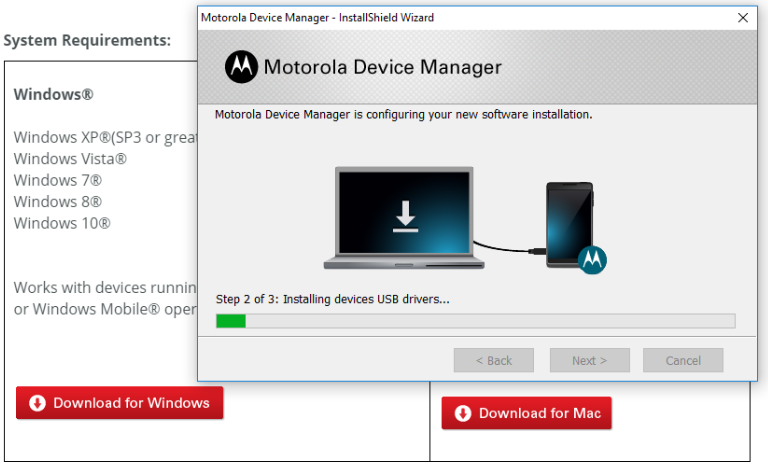
 Now it shows you the progress bar of how your Motorola Device Manager installation is going. Wait until the green bar makes its way all the way across to the other side of the screen.
You then get a congratulations message on the screen which is there to let you know that the installation is complete. Click on the Close button at the bottom to advance.

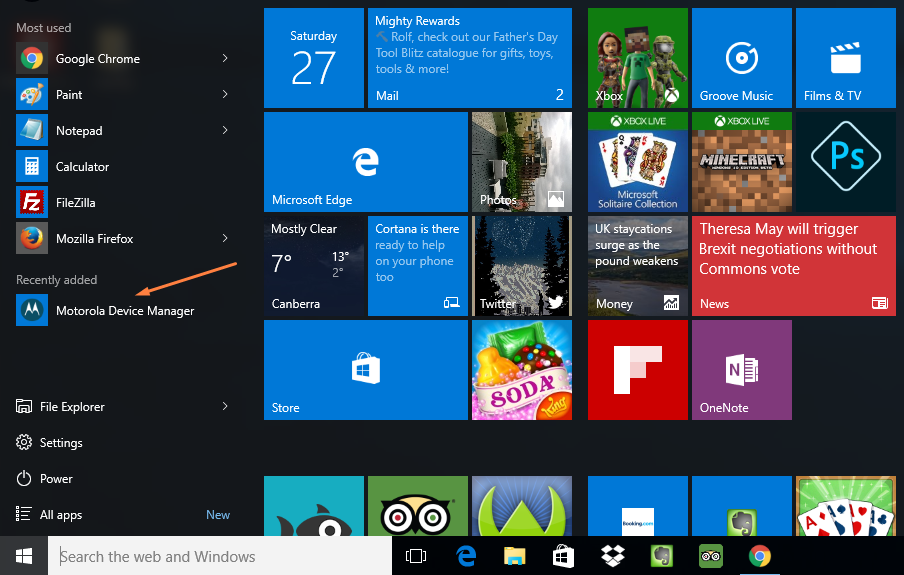
People who have the Windows 10 operating system (the current version of Windows ta the time of writing this guide) find the Motorola Device Manager app available from the recently added menu which is available by clicking the Start menu.
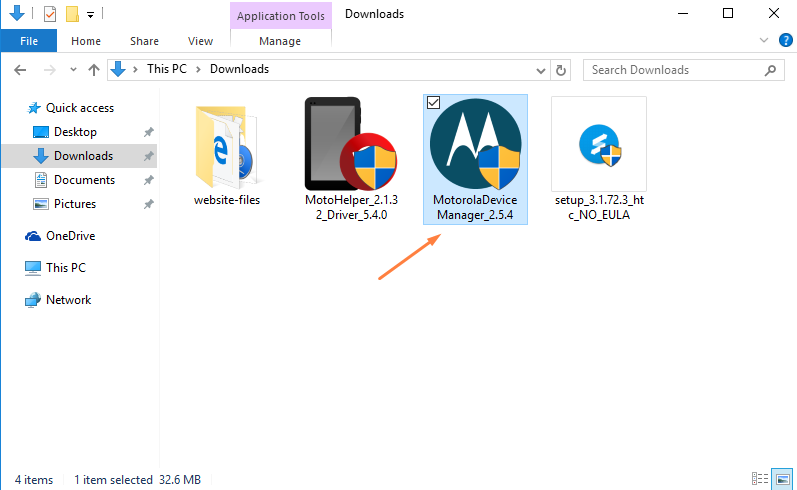
Everyone else needs to locate the Downloads folder (available from File Explorer in Windows 10 or My Computer from older versions of Windows), and then the Motorola Device Manager is available inside.
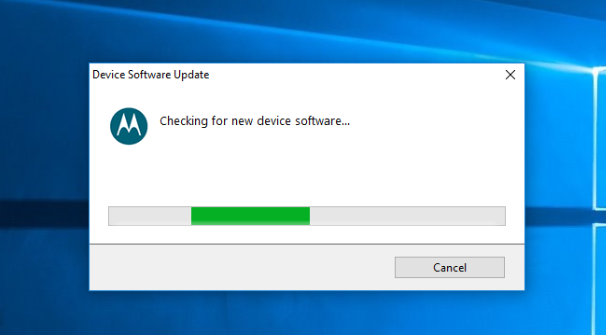
Once you click on the Motorola Device Manager app, it then begins to check for the new device software which is also going to be your USB drivers. Connect the Motorola Moto G Turbo Edition smartphone to the computer at this point.
In conclusion, that is how to install the Motorola Moto G Turbo Edition USB drivers on a computer that is running on a version of the Windows operating systems by using the Motorola Device Manager which is an official app released by Motorola for people to use.