When you decide to buy a Motorola device that runs on Android and pair it with a computer that runs on a version of the Windows operating system you need to create a bridge for the connection. By default Windows does not automatically detect your device due to incredibly geeky things that neither you nor I could probably comprehend very easily. But all you need to know is that without the USB drivers installed there is no bridge, and there is no connection which means you cannot do things like run apps or programs on the computer that need to connect with your device, and you cannot transfer any data, in general, such as pictures from an SD card.
Most people aren’t superb with tech and if they knew that were true many of them would nearly have a heart attack, but they need not worry because Microsoft automatically programs the Windows operating system to handle much of the burden for you by installing them automatically. However, there are times when the installation does not work, or Windows is unable to detect what device it is you are using, and thus cannot install the drivers that it needs. Furthermore, there are other times when developers want to connect to the computer and run things like flashing tools, and these tools (programs or apps on the computer) cannot detect a device until you install the correct USB drivers file, manually because Windows rarely handles those kinds of drivers.
The good news for you guys—regardless of what you want to do (use apps, programs or just create a br8idge for transferring data)—is that the one USB driver package available in this guide handles all of those things for you.
Installing the Motorola Moto G4 Plus USB Drivers on Windows PC
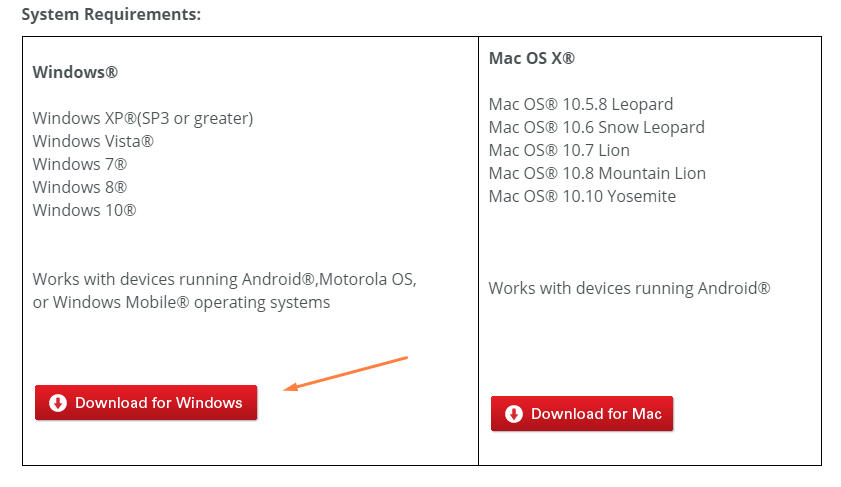
Click on the link available for the Motorola custom help page and you will see the red button that can be found on the bottom left the side of the screen that says “Download for Windows.” Click on it.
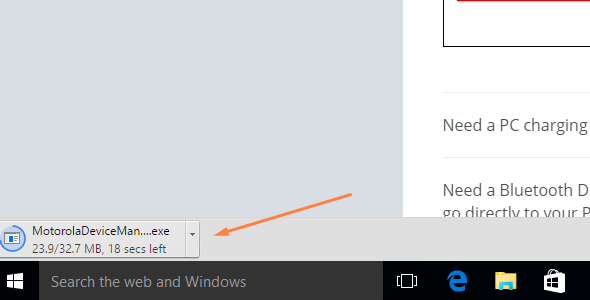
The Motorola Device Manager that contains the Motorola USB Drivers for the Moto G4 Plus smartphone is now downloading above the taskbar on your computer.
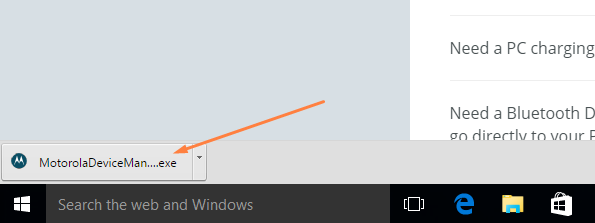
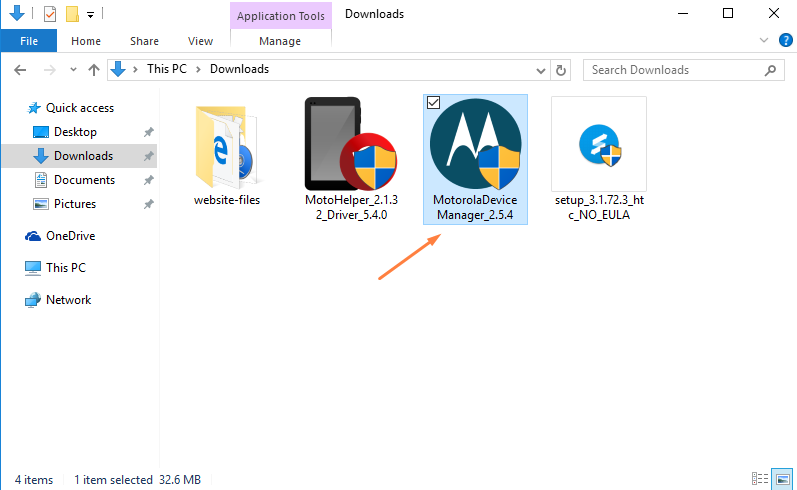
Wait until the download completes and then click on the file where it shows the words and executable file.
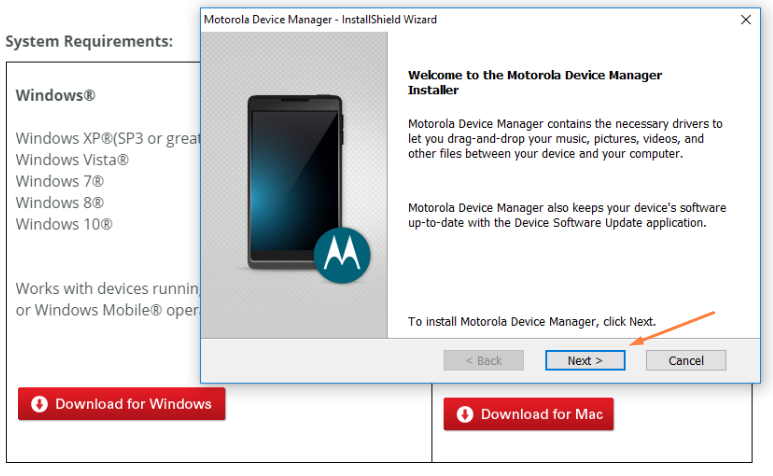
 Doing so opens up the first set up page for the Motorola Device Manager so the installation can begin. Click on the Next button after you have had a quick read of the Welcome screen.
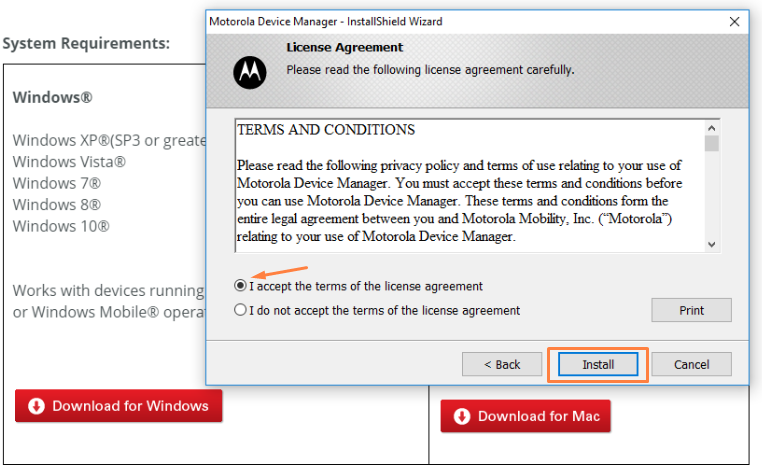
 Be sure to tick the box that accepts the terms and conditions so you can advance to the next screen and then click on the “Install” button to get things started.
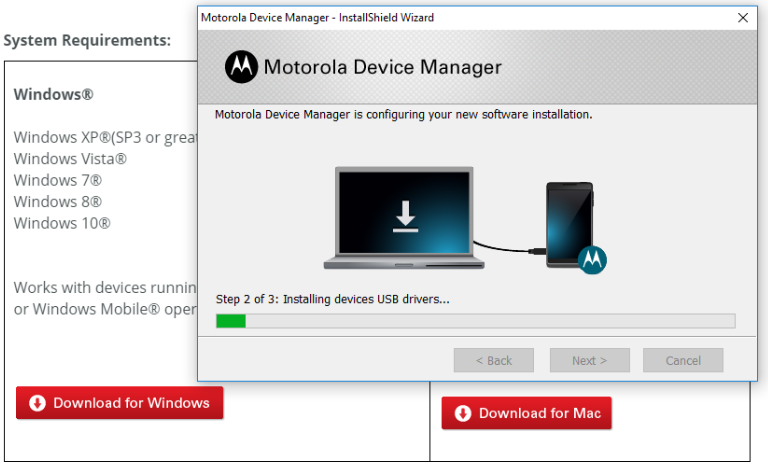
Wait for the green progress bar that is on the screen to get to 100% and then the Motorola Device Manager is installed.
Have another quick read of the congratulations message and then click on the “Close” button to close down the installation wizard.

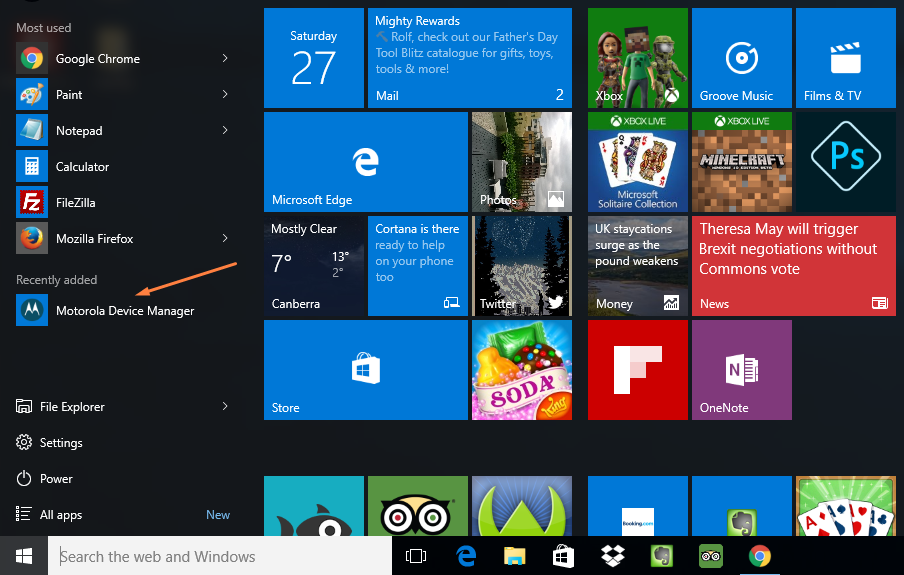
Those of you up to date and running on the Windows 10 operating system will find it available from the recently added menu that is available directly from the Start menu.
 Everyone else who just installed the Motorola Device Manager can find it available from inside the “Downloads” folder.
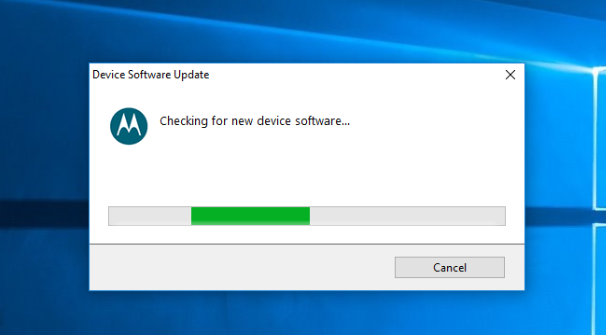
 Once you double-click on the file it opens up and says it is checking for the new device software which is also including the USB drivers for your device.
In conclusion, that is how to install the Motorola Moto G4 Plus USB Drivers on a computer that is running on aversion of the Windows operating system by installing the Motorola Device Manager.