When you buy a smartphone or tablet from the Motorola range, and it runs Android you need to connect it to the computer using a USB cable. If that same computer happens to be running on a version of the Windows operating system, then you need to have the right USB Drivers installed on that computer before the USB cable can act as a bridge for the transfer of data.
Note that Windows automatically tries to install all of the necessary drivers for you so that you don’t have to because it is confusing for many people. However, if you are a developer and plan on using a flashing tool or any other app from the computer, then you will likely need to install the drivers manually yourself first before you mobile device can be detected by that app on the computer. Likewise, you will need to install the drivers manually also if you are connecting your mobile device to the computer but not getting any icons appearing from the system tray and you find that transferring of data is not possible.

Installing the USB Drivers for a particular device back in the earlier years was a royal pain because there were heaps of files that were required. Those days are thankfully gone, and you can find the same drivers usually work across many devices as long as you have the driver package based on the same manufacturer or OEM (in this case that is Motorola drivers).
Installing the Motorola Moto Z USB Drivers on a Windows computer
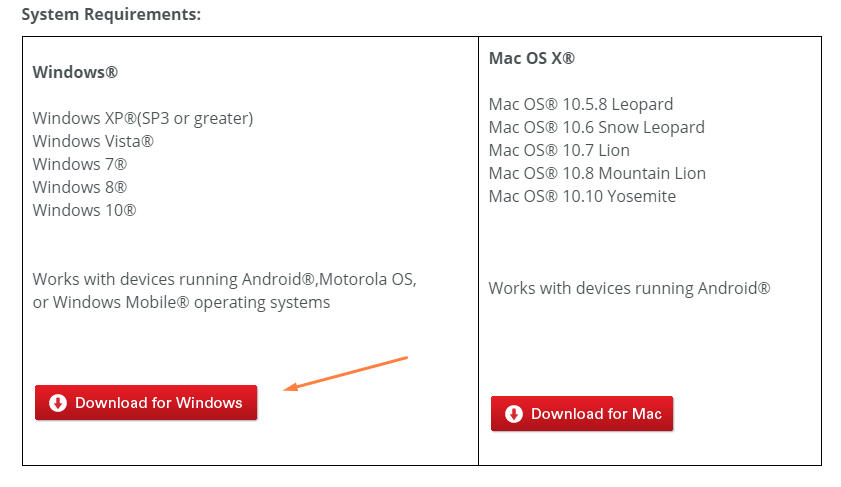
Visit the link for the Motorola custom help page and then look for the red button that says “Download for Windows.”
Once you click on the Download button, a file appears above the taskbar.
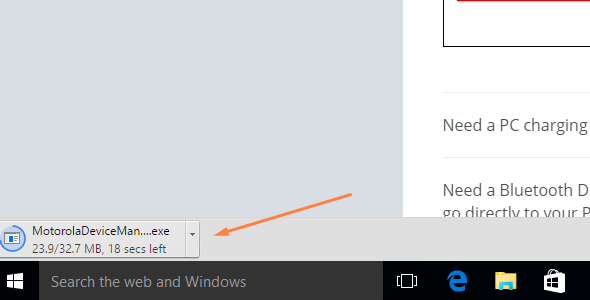
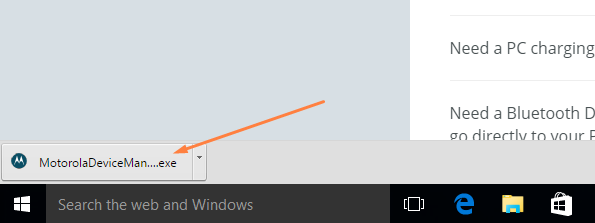
Wait for the file to finish downloading and then click on it when it is done.
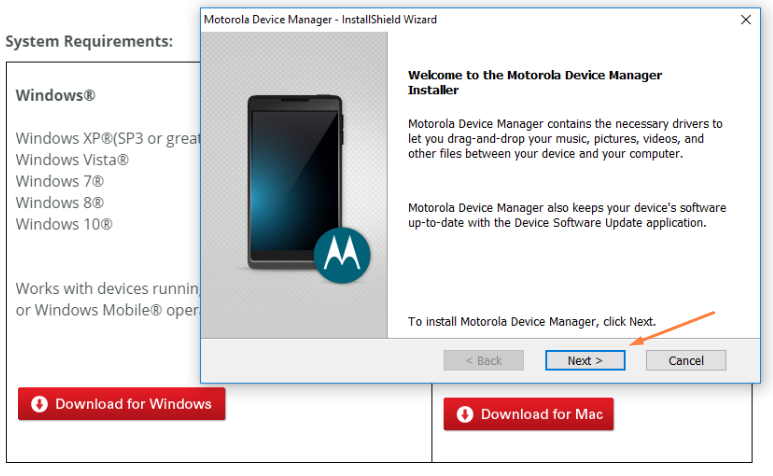
It opens up the Motorola Device Manager set up guide where you need to click on the Next button available on the display to get things started. Installing the Motorola Device Manager is going to give you the USB Drivers installed on the computer with it.
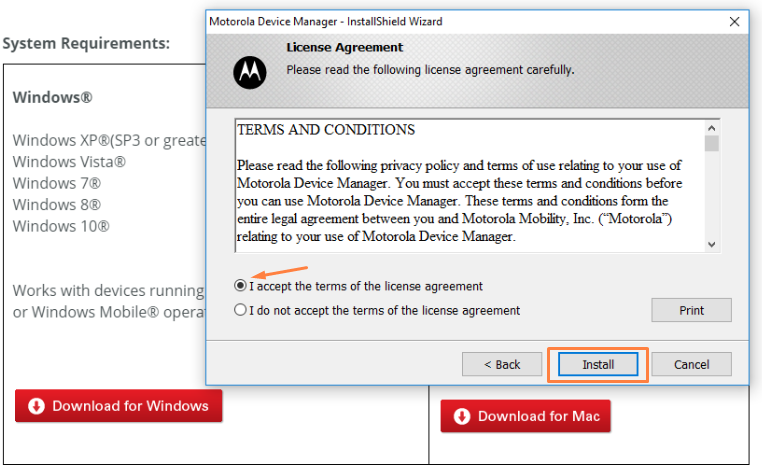
Make sure you check the box on the screen that accepts the terms and the conditions so that the download can begin and then click on the “Install” button.
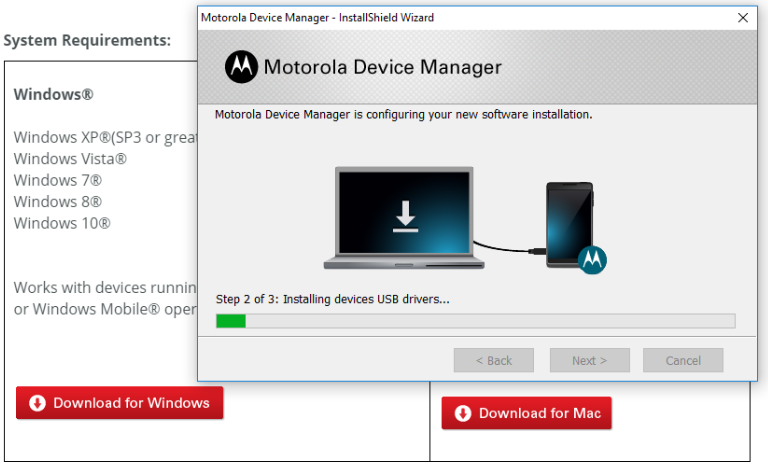
You now get a green progress bar available from the bottom of the display which is going to go all the way across the screen, and the Motorola Device Manager is installed when it is complete.
Click on the “Close” button once you can see the congratulations message on the display.

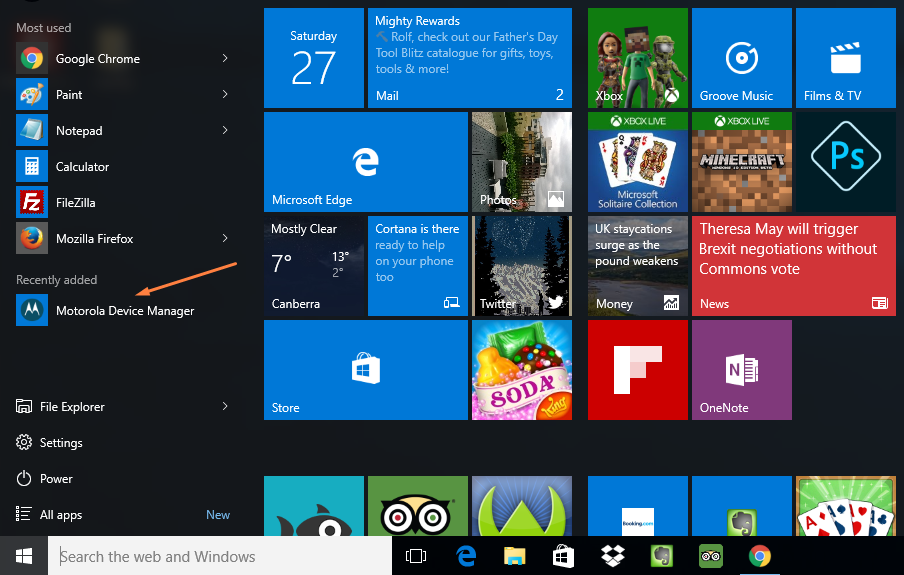
If you are running the latest Windows 10 and haven’t changed the default settings, you can click on the Start button and then find the Motorola Device Manager app available from the recently added menu. Click on it to open up the program.
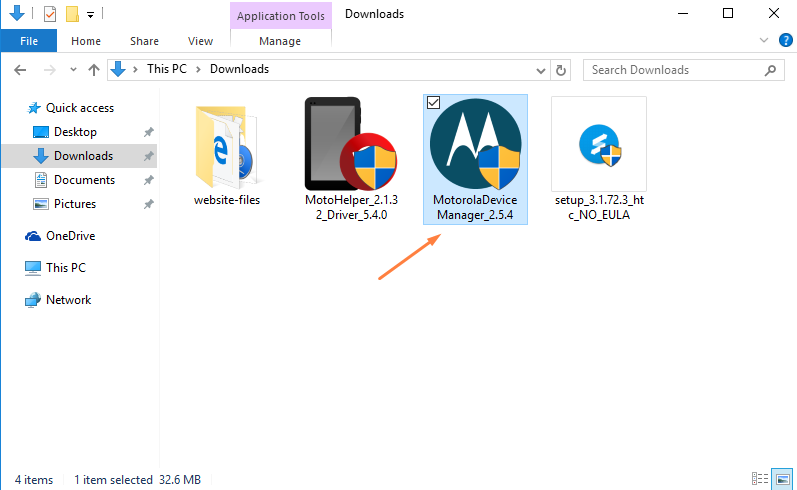
Regardless of your version of Windows operating system, you can open up the “Downloads” folder and find the Motorola Device Manager available from there instead unless you have changed what the default downloads location is in which case you will need to navigate to that folder instead. By default Windows operating systems always have it set on the downloads folder.
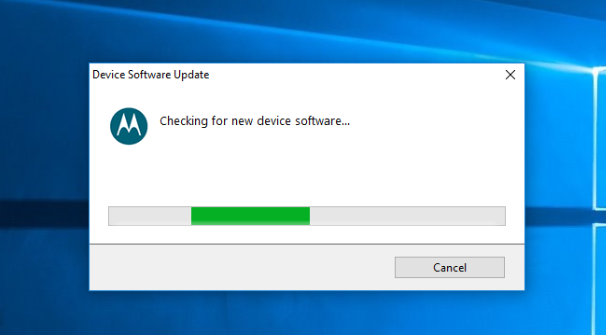
Once you click on the file to open it up, it will give a message stating that it is checking for the new device software.
In conclusion, that is how to install the Motorola Moto Z USB Drivers on computers that run Windows by using the Motorola Device Manager.