Last Updated on November 15, 2019 by Mat Diekhake
While you can install the entire Android Software Development Kit to get ADB installed on your Windows computer, there is now a minimal ADB installer that only installs two of the useful utilities for issuing commands to your phone namely Android Debug Bridge (ADB) and Fastboot on your computer. In fact, these are the only two utilities that you need to run most of the Android commands on your phone.
Getting the ADB and Fastboot setup on a Windows computer is not a big deal, all thanks to the talented developers who have made a minimal ADB installer. You just need to double-click on the installer, and it will take care of the rest of the things for you. Once it is all installed and setup, you should be ready to execute commands on any of your Android devices.
Here’s how to set ADB up on your Windows computer.
How to Set Up ADB and Fastboot on Windows
Head over to the Minimal ADB Installer page on XDA Forums and download the installer to your computer. It is about 2MB in size so should take only a few seconds to be downloaded on your computer.
Double-click on the downloaded .exe file to start the installation wizard. It should ask you where you would like to install it. You can just choose any location on your computer, but if you happen to use this utility frequently, you are recommended to install it on your desktop so you can access it easily.

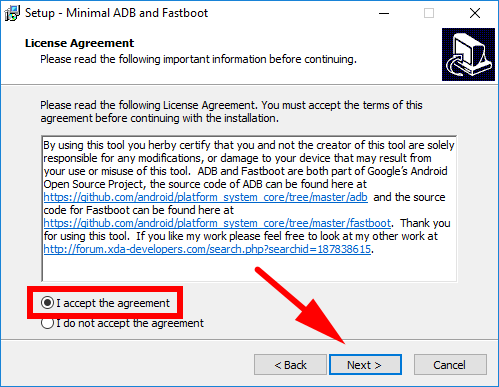
Before getting the chance to go any further, you’ll first need to accept the license agreement. Swap the checkmark over to the “I accept the agreement” option and then click on the “Next” button to continue.
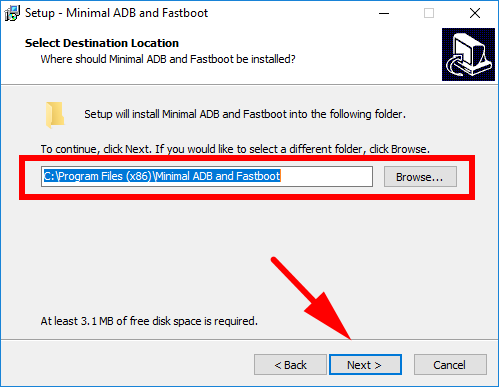
You get the chance to choose your destination folder for the ADB and Fastboot. It’ll give you the usual one by default, which you can of course keep, or you can choose yourself another one if you prefer a different location on your computer’s hard drive. Click on the “Next” button to continue.
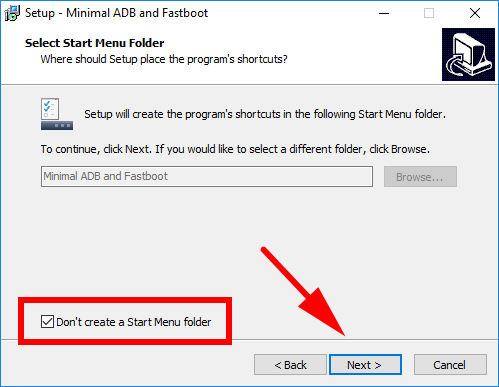
It will then ask you if you would like to create a Start Menu folder. It is up to you whether you wish to do that or not. If you are installing the utility on your desktop, you will probably not need a Start Menu folder as you can just access the utility right from your desktop. Click on the “Next” button to continue.
 You then get the chance to create a desktop icon if you want it. Check the box if you do and then click on the “Next” button at the bottom of the window to continue.
![]()
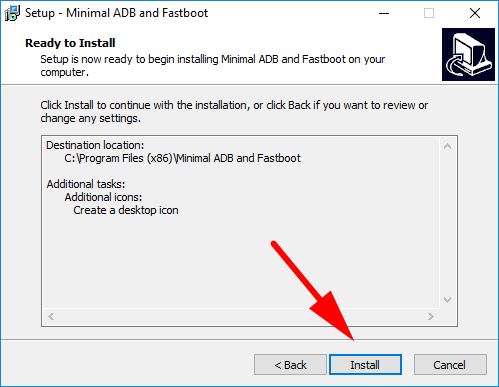
It’ll then show you the choices you’ve made and offer you the “Install’ button which you can click when you know you’re happy with your selections and are ready for the Minimal ADB and Fastboot installation to begin.
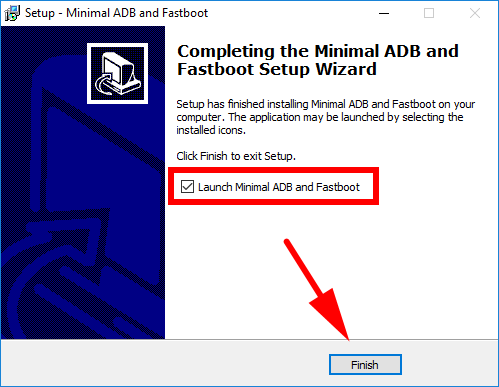
Choose whether or not you want the Minimal ADB and Fastboot to launch or not directly after closing the setup wizard and then click on the “Finish” button.
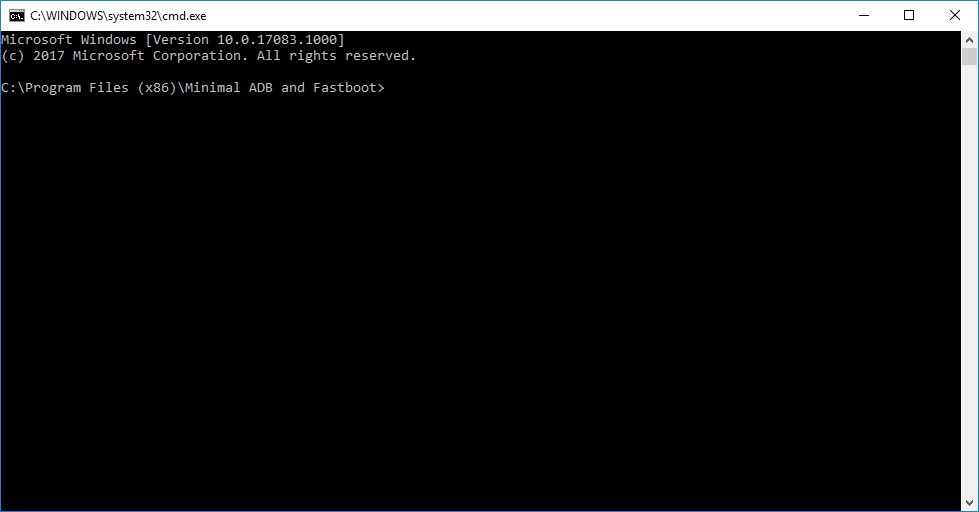
By running, it will launch a command prompt window from where you can issue ADB commands that will then be executed on your attached phone. If you are new to ADB, you will probably not be aware of all the commands that ADB has for you. You can just hit up the XDA Forums to see a list of these commands that can be issued to your Android device or just go back to the guide you were using on this site before landing on this page and you should find the commands you need there as well.
Not only did the utility install ADB, but it also installed Fastboot on your computer. Fastboot is usually used to flash HTC, Motorola, Nexus, and such other Android devices. It helps you flash files to various partitions, such as recovery and boot image, on your Android devices.
So, you have got both ADB and Fastboot running on your computer. Now go ahead and find out the list of all the commands that you can use and then run them for real from the installed utility. You will be amazed to see what you can do with just a command prompt window in ADB.
Let us know how it worked for you!
You might also be interested in:
- How To Install ADB And Configure Your Mac To Work With It
- How To Install ADB On Linux
- How To Install ADB On Your Mac
- How To Install Android SDK And ADB On Windows With Three Different Methods
- How To Find Your WiFi Password on Mac
Have something to say? You can contribute to this tech article by leaving a comment below.