Last Updated on December 26, 2022 by Mat Diekhake
Windows operating systems have been gravitating toward people having their unique user accounts for a while now. They said the main reason for this was so people can log into that account from multiple places and still have all the same things available from that account.
Having individual user accounts has helped a significant amount when it comes to privacy, but all privacy concerns are still not met. Windows offers some ways around the current privacy issues that you might face with your user account. One of the most common ways to be able to tackle the problem is by hiding files and folders, so when people are using the same accounts as you, they are not able to see them.

The File Explorer that is available from the Windows 10 operating system offers a couple of ways around this problem. One of the things you can do is hide an individual file or folder, so when people click on it, there is nothing they can see inside. The other option that is available is just to make all hidden files, folders and drivers remain hidden.
Hiding the files and folders in Windows 10
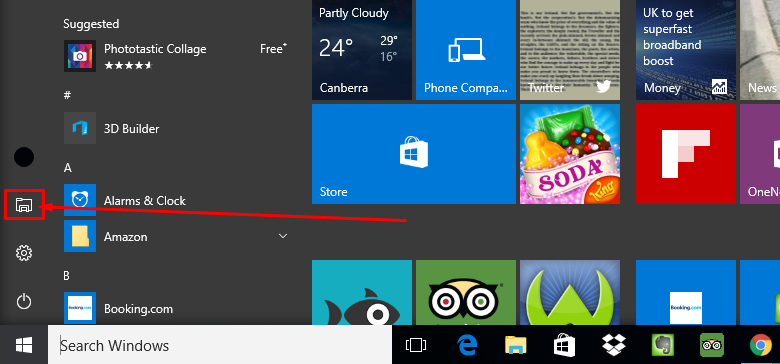
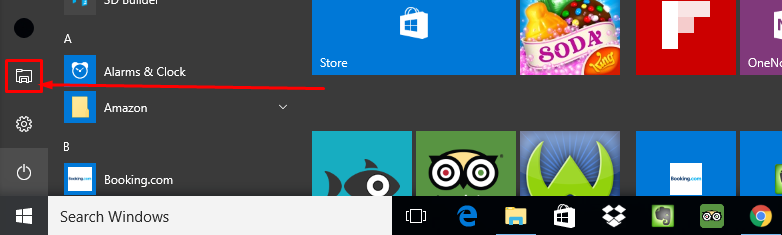
Click on the “Start” menu Windows icon from the left-hand side of the taskbar and then click on the “File Explorer” icon from the left-hand side pane.
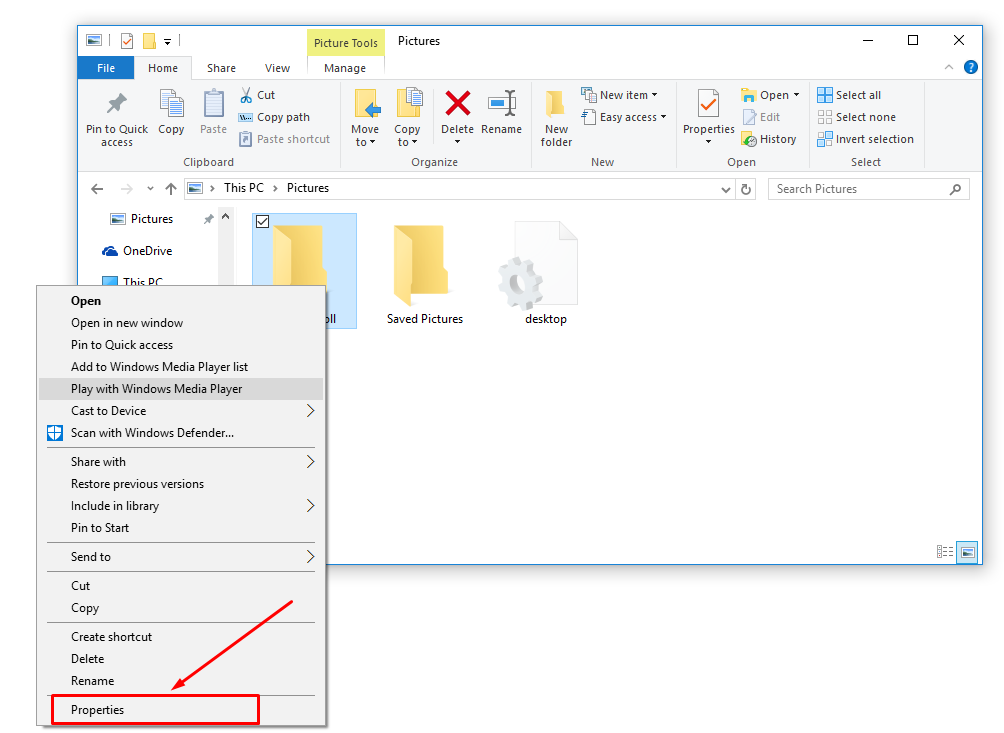
Find the folder that you want to hide and then right-click the mouse on it and select the “Properties” from the menu.
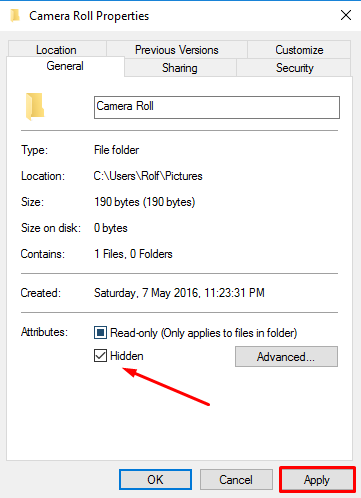
Click on the “Hidden” box so it is no longer empty and it now has a checkmark in the box and then click on the “Apply” button.
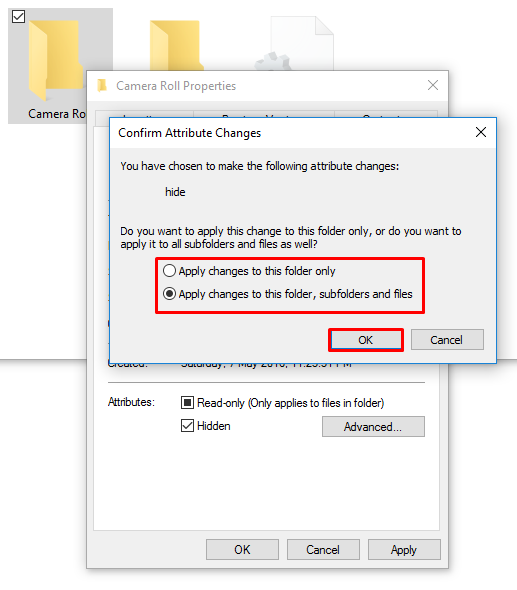
The Windows 10 operating system then gives you a couple of option ot choose: applying the changes for the single folder only or applying the changes for the folder, its subfolders and files also. You can make what makes sense for you. For the sake of this example, I’ve selected the box that applies the changes to all three things.
Click on the “OK” button once you have made your selection and then click on the “Apply” button if it comes up on the computer screen.
Now when you open the File Explorer and navigate back ot where that folder was that you wanted to hidden, you will see it now is faded (thought still visible.) If you click on the faded folder, there is nothing inside.
![]()
Go back to the “File Explorer” by clicking on the “Start” menu and selecting the icon for the File Explorer that is available in the left-hand side pane.
Click on the “File” menu that is available at the top and then select the “change folder and search options” from the drop-down menu.

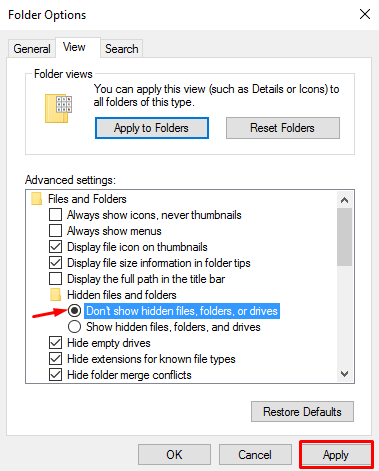
Scroll down the list until you see the “Don’t show hidden files, folders, or drivers” option from the menu and make sure it is checked before clicking on the “Apply” button.
The File Explorer has now hidden the files, folders and drivers and the individual folder or files that you wanted hidden from the File Explorer is also gone. Undoing your work is as easy and going back into the Folder Options and swapping the “Don’t show hidden files, folder, or drivers” to the “Show hidden files, and drivers” option. Those who want to unhide the individual file or folder and right-click on it again and go into the Properties dialog box for that file or folder and then uncheck the “hidden” box for it to start showing up from the File Explorer again.
You might also be interested in:
- How to View the Taskbar Settings in Windows 10
- How to Set the Correct Time and Date in Windows 10
- How to Add Another Email Account to Outlook in Windows 10
- How to Install a Portable Version of the Vivaldi Web Browser
- How to Sign Out of a Microsoft Account in Windows 10
Have something to say? You can contribute to this tech article by leaving a comment below.