Last Updated on February 25, 2024 by Mat Diekhake
If you buy a new computer from the store or online, then it’s going to come out of the box with a version of the Windows 10 operating system already pre-installed. For that reason, you never have to worry about Windows 10 installation going wrong.
On the other hand, if you have not upgraded your computer and the one you bought was running Windows 7 or Windows 8, then you will be manually upgrading to the version of the Windows 10 operating system that you want yourself. During those times, the occasional person can experience issues with being able to upgrade to the Windows 10 OS. For all those times, clearing the Windows Update cache can help you fix the problems that you are facing.
How to Clear Windows Update cache in Windows 10 operating systems
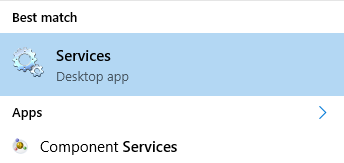
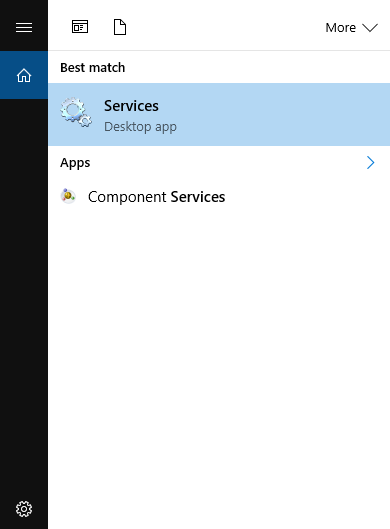
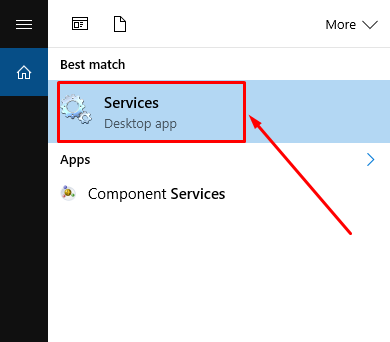
Type “Services” into the search dialog box that is available in the taskbar and then click on the Services application that becomes available for you to click (featured in blue.)
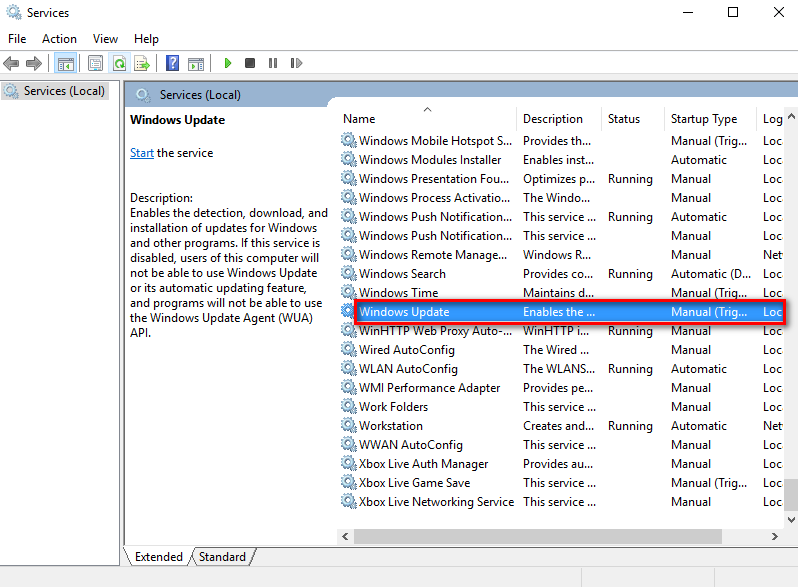
Scroll down the list until you get to where it says “Windows Update” and then double-click the mouse on the option.
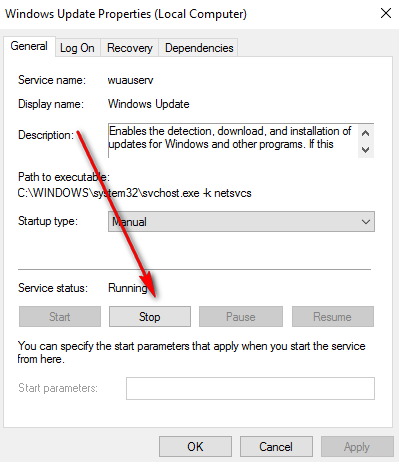
 Click on the “General” tab.
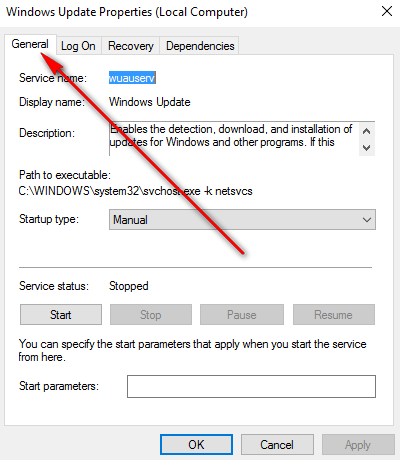
Click on the “Stop” button so the update service stops running for the time being, and your update does not continue.
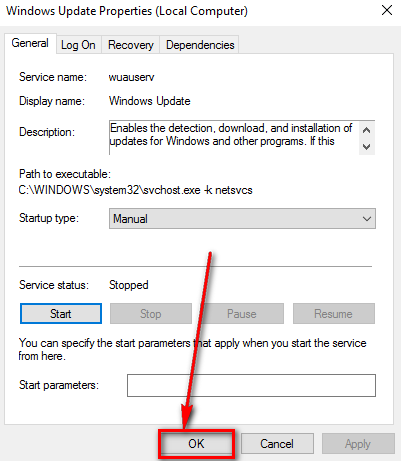
Click on the “OK” button to close the Windows Update properties dialog box.
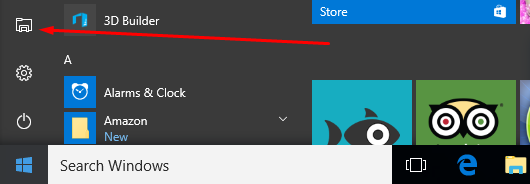
Click on the “Start” menu and then click on the “File Explorer” icon from the left side pane.
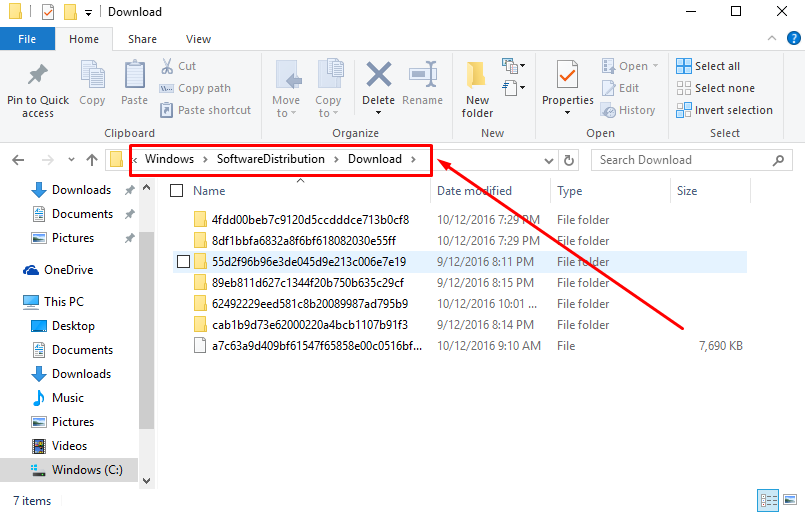
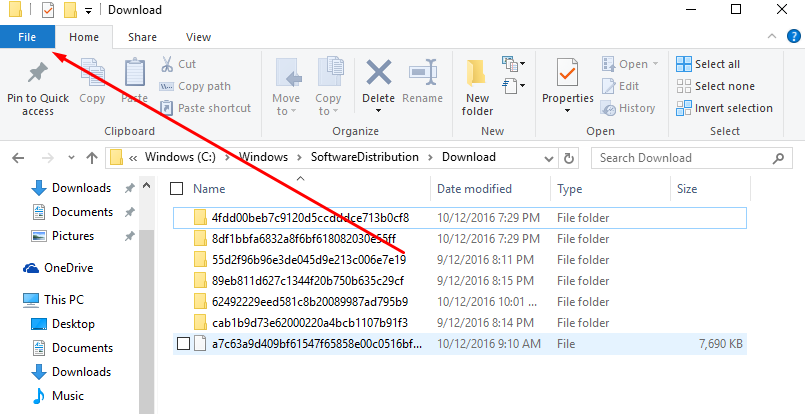
Where it gives you the quick address bar, type the “Windows\SoftwareDistribution\Download” path and then press the Enter key on the keyboard to enter that same “Download” folder that has all of your Windows 10 files.
 Click on the “File” menu.
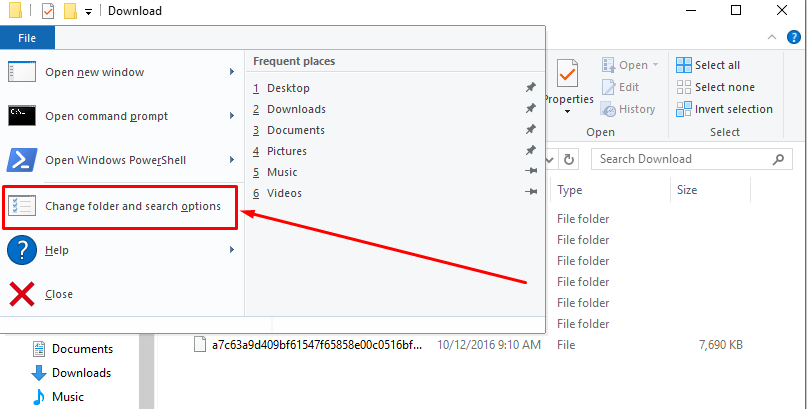
 Click on the “Change folder and search options” from the File menu.
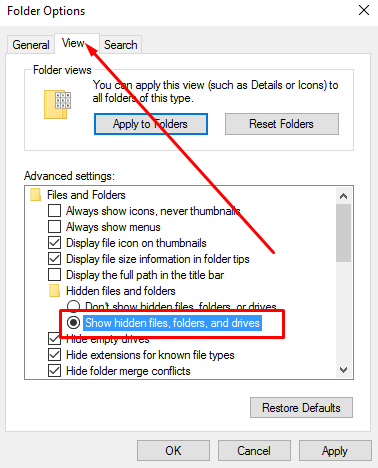
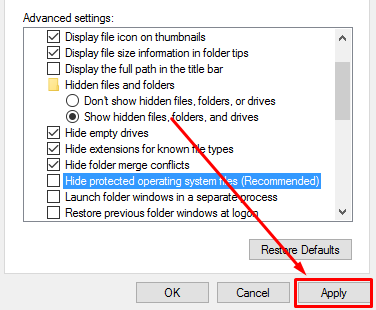
Click on the “View” tab that is available at the top and then scroll down until you can see the “Show hidden files, folders, and drivers” option and make sure the box is checked (by default it is not.)
 Scroll down some more and stop when you get to the “Hide protected operating system files (Recommended)” and make sure that box is empty.
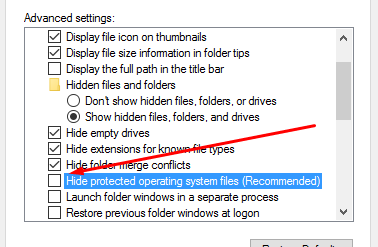 Click on the “Apply” button at the bottom when that is completed.
Now when you go back to the Windows\SoftwareDistribution\Download folder path, all of the files associated with your installation should be there. It’s at this point that you need to start deleting everything that you can see, so all folders are gone. Deleting all files and folders should not be a problem. If you do come across some “access denied” messages, you can try and run the “take ownership” tool to take ownership of this files and folders.

Once that is done, go back to the search dialog box in the taskbar and type “Services” once again and open the Services application.
Scroll down until you get to the “Windows Update” option again and double-click the mouse on that name, so you get the Windows Update properties dialog box opening up on the computer.
Click on the “Start” button now to restart your Windows update and then click on the “OK” button that is available at the bottom.

That is everything you need to clear the Windows Update cache in your version of the Windows 10 operating system so you can solve the issues you are having with the Windows Update service. Hopefully the Update service is now running once again and this time without the issues you were facing before so you end up with a successful installation.
You might also be interested in:
- How to Change the Default Web Browser and Apps in Windows 10
- How to Install the Windows 10 Anniversary Update
- How to Create a WiFi Hotspot with a Device on Windows 10
- How to Set a Web Page as a Desktop Background in Windows 10
- How to Change the Desktop Wallpaper in Windows 10
Have something to say? You can contribute to this tech article by leaving a comment below.