Last Updated on December 26, 2022 by Mat Diekhake
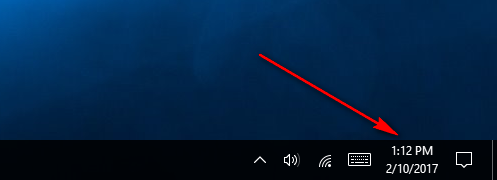
One of the most common things people do when they have a computer turned on is check what time of the day it is by looking at the clock that has always been available in the bottom right-hand corner of the computer’s display. This area is called the system tray in Windows, and it marks the right side of the taskbar where you have the icons that are different from the programs and applications that are sometimes available in the taskbar—usually associated with the left side of the taskbar.
The default settings in the version of the Windows 10 operating systems offer you the 24-hour clock, just like it has always been in Windows operating systems. Most people prefer it this way—but not everybody.
If you are one of the individuals who prefer the 12-hour clock, you will be pleased to know that Windows developers have thought of you by including an option for you to swap it over to the 12-hour clock format instead. There are a couple of ways you can get this done. The first method in the guide is the quickest and commandeered way for you to follow. If, however, your version of Windows 10 does not allow you to follow the same steps, you can follow the second part of the guide that shows you how to change the clock to 12-hour format in Windows 10 by using the Control Panel. The access you get from the Control Panel is always the same in all version of Windows 10.
How to Change Time Format in Windows 10 Using Settings
Right-click the mouse or touchpad of your device on the time that is situated in the taskbar.
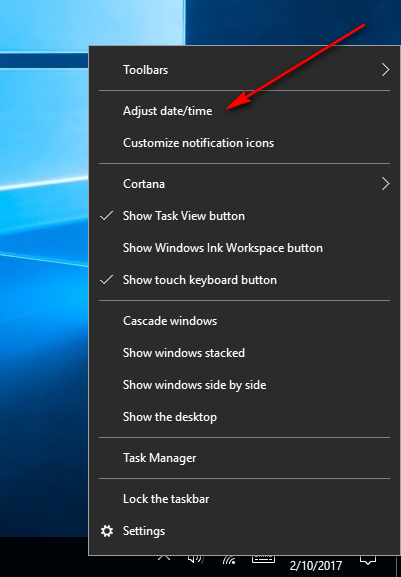
Click on the “Adjust date/time” entry from the menu.
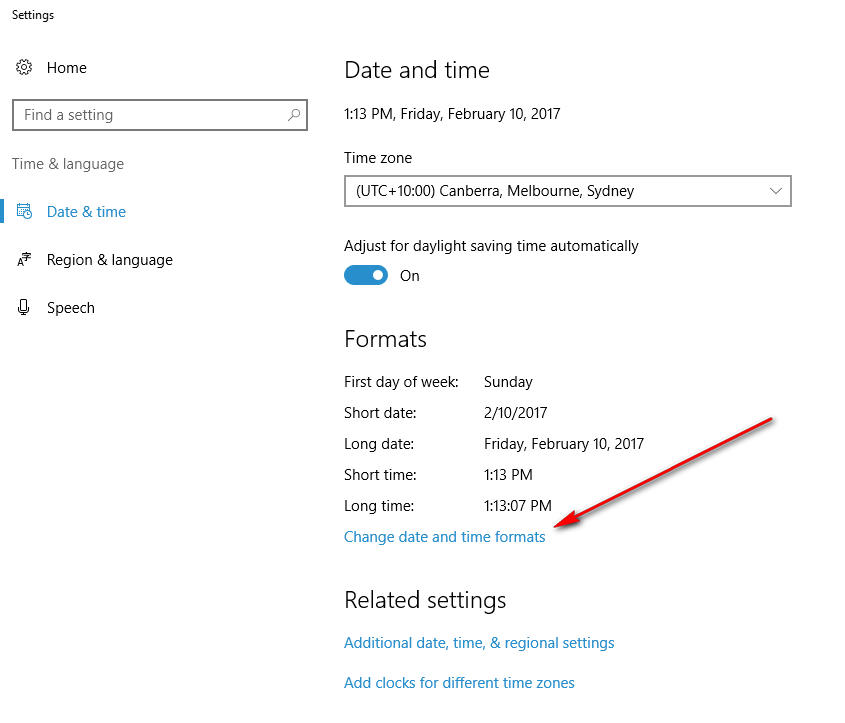
Click on the “Change date and time formats” link in the “Formats” section.
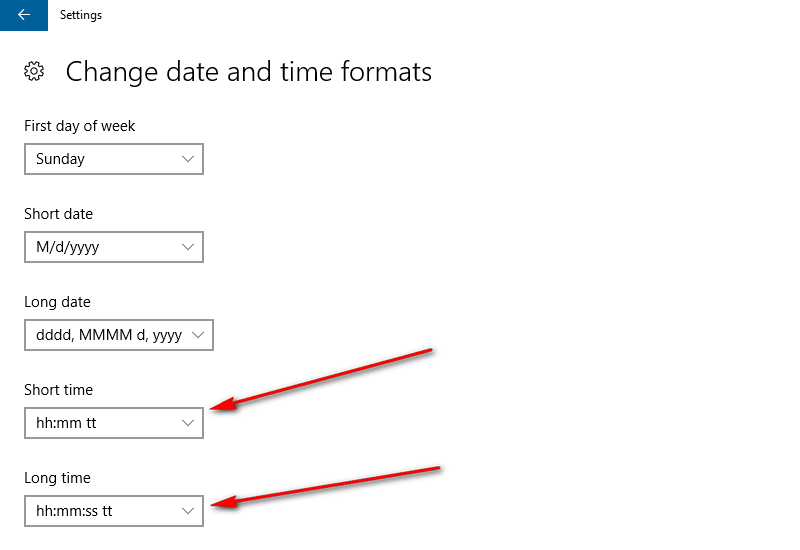
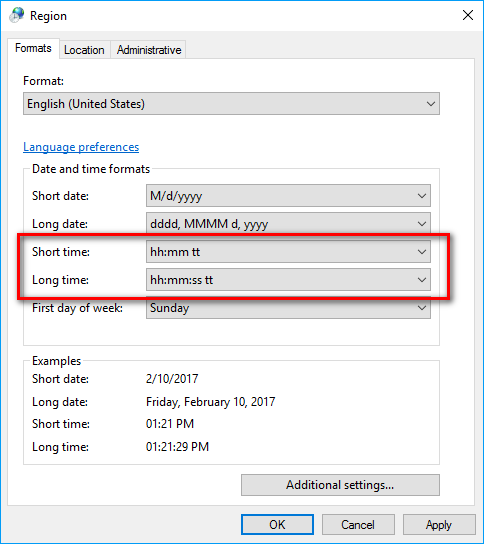
 Change the Short time to hh:mm tt and change the Long time hh:mm:ss tt.
How to Change Time Format in Windows 10 Using Control Panel
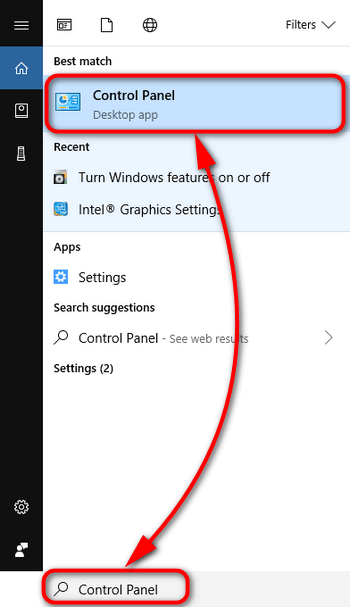
If your version of the Windows 10 operating system doesn’t allow you to get access to the Settings for the clock by right-clicking on it, then you can always get there from the Control Panel instead. To do that, just type “Control Panel” from the search field in the taskbar.
Click on the “Category” link from the top right-hand side of the computer’s screen and change the option to the “Small icons” so you can see the full list of options.
![]() Click on the “Language” entry from the computer’s settings list available for you to adjust.
Click on the “Language” entry from the computer’s settings list available for you to adjust.
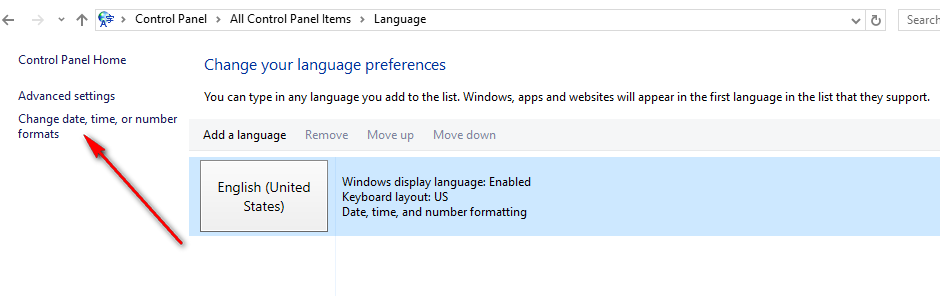
 Click on the “Change date, time, or number formats” from the left side pane.
You then get the chance to change the Short time and the Long time from the drop-down menu’s available for those two things. You want to swap them over for the options that have the double “h” instead of the single version as shown in the screenshot below.
The 12-hour clock is now changed in Windows 10. The first version using the Settings is available after the Anniversary Update. If you cannot follow the guide because your version of Windows 10 is different, you can do the same thing by following the latter part of the guide that directs you through the Control Panel instead.