Last Updated on January 1, 2023 by Mat Diekhake
Windows 11 comes with a Quick Settings menu which you can open by clicking on either the WiFi, volume, or battery icons in the notification area of the taskbar. This Quick Settings menu is different from the one in Windows 10 where each icon you clicked in the notification area was only going to give you direct access to the setting the symbol suggested it would, i.e., the volume icon would allow you to change the volume only. It requires more computing power to have it this way in Windows 11, but the theory is it should make your life more efficient by giving you not only access to the one setting you’re using now with the first click but then several others as well.
This tutorial demonstrates how to add/remove Quick Settings when using a version of the Windows 11 operating system.
How to Add Quick Settings in Windows 11
You can add widgets to the Quick Settings menu directly from the Quick Settings menu itself. Here is how:
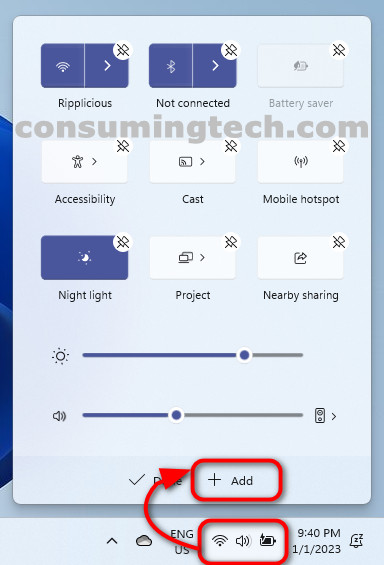
- Open Quick Settings by clicking on the WiFi, volume, or battery icon in the notification area.
- Click on the Edit quick settings icon.
- Click on the Add button.
Note: If the Add button is grayed out, it means you already have all the icons pinned to the Quick Settings.
How to Remove Quick Settings in Windows 11
You can also unpin icons from the Quick Settings menu which will remove them. Here is how:
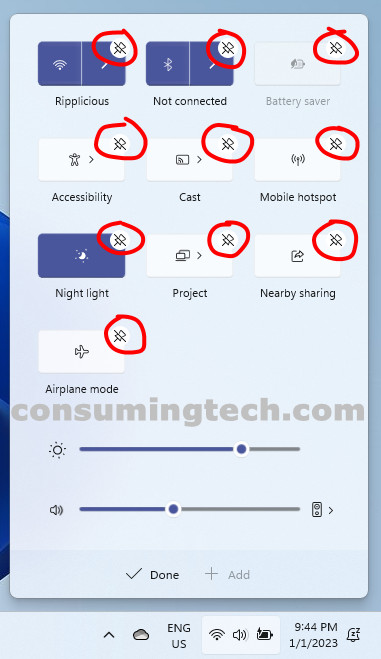
- Open Quick Settings by clicking on the WiFi, volume, or battery icon in the notification area.
- Click on the Edit quick settings icon.
- Click on the unpin icon on top of the setting you want to be removed.
Note: You can add any icon to the Quick Settings menu that you previously unpinned by clicking on the Add button in part one of the guide. - Click Done.
In conclusion, that is how to add/remove Quick Settings in Windows 11.