Last Updated on March 31, 2017 by Mathew Diekhake
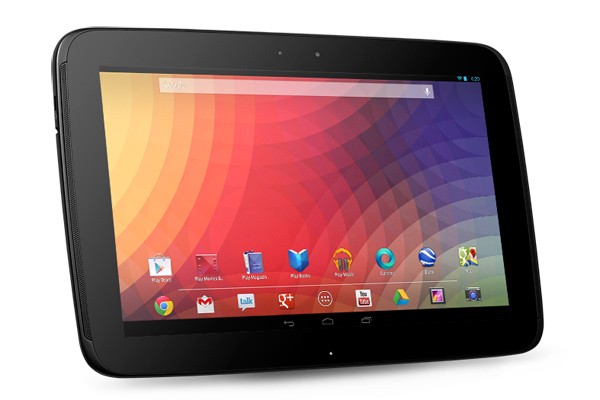
The official Android 5.1 Lollipop is now live for the Google Nexus 10 tablets. It doesn’t matter what model number or version of the Nexus 10 you have, you can install this same file on your device. The build number and firmware version of this latest update is LMY47D. Those of you who enjoying root Android tablets might be interested in learning that root access is already available for this software version. That mans you can update to this Android 5.1 Lollipop and then root it again by following an appropriate guide for that later.

The Files You Need
- Download the Android 5.1 LMY47D zip file from here.
- Install the Google USB Drivers for your computer by clicking on the Android developers website here. It’s recommended by us that those people not getting the guide to work for them should reboot the computer and try again. It’s unlikely but sometimes a computer needs rebooting for the drivers to start working.
- Download the Android SDK from the Android website here.
Updating the Google Nexus 10 to Android 5.1 Lollipop LMY47D firmware
- Download the Android SDK and the Android 5.1 Lollipop firmware file and shift both files over to the desktop of the computer.
- Extract the Android SDK folder by right-clicking over the file and choosing the ‘extract here’ option.
- Launch the SDK Manager exe file from that folder.
- Launch the SDK Manager and its associated packages, including the USB drivers for the computer.
- Now that you have everything you need from the SDK done, you can start with the firmware installation.
- Rename the firmware file to something easy to remember like Lollipop.zip.
- Transfer the Lollipop.zip file over to the platform-tools directory. You’ll find the platform tools folder in the SDK directory.
- Long-press the Power button and reboot the Google Nexus 10 to the recovery mode.
- Once you are in the recovery mode, select the ‘apply update from adb’ option from the menu.
- Connect the Google Nexus 10 to the computer where you have the Lollipop.zip. Do that with the USB cable you usually use for charging the device.
- Open the platform-tools folder.
- From within that platform-tools folder, hold down the Shift key on the keyboard and right-click the mouse to launch a new menu. Choose the ‘open new command windows here’ from that menu.
- Type the first command:
adb devices
– it will now reveal if your device is connected with ADB. Those of you without any detection at this point need to install the google USB Drivers, not to be confused with the SDK drivers. The link is available above in the files section. - Type the next command in the command prompt window:
adb sideload Lollipop.zip
– doing so will install the Lollipop update on your tablet. - You’ll need to wait a long time for that update to complete.
Reboot the Google Nexus 10 tablet in normal mode by performing a standard reset. You can now unplug from the computer and start using your new Lollipop.
