Last Updated on December 26, 2022 by Mat Diekhake
Windows 10 used to offer a way to disable display scaling for applications on high DPI settings. You’d need it enter the properties of an individual app by right-clicking on it and do that for each app.
Now though Windows 10 has made a change and you actually have the chance to let Windows try to fix apps so they are not blurry, directly from the Settings application instead. This will then take over and try to fix all apps when you use them and save you from having to do it one by one yourself from the Properties menu.
Note that while Microsoft should be able to help fix the blurriness for many of the application out there, it won’t necessarily work for all of them. Also, if you’re using multiple displays, this tweak in the Settings application is not going to suffice. It’ll only be useful if you’re using the one monitor.
How to Turn On/Off Fix Scaling for Apps from Settings Application
You can let Windows try to fix application so they are not blurry directly from the Settings application in Windows 10.
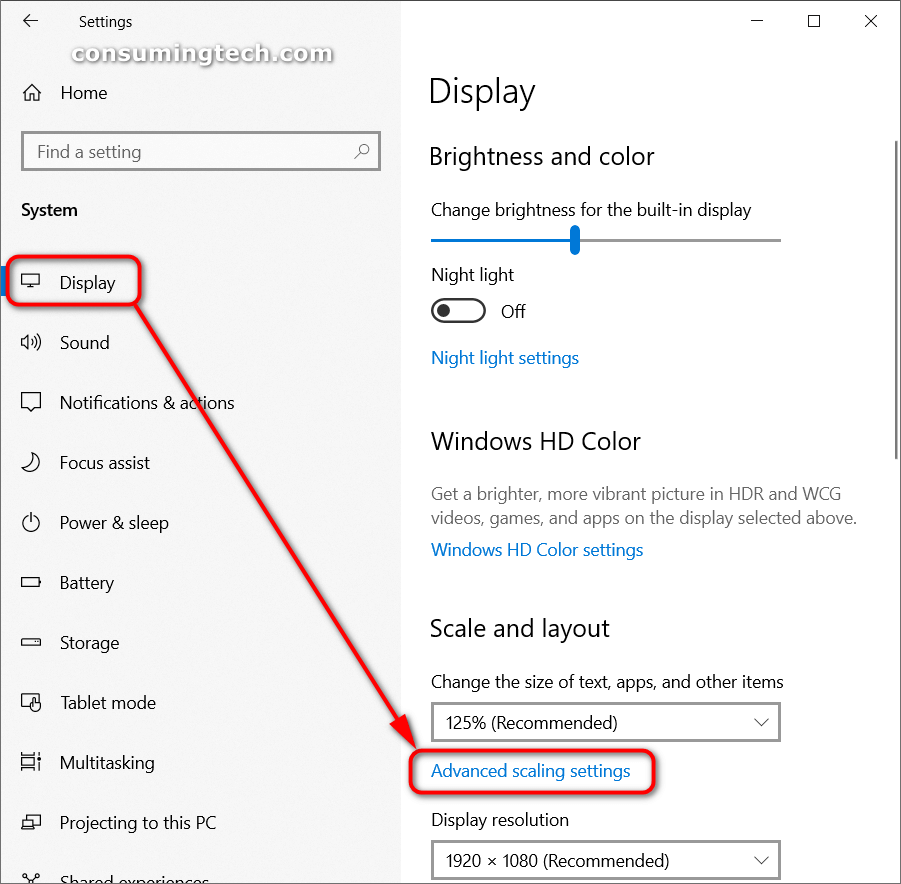
To do that, navigate to the Start menu > Settings > System > Display and then click on the Advanced scaling settings link from under the Scale and layout heading.
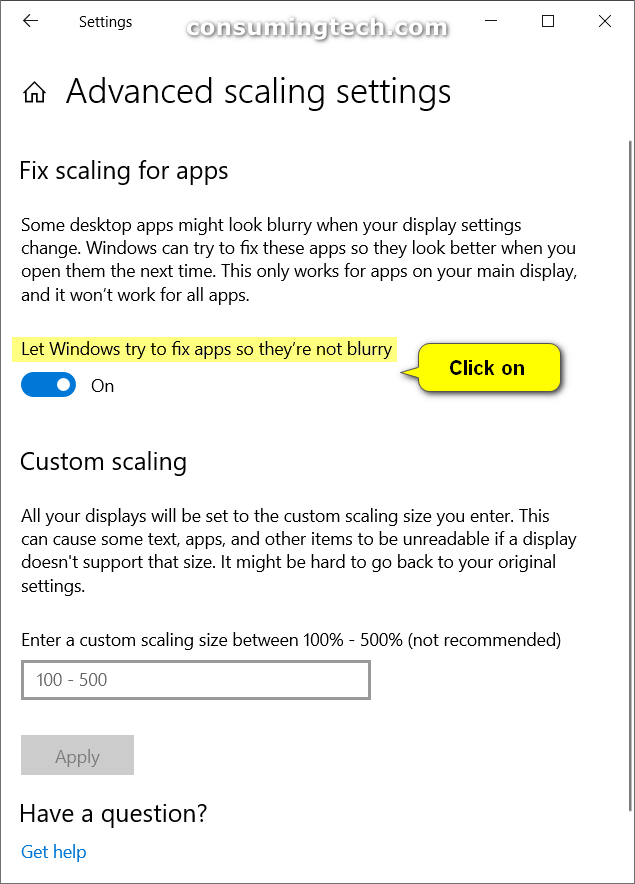
Then directly under the Fix scaling for apps heading is a toggle for Let Windows try to fix apps so they’re not blurry that you can toggle on or off as you desire—with the on position meaning that Windows will then start to try to fix the scaling and prevent blurriness.
You can now close the Settings app and continue using your computer if you like.
How to Turn on Fix Scaling for Apps Using Notifications
The Windows 10 operating system will even go out of its way to send you a notification if it has the ability to detect that you might be viewing applications that are blurry and then you can solve the problem directly from that notification without the need of having to do anything else.
The notifications will give you a button that says Yes, fix apps under the message that’s letting you know that Windows has detected some apps that may be blurry. Just click on that button when you want it fixed.
You could also click on the Ignore button instead when you see the notification if you don’t want Windows to interfere with what you see instead.

How to Override System DPI for Individual Apps in Compatibility Mode Settings
As mentioned in the beginning, there was always a way for you to change the DPI levels for individual applications from the properties of an app, and you can still do it now as well. If you want to do it this way, right-click on the application of your choice, and then click on the Properties from the menu.
Select the Compatibility tab at the top of the Properties dialog and then click on the Change high DPI settings link.
Now under the Application DPI heading, put a checkmark in the checkbox for the Override system DPI option.
High pixel density displays are fast becoming the norm and are available on just about all new PCs—even if trying to shop for a 3K display is still challenging—and they are also what you’ll find on new smartphones and tablets, too. Having the better picture quality is great, but they can present the problem of blurry applications every so often, and the guide above should help you solve that.
You might also be interested in: