Last Updated on January 5, 2023 by Mat Diekhake
As most of you will probably know, Android is already the most customizable mobile operating system in the world, having been based from the Linux kernel which was open source. Linux has never been a very secure operating system, which is why businesses usually choose to install Microsoft Windows instead. Android is somewhat similar to Windows in the sense that when Google bought Android, it took it away from the traditional Linux kernel we know — which was an incredibly open environment — and closed its doors off for added security. It’s the natural path to take when you are wanting to sell devices to million of people around the world most of whom are not “techies” even in the general sense.
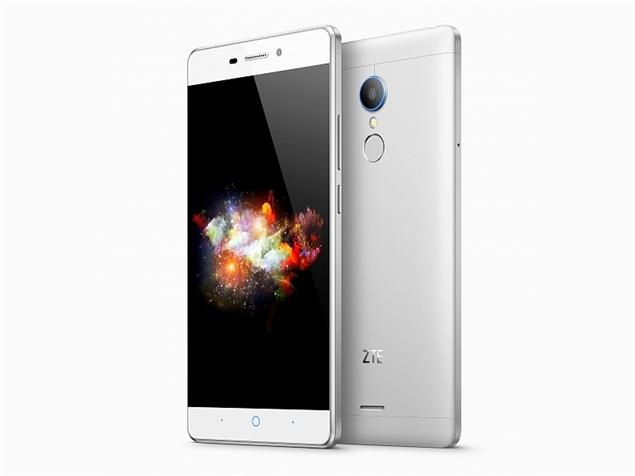
Those who prefer to have the choice is opening the gates a little bit for the added benefits of what you can do with a rooted Android, can choose to root the device. The ZTE Blade X9 is a smartphone that has an easy and working rooting method, namely KingRoot. The KingRoot universal one click rooting application will let you install any of the apps from the Google Play Store, among other app stores, and change your device. One of the things you might be interested in customizing is the gestures. The GMD Gesture Control application is the perfect way to navigate on your device using nothing but gestures all the time. You can watch a video featuring the GDM Gesture Control app working at the end of the guide.
Files You Need
- Download the KingRoot universal one click rooting application for the ZTE Blade X9 smartphone from here.
- Note that this tool will work on your ZTE Blade X9 with the bootloader locked. You do not need to unlock the bootloader of the X9 device before you follow this guide. With that being said, you must unlock your bootloader if you decide to try to install a custom recovery after completing this guide. Something like TWRP Recovery will always need an unlocked bootloader or you might brick the device.
Rooting the ZTE Blade X9 running the Android 5.1 Lollipop
- Download the KingRoot to the computer and transfer it to the internal storage SD card, or download it directly to the ZTE Blade X9 smartphone web browser app like Google Chrome and install it that way. Those wanting to use the SD card will need to learn how to transfer APK files from the SD card and you can check out the best File Managers for that.
- Open your ZTE’s application drawer and tap on your new KingRoot app icon.
- Look for the large button that suggests it will root your device from the apps main page and tap on the same.
- Wait for the KingRoot tool to finish rooting your device; you can tell how it’s going by watching the progress bar. Eventually it will reach 100% and be done.
- Close the KingRoot universal rooting application and reboot your device the same way you normally would.
- Upon the device’s reboot, you should see the KingUser app now available which will act as your gatekeeper and keep your device safe, as well as grant the rooting permissions to any app that you are willing to let have root access.
Open the Google Play Store and download the root checker application just to check everything did work before you try installing other apps.