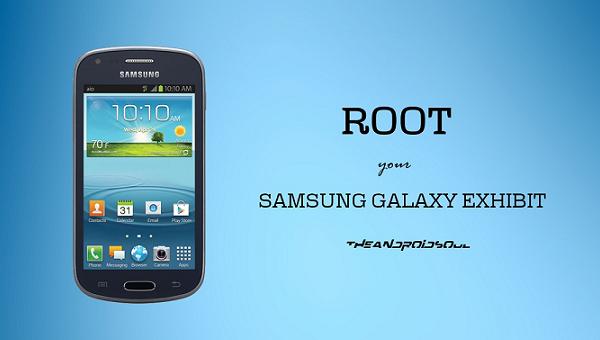
The Samsung Exhibit 4G T599 is a cool little smart phone brought out by T-Mobile. This mobiles really popular with the young guys out there. It won’t break the bank, it comes from two of the best names in the business and it has some cool features too. A little off topic, but you can also deck this device out with some neat looking skins and stuff also. Just check out eBay if you’re interested. Arguably the best part about this phone is that it comes with the new super fast 4G as the name suggests.
There’s some people inquiring whether this still works because the associated file is rather old. As far as I know it does work. We haven’t received one complaint about it not working. Having said that, we don’t own this phone and haven’t personally done the guide ourselves. If somebody could report back with how they went in the comments that would be great. After scouring the internet and all the forums this still seems like it is the same file that in use unless we are missing something.

Details of Note
- There will be little risk associated with this as long as you don’t lose anything from your phone along the way. The only way to make sure this is to backup the data. We recommend the Micro SD card method connected with a Mac or Windows-based computer for this. You will also need an SD card reader. It will allow the computer to read what is on your device. Once it has it will show up on the screen, but it hasn’t been saved yet.
- Now by creating a new folder and calling is the Exhibit backup folder (or any name of your choice), we can transfer the content into here the same way you would normally do it on a computer. Store it somewhere safer the desktop so nobody will touch it. Just make sure you can find it. Somewhere nice and obvious on the C drive. This will now be a hard copy of your content stored forever until you update it again. The most popular type of reader is the SanDisk variety. You can buy them at most electronic stores. Wherever you shop for your flash memory should also have it in stock. It generally doesn’t come with the phone like the SD does itself.
- We recommend this method because the next phone you have will generally be using the same type of Micro SD card unless they have jumped up to using an even smaller chip. As long as it’s the same size you can insert it in the bottom of the handset and it will work on another the new Android handset. That side of things is really simple. People are generally very familiar with computers also so that will be easy. Some people call it more time-consuming, but that isn’t anything you have to do. It’s just the time it takes for the files to transfer over to the computer. You might have done this type of thing with something else like a video clip. Videos take a long time, several minutes for about a GB. Depending on how many GB you have stored will depend on the time. Something like a written document will be transferred very quickly. If you’re somebody that uses a lot of applications, then as you can imagine that PC or Mac will be doing its thing for a while longer.
- Enable USB Debugging before starting by visiting Menu > Settings > Applications > Development > USB debugging.
- Furthermore, make sure you have the up to date USB Drivers.
- The root method for the Exhibit 4G T599 will void the device’s warranty. The warranty is made good again once you return back to stock firmware. Returning to stock will mean the device is no longer unchained.
- Temporarily disable any antivirus that is running on the Windows-based computer or Android Smartphone. These can sometimes interfere with the operations. Always remember to activate them again once you finish to stay protected from any virus threats.
The Samsung Exhibit 4G T599 Root Guide
1. Head over to this XDA thread and grab the root package required. Once done, extract it to the desktop of the computer.
2. Using the USB cable, connect the mobile to the computer.
3. From the extracted file, pluck out the ZergRushTempRoot.bat and run it.
4. From here, some on-screen instructions will appear. Simply follow them to complete the installation.
That’s all.